1. ആമുഖം
This manual provides detailed instructions for the installation, operation, and maintenance of your EZVIZ CS-BW2424-B1E10 Wireless NVR System. Please read this manual thoroughly before using the product to ensure proper setup and functionality. Keep this manual for future reference.
2. ഉൽപ്പന്നം കഴിഞ്ഞുview
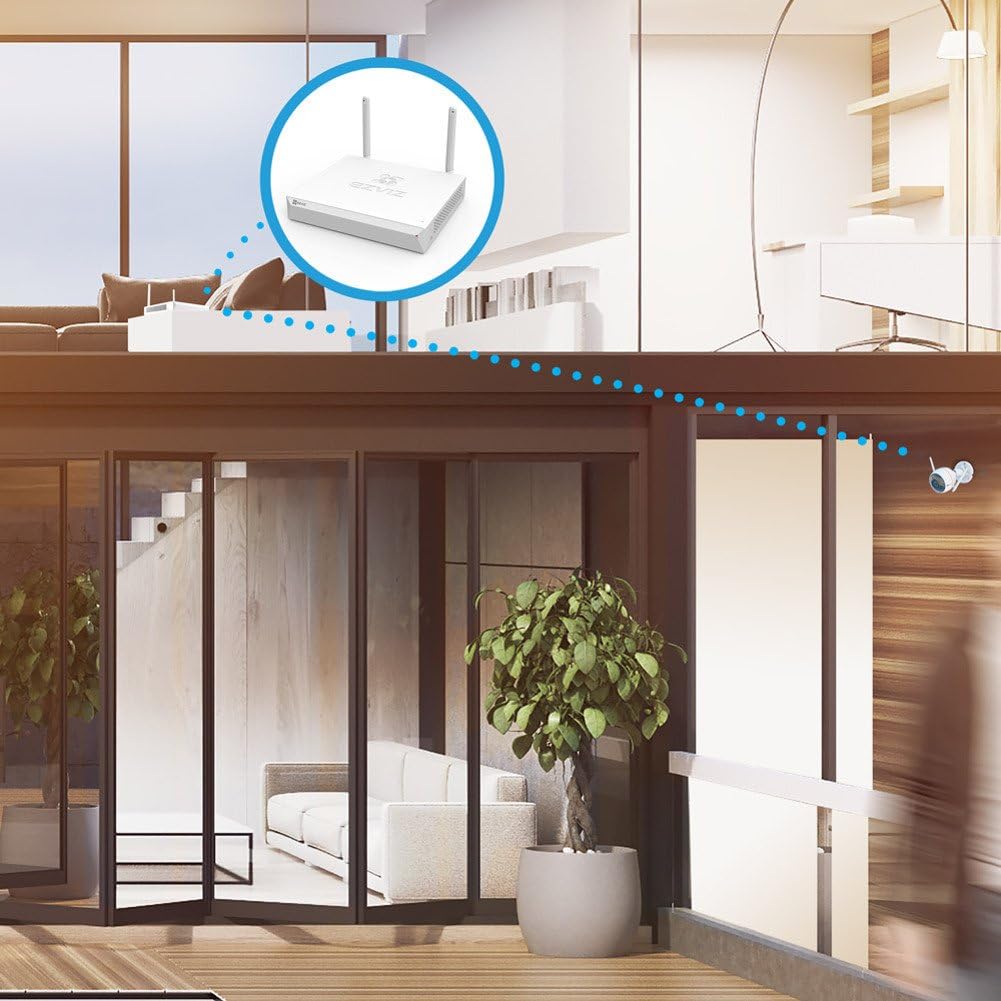
The EZVIZ CS-BW2424-B1E10 is a wireless network video recorder (NVR) system designed for home or small business surveillance. It includes a central NVR unit with a pre-installed 1TB hard disk drive and four 2-megapixel wireless cameras, providing a comprehensive security solution.
2.1 സിസ്റ്റം ഘടകങ്ങൾ

2.2 NVR Unit Features
The NVR unit serves as the central hub for recording and managing video footage from the connected cameras. It features various ports for connectivity and a pre-installed hard drive for storage.

- പവർ ഇൻപുട്ട്: പവർ അഡാപ്റ്ററുമായി ബന്ധിപ്പിക്കുന്നു.
- ഓഡിയോ ഇൻ/ഔട്ട്: For external audio devices.
- VGA പോർട്ട്: Connects to a monitor for video output.
- എച്ച്ഡിഎംഐ പോർട്ട്: Connects to an HDMI-compatible monitor or TV for high-definition video output.
- LAN പോർട്ട്: Connects to your network router via an Ethernet cable for internet access.
- USB പോർട്ടുകൾ: For connecting a USB mouse or external storage devices.
- ദ്വാരം പുനഃസജ്ജമാക്കുക: Used to reset the NVR to factory default settings.

The NVR comes with a 1TB hard disk drive pre-installed, providing ample storage for recorded video footage.
2.3 ക്യാമറ സവിശേഷതകൾ
The four wireless cameras capture 2-megapixel resolution video and connect wirelessly to the NVR. They are designed for outdoor or indoor use and include features for easy management.

- റീസെറ്റ് ബട്ടൺ: ഫാക്ടറി ഡിഫോൾട്ട് ക്രമീകരണങ്ങളിലേക്ക് ക്യാമറ പുനഃസജ്ജമാക്കാൻ ഉപയോഗിക്കുന്നു.
- QR കോഡ്: Essential for adding the camera to the EZVIZ app and for initial setup.
3. സജ്ജീകരണ ഗൈഡ്
3.1 പായ്ക്ക് ചെയ്യലും പ്രാരംഭ പരിശോധനയും
- ബോക്സിൽ നിന്ന് എല്ലാ ഘടകങ്ങളും ശ്രദ്ധാപൂർവ്വം അൺപാക്ക് ചെയ്യുക.
- Verify that all items listed in the packaging contents are present and undamaged.
- If any items are missing or damaged, contact customer support immediately.
3.2 എൻവിആർ കണക്ഷൻ
Before powering on, connect the necessary peripherals to the NVR.
- ഒരു മോണിറ്റർ ബന്ധിപ്പിക്കുക: ഒരു മോണിറ്ററിലേക്കോ ടിവിയിലേക്കോ NVR ബന്ധിപ്പിക്കാൻ ഒരു HDMI അല്ലെങ്കിൽ VGA കേബിൾ ഉപയോഗിക്കുക.
- Connect a Mouse: NVR-ന്റെ USB പോർട്ടുകളിൽ ഒന്നിലേക്ക് USB മൗസ് പ്ലഗ് ചെയ്യുക.
- നെറ്റ്വർക്ക് കണക്ഷൻ: For initial setup and remote access, connect the NVR's LAN port to your router using an Ethernet cable.
- പവർ ഓൺ: Connect the power adapter to the NVR's power input and then plug it into a power outlet. The NVR will start automatically.
3.3 Camera Placement and Installation
The cameras connect wirelessly to the NVR. Ensure optimal placement for signal strength and coverage.

- Choose Locations: Select locations for your cameras that provide the desired viewing angle and are within the wireless range of the NVR or your home router. Avoid obstructions that could interfere with the wireless signal.
- മൗണ്ട് ക്യാമറകൾ: Use the provided mounting hardware to securely install each camera. Ensure the camera is positioned correctly to capture the desired area.
- Power Cameras: Connect each camera to its respective power adapter and plug it into a power outlet.
3.4 സിസ്റ്റം കോൺഫിഗറേഷൻ
- First-Time Setup Wizard: Upon first boot, the NVR will guide you through a setup wizard. Follow the on-screen prompts to set up language, date/time, and network settings.
- ക്യാമറ ജോടിയാക്കൽ: The cameras are typically pre-paired with the NVR. If a camera does not display video, you may need to manually pair it. Refer to the NVR's on-screen menu for camera management options.
- മൊബൈൽ ആപ്പ് സജ്ജീകരണം: Download the EZVIZ app from your smartphone's app store. Create an account and add your NVR system by scanning the QR code on the NVR or its packaging. This enables remote viewഇംഗും നിയന്ത്രണവും.
4. പ്രവർത്തന നിർദ്ദേശങ്ങൾ
4.1 തത്സമയം View
Once the system is set up, you can view തത്സമയംtage from all connected cameras on your monitor or through the EZVIZ mobile app.
- On Monitor: The NVR interface displays a multi-channel view. Use the mouse to select a specific camera for a full-screen view.
- മൊബൈൽ ആപ്പിൽ: Open the EZVIZ app, select your NVR system, and tap on the desired camera feed to view ലൈവ് വീഡിയോ.
4.2 റെക്കോർഡിംഗ് മാനേജ്മെൻ്റ്
NVR തുടർച്ചയായി foo രേഖപ്പെടുത്തുന്നുtage to the 1TB hard drive. You can configure recording schedules and modes.
- തുടർച്ചയായ റെക്കോർഡിംഗ്: റെക്കോർഡുകൾ 24/7.
- ചലന-ട്രിഗർ ചെയ്ത റെക്കോർഡിംഗ്: Records only when motion is detected, saving storage space. Configure motion detection zones and sensitivity via the NVR menu or mobile app.
4.3 പ്ലേബാക്ക്
Review രേഖപ്പെടുത്തി footage from the NVR's hard drive.
- On Monitor: Access the 'Playback' menu on the NVR interface. Select the date, time, and camera to view റെക്കോർഡിംഗുകൾ.
- മൊബൈൽ ആപ്പിൽ: In the EZVIZ app, select the NVR, then choose the camera and navigate to the playback timeline to review രേഖപ്പെടുത്തിയ ഇവന്റുകൾ.
4.4 മോഷൻ ഡിറ്റക്ഷനും അലേർട്ടുകളും
Configure the system to send alerts when motion is detected.
- Enable motion detection for each camera in the NVR settings or EZVIZ app.
- Set up notification preferences in the EZVIZ app to receive instant alerts on your smartphone.
4.5 റിമോട്ട് ആക്സസ്
Access your security system from anywhere using the EZVIZ mobile app or web പോർട്ടൽ.
- NVR ഇന്റർനെറ്റുമായി ബന്ധിപ്പിച്ചിട്ടുണ്ടെന്ന് ഉറപ്പാക്കുക.
- Log in to your EZVIZ account on the app or web പോർട്ടൽ view live feeds, playback recordings, and manage settings remotely.
5. പരിപാലനം
5.1 വൃത്തിയാക്കൽ
- വ്യക്തമായ ഇമേജ് ഗുണനിലവാരം ഉറപ്പാക്കാൻ ക്യാമറ ലെൻസുകൾ മൃദുവായതും ഉണങ്ങിയതുമായ തുണി ഉപയോഗിച്ച് പതിവായി വൃത്തിയാക്കുക.
- Wipe the NVR unit with a dry cloth. Do not use liquid cleaners.
5.2 ഫേംവെയർ അപ്ഡേറ്റുകൾ
Periodically check for firmware updates for both the NVR and cameras to ensure optimal performance and security. Updates can typically be performed through the NVR's system menu or the EZVIZ app.
5.3 ഹാർഡ് ഡ്രൈവ് മാനേജ്മെന്റ്
The 1TB hard drive will automatically overwrite the oldest footage when full. You can configure recording settings to optimize storage usage.
6. പ്രശ്നപരിഹാരം
- വീഡിയോ ഡിസ്പ്ലേ ഇല്ല: Check power connections for NVR and cameras. Ensure HDMI/VGA cables are securely connected to the monitor. Verify cameras are paired with the NVR.
- നെറ്റ്വർക്ക് കണക്ഷൻ ഇല്ല: Ensure the Ethernet cable is properly connected to the NVR and router. Check router status. Restart NVR and router.
- മോശം വീഡിയോ നിലവാരം: Clean camera lenses. Ensure cameras are within optimal wireless range. Check for strong Wi-Fi signal.
- റെക്കോർഡിംഗ് ഇല്ല: Verify the hard drive status in the NVR settings. Check recording schedules and motion detection settings.
- വിദൂരമായി ആക്സസ് ചെയ്യാൻ കഴിയില്ല: Ensure the NVR has an active internet connection. Verify your EZVIZ app account is correctly linked to the NVR.
- സിസ്റ്റം റീസെറ്റ്: If issues persist, you may need to reset the NVR or individual cameras to factory settings using the reset button/hole. Note that this will erase all configurations.
7 സ്പെസിഫിക്കേഷനുകൾ
| ഫീച്ചർ | സ്പെസിഫിക്കേഷൻ |
|---|---|
| മോഡൽ നമ്പർ | CS-BW2424-B1E10 |
| ബ്രാൻഡ് | EZVIZ |
| കണക്റ്റിവിറ്റി ടെക്നോളജി | വയർലെസ് |
| വീഡിയോ ക്യാപ്ചർ റെസല്യൂഷൻ | 1080p (2MP) |
| ചാനലുകളുടെ എണ്ണം | 4 |
| മെമ്മറി സ്റ്റോറേജ് കപ്പാസിറ്റി | 1 TB (Hard Disk Drive) |
| നിറം | വെള്ള |
| പവർ ഉറവിടം | Battery Powered (Cameras, likely refers to power adapter for cameras) |
| ഉൽപ്പന്ന അളവുകൾ | 30 x 30 x 14 cm (NVR unit) |
| ഇനത്തിൻ്റെ ഭാരം | 2.6 kg (NVR unit) |
| അനുയോജ്യമായ ഉപകരണങ്ങൾ | ക്യാമറകൾ |
8. വാറൻ്റിയും പിന്തുണയും
For warranty information and technical support, please refer to the warranty card included with your product or visit the official EZVIZ website. You can also contact EZVIZ customer service for assistance with product setup, troubleshooting, and other inquiries.
നിർമ്മാതാവ്: EZVIZ


