ആമുഖം
This manual provides essential instructions for the Lexmark E460DN laser printer. Designed for small and midsize workgroups, the E460DN offers efficient, high-quality monochrome printing with advanced features. This document covers unpacking, setup, operation, maintenance, and troubleshooting to ensure optimal performance of your device.
The Lexmark E460DN is a Certified Refurbished product, meaning it has been tested and certified to function like new. It includes a toner drum and comes with a 90-day warranty.
ഉൽപ്പന്നം കഴിഞ്ഞുview
The Lexmark E460DN is a compact laser printer featuring a light gray and dark gray exterior. It is equipped with a user-friendly control panel and supports various paper handling options.
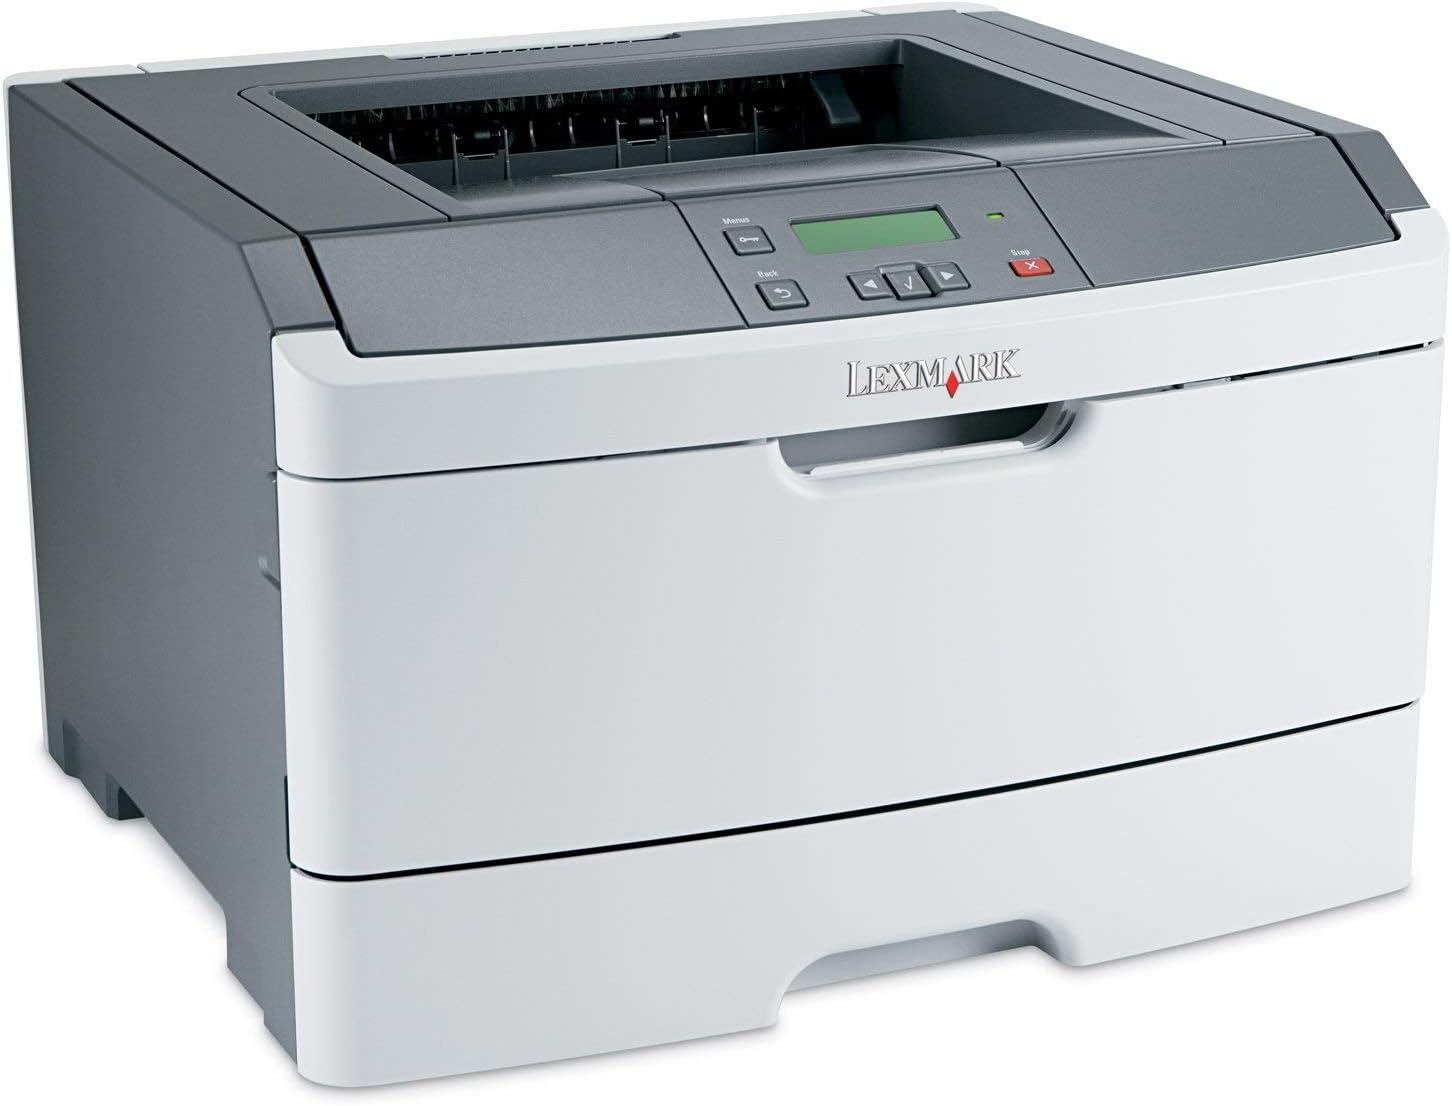
ചിത്രം 1: ഫ്രണ്ട് view of the Lexmark E460DN Laser Printer. The image displays the printer's light gray body with a dark gray top section, including the output tray and control panel. The Lexmark logo is visible on the front panel.
പ്രധാന സവിശേഷതകൾ:
- വേഗത്തിലുള്ള പ്രിന്റ് വേഗത: Up to 40 pages per minute (ppm) for monochrome documents.
- ഉയർന്ന പ്രിന്റ് നിലവാരം: True 1200 x 1200 dpi resolution for sharp text and graphics.
- Automatic Duplexing: Standard feature for two-sided printing, reducing paper consumption.
- Network Ready: Ethernet connectivity for shared use in workgroup environments.
- ഉപയോക്തൃ-സൗഹൃദ ഇൻ്റർഫേസ്: Four-line operator panel for easy navigation and control.
- മെച്ചപ്പെടുത്തിയ സുരക്ഷ: Numeric pad for confidential printing.
- കാര്യക്ഷമമായ പ്രവർത്തനം: Instant warm-up fuser for fast first-page-out times and reduced power consumption.
സജ്ജീകരണ നിർദ്ദേശങ്ങൾ
- പ്രിന്റർ അൺപാക്ക് ചെയ്യുക: Carefully remove the printer from its packaging. Remove all packing materials, tapes, and protective films.
- പ്രിന്റർ സ്ഥാപിക്കുക: Position the printer on a stable, level surface with adequate ventilation. Ensure sufficient space around the printer for paper loading and output.
- പവർ ബന്ധിപ്പിക്കുക: Plug the power cord into the printer's power inlet, then into a grounded electrical outlet.
- Install Toner/Drum (if applicable): If the toner cartridge and imaging drum are not pre-installed, follow the instructions provided with the consumables to install them. For refurbished units, these components are typically pre-installed.
- പേപ്പർ ലോഡ് ചെയ്യുക: Open the paper tray and adjust the paper guides to fit the paper size. Load the desired print media (e.g., plain paper, envelopes) into the tray.
- നെറ്റ്വർക്കിലേക്ക്/കമ്പ്യൂട്ടറിലേക്ക് കണക്റ്റുചെയ്യുക:
- Ethernet (Wired): Connect an Ethernet cable from the printer's Ethernet port to your network router or switch.
- USB (Optional, if available): പ്രിന്ററിൽ നിന്ന് നിങ്ങളുടെ കമ്പ്യൂട്ടറിലേക്ക് ഒരു USB കേബിൾ ബന്ധിപ്പിക്കുക.
- ഡ്രൈവറുകൾ ഇൻസ്റ്റാൾ ചെയ്യുക: Turn on the printer. Install the appropriate printer drivers on your computer. Drivers can usually be found on the manufacturer's webസൈറ്റ്.
- Perform a Test Print: After driver installation, print a test page to confirm proper setup and connectivity.
പ്രവർത്തന നിർദ്ദേശങ്ങൾ
നിയന്ത്രണ പാനൽ നാവിഗേഷൻ:
The Lexmark E460DN features a four-line display and several buttons for navigating menus and controlling printer functions. Use the arrow buttons to scroll through options and the 'Menu' or 'Select' button to confirm selections. The 'Back' button allows you to return to previous menus, and the 'Stop' button can cancel print jobs.
Basic Printing:
- പ്രിന്റർ ഓണാക്കിയിട്ടുണ്ടെന്നും നിങ്ങളുടെ കമ്പ്യൂട്ടറിലേക്കോ നെറ്റ്വർക്കിലേക്കോ ബന്ധിപ്പിച്ചിട്ടുണ്ടെന്നും ഉറപ്പാക്കുക.
- നിങ്ങളുടെ കമ്പ്യൂട്ടറിൽ പ്രിന്റ് ചെയ്യാൻ ആഗ്രഹിക്കുന്ന പ്രമാണം തുറക്കുക.
- തിരഞ്ഞെടുക്കുക File > അച്ചടിക്കുക (അല്ലെങ്കിൽ നിങ്ങളുടെ ആപ്ലിക്കേഷനിലെ തത്തുല്യമായ കമാൻഡ്).
- Choose the Lexmark E460DN from the list of available printers.
- Adjust print settings as needed (e.g., number of copies, paper size, print quality).
- For two-sided printing, select the duplex option in your printer settings. The E460DN supports automatic duplexing.
- ക്ലിക്ക് ചെയ്യുക അച്ചടിക്കുക.
രഹസ്യ പ്രിന്റിംഗ്:
The printer supports confidential printing using a numeric pad. When sending a confidential print job from your computer, you will be prompted to enter a PIN. To release the job at the printer, enter the same PIN using the control panel's numeric pad.
മെയിൻ്റനൻസ്
Toner Cartridge and Imaging Drum Replacement:
The Lexmark E460DN uses a combined toner cartridge and imaging drum unit. The printer's control panel will display early-warning alerts for low toner. When prompted:
- പ്രിന്ററിന്റെ മുൻവശത്തെ ആക്സസ് വാതിൽ തുറക്കുക.
- Carefully remove the old toner/drum unit by pulling it straight out.
- Unpack the new toner/drum unit and gently shake it to distribute the toner.
- Insert the new unit into the printer until it clicks into place.
- മുൻവശത്തെ പ്രവേശന വാതിൽ അടയ്ക്കുക.
Dispose of used toner cartridges according to local regulations or return them to Lexmark for recycling.
പ്രിന്റർ വൃത്തിയാക്കൽ:
- പുറം: ഒരു മൃദുവായ, ഡി ഉപയോഗിച്ച് ബാഹ്യ പ്രതലങ്ങൾ തുടയ്ക്കുകamp, ലിന്റ് രഹിത തുണി. അബ്രാസീവ് ക്ലീനറുകളോ ലായകങ്ങളോ ഉപയോഗിക്കരുത്.
- ഇൻ്റീരിയർ: Periodically clean the paper path and other accessible interior areas to remove dust and paper debris. Refer to the printer's on-screen messages or full service manual for detailed internal cleaning procedures.
ട്രബിൾഷൂട്ടിംഗ്
This section provides solutions to common issues you may encounter with your Lexmark E460DN printer. For more complex problems, consult the full service manual or Lexmark support.
പൊതുവായ പ്രശ്നങ്ങളും പരിഹാരങ്ങളും:
- പ്രിന്റർ പ്രതികരിക്കുന്നില്ല:
- പവർ കണക്ഷനുകൾ പരിശോധിച്ച് പ്രിന്റർ ഓണാക്കിയിട്ടുണ്ടെന്ന് ഉറപ്പാക്കുക.
- നെറ്റ്വർക്ക് അല്ലെങ്കിൽ USB കേബിൾ കണക്ഷനുകൾ പരിശോധിച്ചുറപ്പിക്കുക.
- പ്രിന്ററും കമ്പ്യൂട്ടറും പുനരാരംഭിക്കുക.
- പ്രിന്റർ ഡ്രൈവറുകൾ ശരിയായി ഇൻസ്റ്റാൾ ചെയ്തിട്ടുണ്ടെന്നും അപ്ഡേറ്റ് ചെയ്തിട്ടുണ്ടെന്നും ഉറപ്പാക്കുക.
- പേപ്പർ ജാമുകൾ:
- Follow the instructions on the printer's display or in the full service manual to locate and clear jammed paper.
- പേപ്പർ ശരിയായി ലോഡ് ചെയ്തിട്ടുണ്ടെന്നും ട്രേയിൽ അമിതമായി നിറയുന്നില്ലെന്നും ഉറപ്പാക്കുക.
- ശുപാർശ ചെയ്യുന്ന പേപ്പർ തരങ്ങൾ ഉപയോഗിക്കുക.
- മോശം പ്രിന്റ് നിലവാരം:
- Check toner levels. Replace the toner/drum unit if low or empty.
- Ensure the imaging drum is clean and free from damage.
- Perform a print quality test from the printer's menu to diagnose issues.
- Clean the printer's interior as described in the maintenance section.
- പിശക് സന്ദേശങ്ങൾ:
Refer to the customizable operator panel messaging for specific error codes or descriptions. Consult the full service manual for detailed explanations and solutions for each error message.
സ്പെസിഫിക്കേഷനുകൾ
| ഫീച്ചർ | സ്പെസിഫിക്കേഷൻ |
|---|---|
| മോഡൽ നമ്പർ | E460DN |
| പ്രിൻ്റിംഗ് ടെക്നോളജി | ലേസർ |
| പ്രിൻ്റർ ഔട്ട്പുട്ട് | മോണോക്രോം |
| പരമാവധി പ്രിന്റ് വേഗത (മോണോക്രോം) | Up to 40 ppm (letter-size paper) |
| പ്രിൻ്റ് റെസല്യൂഷൻ | 1200 x 1200 dpi |
| ഡ്യൂപ്ലക്സ് പ്രിൻ്റിംഗ് | Automatic (Dual-sided printing) |
| കണക്റ്റിവിറ്റി ടെക്നോളജി | Wired; Ethernet |
| ഹാർഡ്വെയർ ഇന്റർഫേസ് | ഇഥർനെറ്റ് |
| മെമ്മറി സ്റ്റോറേജ് കപ്പാസിറ്റി | 64 MB |
| പരമാവധി ഇൻപുട്ട് ഷീറ്റ് ശേഷി | 300 ഷീറ്റുകൾ |
| ഔട്ട്പുട്ട് ഷീറ്റ് ശേഷി | 150 ഷീറ്റുകൾ |
| പ്രിന്റ് മീഡിയ പിന്തുണയ്ക്കുന്നു | കവറുകൾ, പ്ലെയിൻ പേപ്പർ |
| ഉൽപ്പന്ന അളവുകൾ | 14.55 x 15.98 x 10.2 ഇഞ്ച് |
| നിറം | ഇളം ചാരനിറം/കടും ചാരനിറം |
| യു.പി.സി | 748926547406 |
വാറൻ്റിയും പിന്തുണയും
This Lexmark E460DN printer is a Certified Refurbished product and comes with a 90 ദിവസത്തെ പരിമിത വാറൻ്റി. സാധാരണ ഉപയോഗത്തിലുള്ള മെറ്റീരിയലുകളിലെയും ജോലികളിലെയും വൈകല്യങ്ങൾ ഈ വാറന്റി ഉൾക്കൊള്ളുന്നു.
For warranty claims, technical support, or further assistance, please refer to the documentation provided with your refurbished product or contact the seller directly. Additional support resources may be available on the official Lexmark webസൈറ്റ്.


