1. ആമുഖം
This manual provides essential information for the proper setup, operation, and maintenance of your uxcell 8021AH Common Cathode 2-Digit 7-Segment LED Display. This component is designed for integration into various electronic projects and devices, including home appliances, instruments, and automotive accessories. Please read this manual thoroughly before use to ensure optimal performance and longevity.
2. ഉൽപ്പന്നം കഴിഞ്ഞുview
2.1 സവിശേഷതകൾ
- തരം: Common Cathode 2-Digit 7-Segment LED Display
- Emitted Color: ചുവപ്പ്
- പിൻ കോൺഫിഗറേഷൻ: 10-pin design for easy integration
- Low Power Operation: Can be driven under low voltage and low current conditions (2V, 20mA)
- കോംപാക്റ്റ് ഡിസൈൻ: Small body and lightweight with good impact resistance
- ബഹുമുഖ ആപ്ലിക്കേഷൻ: Suitable for home appliances, instruments, car accessories, and DIY projects
2.2 സ്പെസിഫിക്കേഷനുകൾ
| പരാമീറ്റർ | മൂല്യം |
|---|---|
| മോഡൽ | 8021AH |
| ഡിസ്പ്ലേ തരം | Common Cathode, 2-Digit, 7-Segment |
| പുറത്തുവിടുന്ന നിറം | ചുവപ്പ് |
| പിൻ നമ്പർ | 10 |
| തുടർച്ചയായ ഫോർവേഡ് കറൻ്റ് | 20mA |
| Average Forward Voltage | 2V |
| വൈദ്യുതി ഉപഭോഗം | 36mW |
| പ്രകാശ തീവ്രത | 11എംസിഡി |
| Number Height | 0.8 ഇഞ്ച് |
| Panel Size (L*W*H) | 35.8 x 25.8 x 10mm / 1.41" x 1.02" x 0.39" |
| Total Size (L*W*H) | 35.8 x 25.8 x 14mm / 1.41" x 1.02" x 0.55" |
| മെറ്റീരിയൽ | പ്ലാസ്റ്റിക്, മെറ്റൽ |

Figure 1: Two uxcell 8021AH 2-Digit 7-Segment LED Displays.
3. സജ്ജീകരണവും കണക്ഷനും
The uxcell 8021AH is a common cathode display, meaning all the cathode pins of the LED segments are connected together to a common ground. Each segment (A-G and decimal point) has its own anode pin, which needs to be connected to a positive voltage source (via a current-limiting resistor) to illuminate that segment.
3.1 പിൻ കോൺഫിഗറേഷൻ
Refer to the image below for a visual representation of the display's pins. While specific pin assignments (which segment corresponds to which pin) are not provided in the product details, standard 7-segment displays typically follow a common layout. It is recommended to consult a datasheet or perform continuity tests to confirm pin assignments for your specific unit.

ചിത്രം 2: പിൻഭാഗം view showing the 10 pins for connection.
3.2 കണക്ഷൻ ഘട്ടങ്ങൾ
- പിന്നുകൾ തിരിച്ചറിയുക: Determine the common cathode pins and the anode pins for each segment (A, B, C, D, E, F, G, DP) for both digits.
- Connect Common Cathode: Connect the common cathode pin(s) to the ground (GND) of your power supply or microcontroller. The product specifies "Common Cathode: 1-2", indicating pins 1 and 2 are likely the common cathode connections for the two digits.
- Connect Anode Pins: For each segment you wish to illuminate, connect its anode pin to a digital output pin of your microcontroller or a positive voltage source (+2V) through a current-limiting resistor.
- Current Limiting Resistors: It is crucial to use appropriate current-limiting resistors in series with each segment's anode pin to prevent damage to the LEDs. For a 2V forward voltage and 20mA current, calculate the resistor value based on your supply voltage (e.g., for a 5V supply, R = (5V - 2V) / 0.02A = 150 Ohms).
- ആൻ്റി സ്റ്റാറ്റിക് നടപടികൾ: Before handling, take anti-static measures to prevent damage to the component.
4. പ്രവർത്തന നിർദ്ദേശങ്ങൾ
Once properly wired, the display can be controlled by applying voltage to the individual segment anode pins. For a 2-digit display, you will typically use a multiplexing technique to control both digits with fewer pins, or directly drive each digit if sufficient pins are available.
4.1 Basic Operation (Single Digit Exampലെ)
- Ensure the common cathode pin for the desired digit is connected to ground.
- To illuminate a specific segment (e.g., segment 'A'), apply a positive voltage (e.g., 5V from a microcontroller, through a resistor) to its corresponding anode pin.
- To form a number, apply voltage to the combination of segments that form that number (e.g., for '1', illuminate segments B and C).
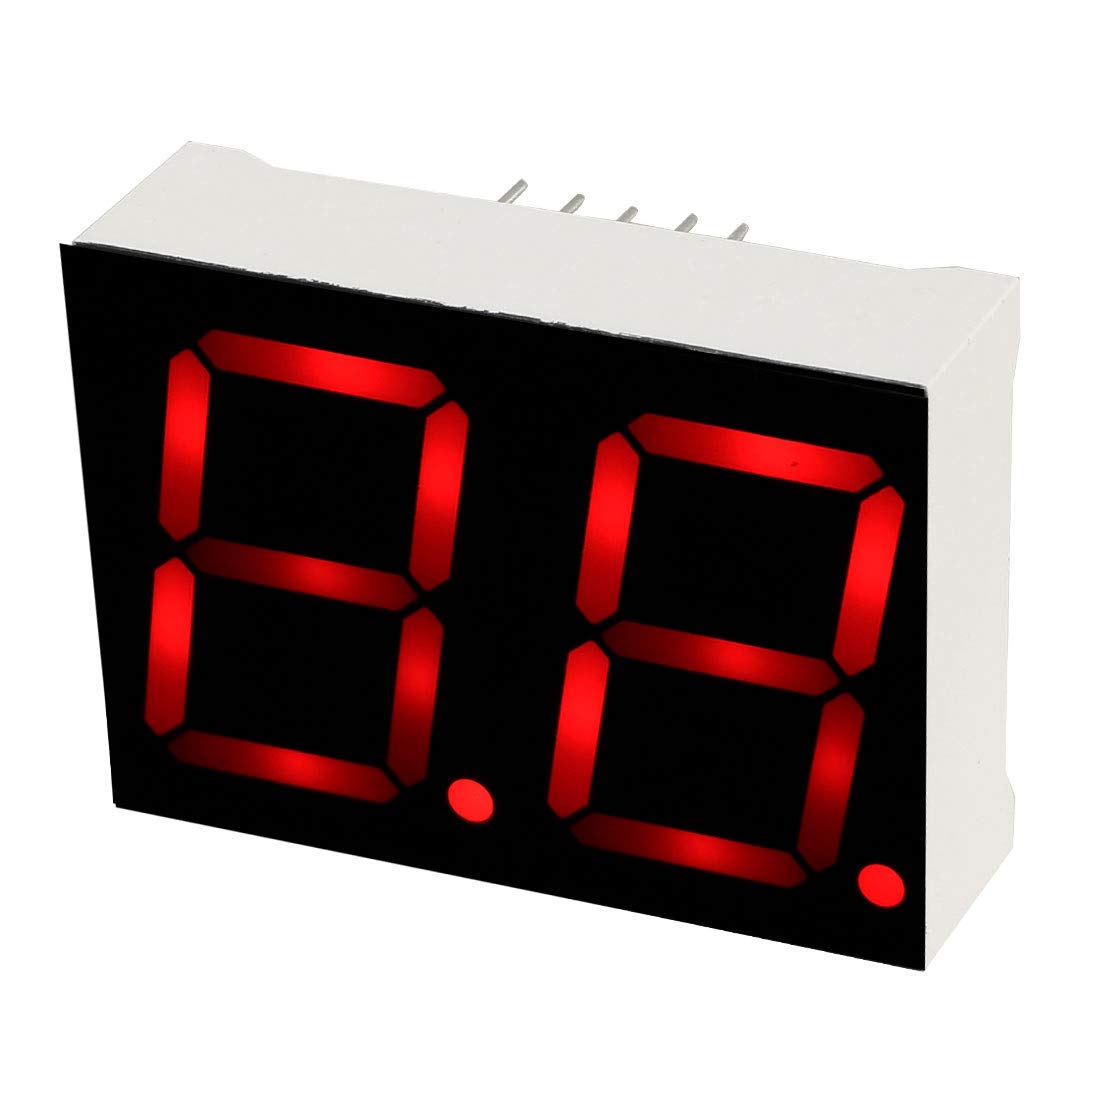
Figure 3: Display showing illuminated segments.
4.2 Driving Multiple Digits (Multiplexing)
For 2-digit displays, multiplexing is common. This involves rapidly switching between illuminating one digit at a time, giving the illusion that both are continuously lit. This requires controlling the common cathode pins for each digit independently, in addition to the segment anode pins.
- Connect the common cathode of Digit 1 to a control pin (e.g., from a microcontroller).
- Connect the common cathode of Digit 2 to another control pin.
- Connect the segment anode pins (A-G, DP) for both digits in parallel to the same set of control pins.
- In your control program, rapidly:
- Turn off both digits (set common cathodes high or disconnected).
- Set the segment pins for the number to be displayed on Digit 1.
- Turn on Digit 1 (set its common cathode low).
- Wait a short period (e.g., 1-5 milliseconds).
- Turn off Digit 1.
- Set the segment pins for the number to be displayed on Digit 2.
- Turn on Digit 2.
- Wait a short period.
- ആവർത്തിക്കുക.
5. പരിപാലനം
The uxcell 8021AH LED display is a robust electronic component that requires minimal maintenance. Following these guidelines will help ensure its long-term performance:
- വൃത്തിയാക്കൽ: If necessary, gently wipe the display surface with a soft, dry, lint-free cloth. Avoid using abrasive cleaners or solvents, which can damage the plastic.
- സംഭരണം: Store the display in a dry, cool environment, away from direct sunlight and extreme temperatures. Keep it in its original packaging or an anti-static bag when not in use.
- കൈകാര്യം ചെയ്യൽ: Always handle the display by its edges or body, avoiding direct contact with the pins or the display surface.
- പരിസ്ഥിതി വ്യവസ്ഥകൾ: കേടുപാടുകൾ തടയുന്നതിന് ഡിസ്പ്ലേ അതിന്റെ നിർദ്ദിഷ്ട താപനിലയിലും ഈർപ്പത്തിലും പ്രവർത്തിപ്പിക്കുക.
6. പ്രശ്നപരിഹാരം
If you encounter issues with your uxcell 8021AH LED display, consider the following troubleshooting steps:
- No Segments Light Up:
- Verify that the common cathode pin(s) are correctly connected to ground.
- പവർ സപ്ലൈ വോള്യം പരിശോധിക്കുകtage and ensure it is within the recommended range (e.g., 2V forward voltage for segments).
- Confirm that current-limiting resistors are correctly installed and have the appropriate value.
- Ensure anode pins are receiving the correct positive voltage.
- Some Segments Not Lighting Up:
- Check the connections for the specific non-illuminating segments.
- Test the segment's anode pin for continuity and proper voltagഇ അപേക്ഷ.
- Inspect for any physical damage to the display or its pins.
- അസമമായ തെളിച്ചം:
- As noted in the product specifications, it is recommended to use constant current, not constant voltage. Using a constant voltage source without proper current limiting for each segment can lead to uneven brightness or damage. Ensure each segment has its own current-limiting resistor.
- Verify that the power supply is stable.
- Flickering Display (during multiplexing):
- Increase the refresh rate (decrease the delay between switching digits) in your control program.
- Ensure consistent timing for each digit's illumination period.
7 സുരക്ഷാ വിവരങ്ങൾ
Observe the following safety precautions when working with electronic components:
- ഇലക്ട്രോസ്റ്റാറ്റിക് ഡിസ്ചാർജ് (ESD): Always take anti-static measures (e.g., use an ESD wrist strap, work on an anti-static mat) when handling the display to prevent damage from static electricity.
- വൈദ്യുതി വിതരണം: Ensure your power supply matches the display's voltage and current requirements. Over-voltage or over-current can permanently damage the LEDs.
- സോൾഡറിംഗ്: If soldering, use appropriate safety equipment and ensure good ventilation. Avoid prolonged heat application to the pins.
- നേത്ര സംരക്ഷണം: Wear appropriate eye protection when working with electronic components and soldering.
- നീക്കം ചെയ്യൽ: Dispose of electronic components responsibly according to local regulations.
8. വാറൻ്റിയും പിന്തുണയും
Specific warranty information for this product is not provided in the available documentation. For technical support or inquiries regarding this uxcell 8021AH 2-Digit 7-Segment LED Display, please refer to the uxcell official webസൈറ്റ് അല്ലെങ്കിൽ നിങ്ങളുടെ വാങ്ങൽ കേന്ദ്രവുമായി ബന്ധപ്പെടുക.
