1. ഉൽപ്പന്നം കഴിഞ്ഞുview
The Crown Electric Spray Gun 500W CT31004 is designed for efficient application of various coatings. This manual provides essential information for safe operation, proper maintenance, and effective troubleshooting to ensure optimal performance and longevity of your device.

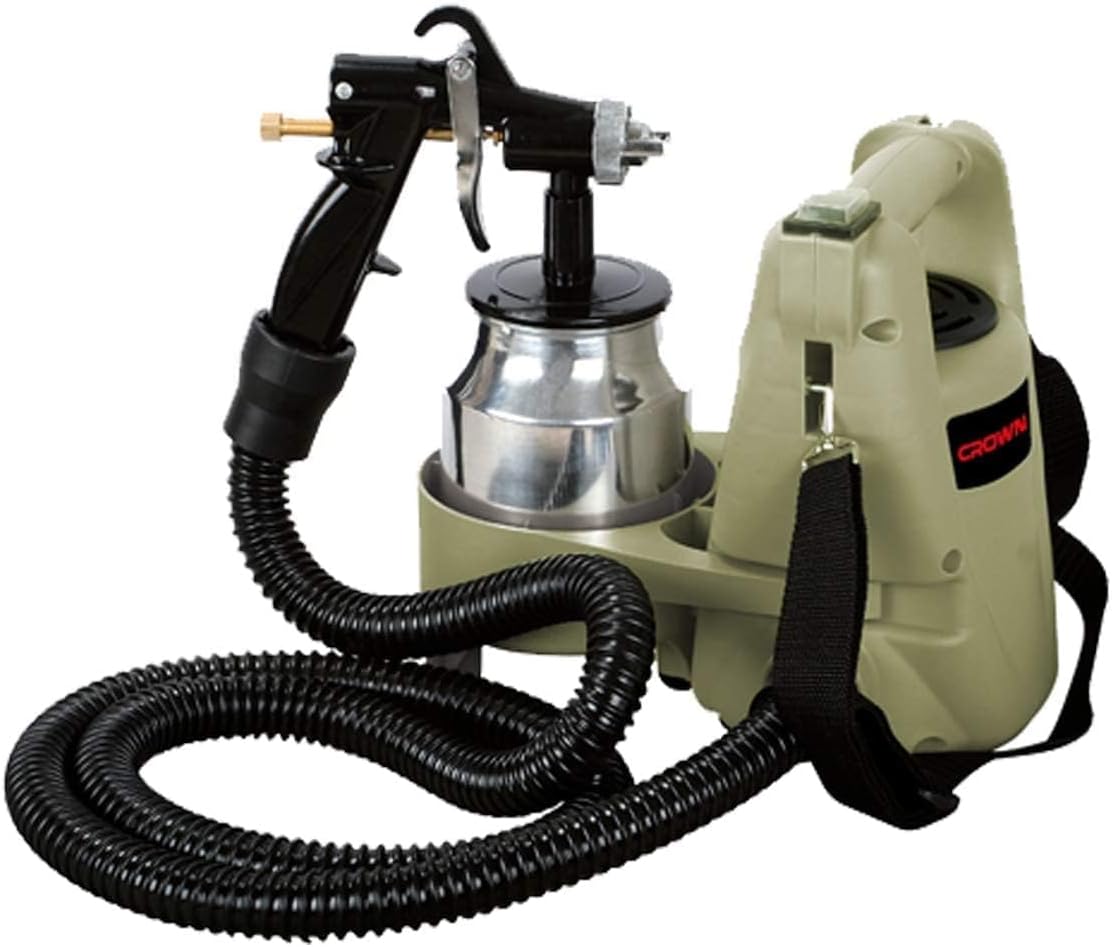
ചിത്രം 1: The Crown Electric Spray Gun 500W CT31004, showing the spray gun, paint container, air hose, and main compressor unit with a shoulder strap.
പ്രധാന സവിശേഷതകൾ:
- ഇൻപുട്ട് പവർ: 500W
- നോസൽ വലുപ്പം: 1.0 മി.മീ
- പരമാവധി വിസ്കോസിറ്റി: 40 DIN-കൾ
- Maximum Back Air Pressure: 0.1-0.2 ബാർ
- Maximum Air Volume Flow: 1000 എൽ/മിനിറ്റ്
- എയർ ഡിസ്പ്ലേസ്മെന്റ്: 1.8 എം
- കണ്ടെയ്നർ ശേഷി: 1000 മില്ലി
2. സുരക്ഷാ നിർദ്ദേശങ്ങൾ
Always adhere to the following safety guidelines to prevent electric shock, fire, or serious injury.
- Read all instructions before operating the spray gun.
- Wear appropriate personal protective equipment (PPE), including safety glasses, a respirator mask, gloves, and protective clothing.
- Ensure the work area is well-ventilated to prevent the accumulation of flammable vapors.
- കുട്ടികളെയും കാഴ്ചക്കാരെയും ഓപ്പറേഷൻ ഏരിയയിൽ നിന്ന് അകറ്റി നിർത്തുക.
- Do not spray near open flames, pilot lights, or other ignition sources.
- വൃത്തിയാക്കുന്നതിനോ ക്രമീകരിക്കുന്നതിനോ അറ്റകുറ്റപ്പണികൾ നടത്തുന്നതിനോ മുമ്പ് എല്ലായ്പ്പോഴും വൈദ്യുതി വിതരണം വിച്ഛേദിക്കുക.
- മോട്ടോർ യൂണിറ്റ് ഒരിക്കലും വെള്ളത്തിലോ മറ്റ് ദ്രാവകങ്ങളിലോ മുക്കരുത്.
- Use only recommended thinning agents for your specific paint type.
- Store the spray gun and materials in a secure, dry place away from extreme temperatures.
3. പാക്കേജ് ഉള്ളടക്കം
അൺപാക്ക് ചെയ്യുമ്പോൾ എല്ലാ ഘടകങ്ങളും ഉണ്ടെന്ന് ഉറപ്പാക്കുക:
- Electric Spray Gun Unit (Motor/Compressor)
- Spray Gun with Nozzle
- Paint Container (1000 ml)
- എയർ ഹോസ്
- വിസ്കോസിറ്റി മെഷറിംഗ് കപ്പ്
- Cleaning Needle/Brush
- ഷോൾഡർ സ്ട്രാപ്പ്
- ഉപയോക്തൃ മാനുവൽ
4. സജ്ജീകരണം
4.1 അസംബ്ലി
- Attach the air hose to the air outlet on the motor unit and the air inlet on the spray gun handle. Ensure connections are secure.
- Screw the paint container firmly onto the spray gun assembly.
- If desired, attach the shoulder strap to the motor unit for easier portability during use.
ചിത്രം 2: The Crown Electric Spray Gun disassembled, showing the main unit, hose, and spray gun with container, illustrating the components for assembly.
4.2 Preparing the Coating Material
Proper thinning of your paint or coating material is crucial for optimal spray performance and finish quality. Refer to the paint manufacturer's instructions for recommended thinning ratios.
- പെയിന്റ് നന്നായി ഇളക്കുക.
- Pour a small amount of paint into the provided viscosity measuring cup.
- Measure the time it takes for the paint to flow completely out of the cup. Compare this time to the paint manufacturer's recommendations or the spray gun's maximum viscosity of 40 DIN-s.
- If the flow time is too long, add the appropriate thinner (e.g., water for latex, mineral spirits for oil-based paints) in small increments, stirring well after each addition, and re-test the viscosity until it falls within the recommended range.
- Strain the thinned paint through a paint strainer or cheesecloth to remove any lumps or debris that could clog the nozzle.
4.3 Filling the Container
Once the paint is properly thinned and strained, carefully pour it into the 1000 ml paint container. Do not overfill.
5. പ്രവർത്തന നിർദ്ദേശങ്ങൾ
5.1 പവർ ചെയ്യുന്നു
Connect the power cord to a suitable electrical outlet. The unit is now ready for operation.
5.2 സ്പ്രേയിംഗ് ടെക്നിക്
- ടെസ്റ്റ് സ്പ്രേ: Before spraying your actual project, perform a test spray on a piece of scrap material (cardboard, wood) to check the spray pattern and adjust the flow control knob on the spray gun.
- ദൂരം: Maintain a consistent distance of approximately 6-10 inches (15-25 cm) from the surface being sprayed.
- പ്രസ്ഥാനം: Move the spray gun in smooth, even strokes, overlapping each pass by about 50%. Avoid tilting the gun excessively, as this can lead to an uneven finish or paint starvation.
- ട്രിഗർ നിയന്ത്രണം: Press the trigger fully to start spraying and release it fully to stop. Do not feather the trigger.
- ഒന്നിലധികം കോട്ടുകൾ: Apply multiple thin coats rather than one thick coat to achieve a smoother finish and prevent drips. Allow adequate drying time between coats as recommended by the paint manufacturer.
5.3 സ്പ്രേ പാറ്റേൺ ക്രമീകരിക്കൽ
The nozzle can typically be adjusted to produce different spray patterns (e.g., horizontal, vertical, circular) by rotating the air cap. Consult the spray gun diagram for specific adjustment points.
6. പരിപാലനം
Thorough cleaning after each use is essential to prevent clogging and ensure the longevity of your spray gun.
6.1 ഉപയോഗത്തിന് ശേഷം വൃത്തിയാക്കൽ
- പവർ വിച്ഛേദിക്കുക: Always unplug the spray gun from the power source before cleaning.
- ശൂന്യമായ കണ്ടെയ്നർ: Empty any remaining paint from the container back into its original can or a waste container.
- കണ്ടെയ്നർ കഴുകുക: Pour a small amount of appropriate cleaning solution (water for latex, mineral spirits for oil-based) into the container. Reattach the container to the gun.
- ഫ്ലഷ് സിസ്റ്റം: Plug in the unit and spray the cleaning solution through the gun into a waste container until the spray runs clear.
- വേർപെടുത്തി വൃത്തിയാക്കുക: Disconnect power again. Disassemble the spray gun components (nozzle, air cap, fluid needle, container). Clean all parts thoroughly with the appropriate cleaning solution and the provided cleaning brush/needle. Pay special attention to the nozzle and fluid tip to remove all paint residue.
- തുടച്ചുമാറ്റുക: Wipe the exterior of the spray gun and motor unit with a damp cloth. Do not allow liquids to enter the motor housing.
- ഉണക്കി വീണ്ടും കൂട്ടിച്ചേർക്കുക: Allow all parts to dry completely before reassembling the spray gun.
6.2 സംഭരണം
Store the clean and dry spray gun in a cool, dry place, away from direct sunlight and extreme temperatures. Ensure the power cord is neatly coiled and not kinked.
7. പ്രശ്നപരിഹാരം
പൊതുവായ പ്രശ്നങ്ങളും അവയുടെ പരിഹാരങ്ങളും അറിയാൻ താഴെയുള്ള പട്ടിക കാണുക.
| പ്രശ്നം | സാധ്യമായ കാരണം | പരിഹാരം |
|---|---|---|
| സ്പ്രേ ഇല്ല അല്ലെങ്കിൽ ദുർബലമായ സ്പ്രേ |
|
|
| അസമമായ സ്പ്രേ പാറ്റേൺ |
|
|
| പെയിന്റ് ഡ്രിപ്പുകൾ അല്ലെങ്കിൽ റണ്ണുകൾ |
|
|
| മോട്ടോർ ആരംഭിക്കുന്നില്ല |
|
|
8 സ്പെസിഫിക്കേഷനുകൾ
| സ്പെസിഫിക്കേഷൻ | മൂല്യം |
|---|---|
| നിർമ്മാതാവ് | കിരീടം |
| ഭാഗം നമ്പർ | CT31004 |
| ഇനം മോഡൽ നമ്പർ | CT31004 |
| ഇൻപുട്ട് പവർ | 500W |
| നോസൽ വലിപ്പം | 1.0 മി.മീ |
| പരമാവധി വിസ്കോസിറ്റി | 40 DIN-കൾ |
| Max Back Air Pressure | 0.1-0.2 ബാർ |
| Max Air Volume Flow | 1000 എൽ/മിനിറ്റ് |
| എയർ ഡിസ്പ്ലേസ്മെന്റ് | 1.8 എം |
| കണ്ടെയ്നർ ശേഷി | 1000 മില്ലി |
| പവർ സോഴ്സ് തരം | കോർഡഡ് ഇലക്ട്രിക് |
| ഇനത്തിൻ്റെ ഭാരം | 794 ഗ്രാം |
| പാക്കേജ് അളവുകൾ | 30.4 x 29.4 x 22.4 സെ.മീ |
| പരമാവധി മർദ്ദം | 0.2 ബാറുകൾ |
9. വാറൻ്റിയും പിന്തുണയും
This Crown Electric Spray Gun CT31004 comes with a standard manufacturer's warranty. Please refer to the warranty card included with your product for specific terms and conditions. For technical support, spare parts, or warranty claims, please contact your local Crown authorized service center or the retailer where the product was purchased.
വാറന്റി ആവശ്യങ്ങൾക്കായി വാങ്ങിയതിന്റെ തെളിവായി നിങ്ങളുടെ വാങ്ങൽ രസീത് സൂക്ഷിക്കുക.


