1. ആമുഖം
This manual provides detailed instructions for the UGREEN USB C 3.1 Gen 2 to SATA III 2.5" Hard Drive Enclosure (Model 80556). This device allows you to easily connect a 2.5" SATA Solid State Drive (SSD) or Hard Disk Drive (HDD) to your computer or other compatible devices, enabling storage expansion, system upgrades, file backup, data retrieval, and data transfer.
Please read this manual thoroughly before using the product to ensure proper installation and operation.
2. ഉൽപ്പന്നം കഴിഞ്ഞുview
The UGREEN USB C Hard Drive Enclosure is designed for high-speed data transfer and robust protection of your 2.5" SATA drives. Its tool-free design ensures easy installation and broad compatibility.
പ്രധാന സവിശേഷതകൾ:
- USB C 3.1 Gen 2 Interface: Provides up to 6Gbps high-speed data transfer.
- UASP Accelerated Transmission Protocol: Supports UASP for speeds up to 70% faster than traditional USB 3.0.
- വിശാലമായ അനുയോജ്യത: Works with most 2.5" SATA III / II / I SSDs and HDDs up to 6TB. Compatible with Windows, macOS, Linux systems, game consoles (PS4, Xbox One), Smart TVs, and routers.
- ടൂൾ ഫ്രീ ഇൻസ്റ്റലേഷൻ: Plug & Play design requires no tools or drivers.
- LED സൂചകം: Blue LED light indicates working status.
- സുരക്ഷിത കണക്ഷൻ: Features EVA foam inside to protect the hard disk from shakes and scratches.
- ഓട്ടോ-സ്ലീപ്പ് ഫംഗ്ഷൻ: Automatically enters sleep mode after 15 minutes of inactivity to prolong drive lifespan.
- Multi-Protection Chip: Advanced chip provides leakage, short circuit, overcurrent, overvoltage, and overheating protection.

Figure 1: All-Round Protection with ABS case and built-in anti-vibration cushion.

Figure 2: Illustrates 6Gbps Ultra Fast Speed with UASP, S.M.A.R.T, and SATA III support.

Figure 3: Details the USB-C 3.1 Interface, LED Indicator, and Auto-Sleep function.

Figure 4: Shows the advanced chip providing multiple protections including leakage, short circuit, overcurrent, overvoltagഇ, അമിത ചൂടാക്കലും.
3. പാക്കേജ് ഉള്ളടക്കം
- 1 x UGREEN 2.5" Hard Drive Enclosure (Model 80556)
- 1 x യുഎസ്ബി സി മുതൽ യുഎസ്ബി സി കേബിൾ വരെ
- 1 x ഉൽപ്പന്ന മാനുവൽ
4 സ്പെസിഫിക്കേഷനുകൾ
| ആട്രിബ്യൂട്ട് | മൂല്യം |
|---|---|
| മോഡൽ നമ്പർ | 80556 |
| മെറ്റീരിയൽ | പ്ലാസ്റ്റിക് |
| ഹാർഡ് ഡിസ്ക് ഫോം ഫാക്ടർ | 2.5 ഇഞ്ച് |
| പരമാവധി മെമ്മറി സംഭരണ ശേഷി | 6 ടി.ബി |
| ഡാറ്റ കൈമാറ്റ നിരക്ക് | സെക്കൻഡിൽ 6 ജിഗാബൈറ്റ്സ് |
| ഹാർഡ്വെയർ ഇന്റർഫേസ് | യുഎസ്ബി 3.1 ടൈപ്പ് സി |
| അനുയോജ്യമായ ഉപകരണങ്ങൾ | PC, Router, iPad, iPhone, PS4, Xbox One, Smart TV |
| ഉൽപ്പന്ന അളവുകൾ | 5.27 x 3.21 x 0.62 ഇഞ്ച് |
| ഇനത്തിൻ്റെ ഭാരം | 2.82 ഔൺസ് |
| നിറം | കറുപ്പ് |

Figure 5: The compact and lightweight design of the enclosure.
5. സജ്ജീകരണവും ഇൻസ്റ്റാളേഷനും
5.1 Physical Installation of the Drive
- Gently slide the top cover of the enclosure off by pushing down slightly and sliding backward.
- Ensure your 2.5" SATA SSD or HDD is free of any screws that might prevent it from fitting into the enclosure.
- Align the SATA data and power connectors on your drive with the corresponding connectors inside the enclosure.
- Carefully push the drive into the enclosure until the connectors are fully engaged. The internal EVA foam will hold the drive snugly in place.
- മുകളിലെ കവർ സുരക്ഷിതമായി സ്ഥലത്ത് ക്ലിക്ക് ചെയ്യുന്നതുവരെ എൻക്ലോഷറിലേക്ക് തിരികെ സ്ലൈഡ് ചെയ്യുക.
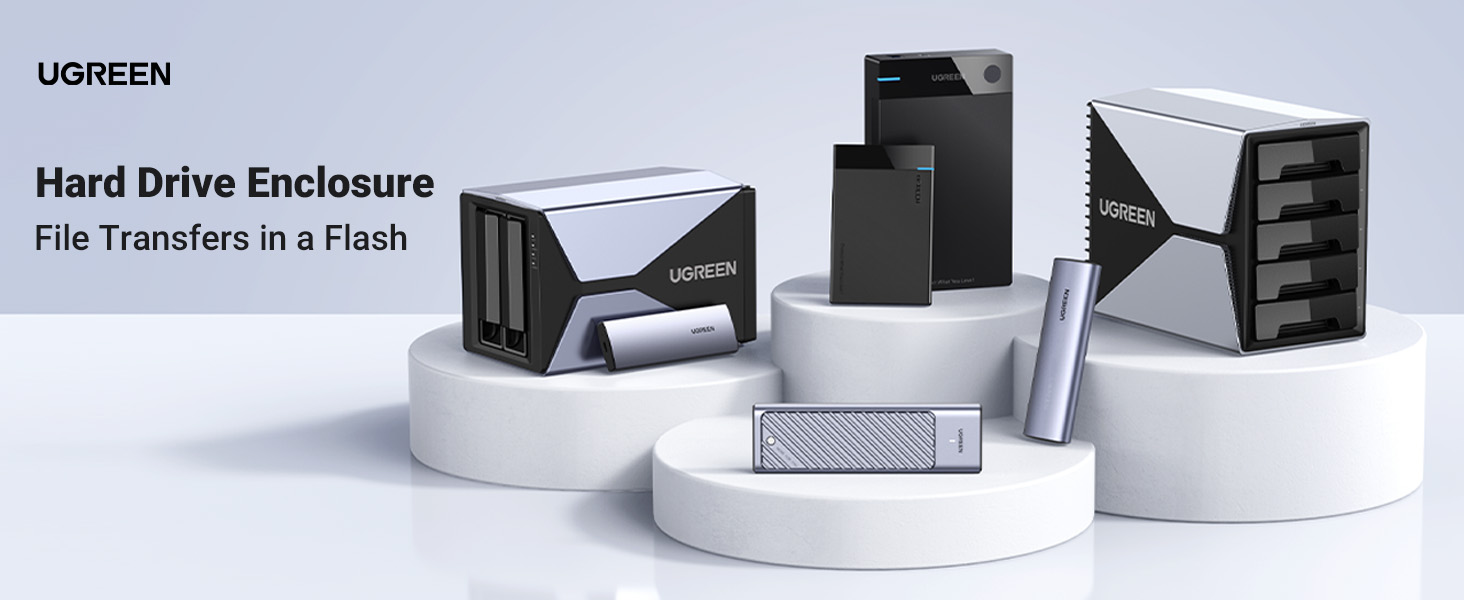
Figure 6: Step-by-step guide for easy, tool-free installation of the 2.5" SATA drive into the enclosure.
Video 1: Detailed guide on how to physically install an SSD into the UGREEN USB C Enclosure and connect it to a Mac for initial setup.
5.2 ഒരു കമ്പ്യൂട്ടറിലേക്ക് ബന്ധിപ്പിക്കുന്നു
- Connect one end of the provided USB C to USB C cable to the enclosure's USB C port.
- Connect the other end of the cable to an available USB C port on your computer (Windows, macOS, or Linux).
- The blue LED indicator on the enclosure will light up, indicating a successful connection. It will flash when data is being accessed.
5.3 ഡ്രൈവ് ഇനീഷ്യലൈസ് ചെയ്യുകയും ഫോർമാറ്റ് ചെയ്യുകയും ചെയ്യുന്നു
For a new drive, or if the drive is not recognized by your operating system, it may need to be initialized and formatted. It is recommended to format the drive to ExFAT for broad compatibility across Windows, macOS, and Linux systems.
5.3.1 For Windows Systems:
- Right-click on 'This PC' (or 'My Computer') and select 'Manage'.
- In the 'Computer Management' window, select 'Disk Management' under 'Storage'.
- Locate your newly added hard disk (it may appear as 'Unallocated Space').
- അനുവദിക്കാത്ത സ്ഥലത്ത് വലത്-ക്ലിക്കുചെയ്ത് 'പുതിയ ലളിതമായ വോള്യം' തിരഞ്ഞെടുക്കുക.
- Follow the 'New Simple Volume Wizard' prompts. Assign a drive letter and choose 'ExFAT' as the file സിസ്റ്റം.
- Complete the wizard to format the drive.
Video 2: Step-by-step guide on how to partition and format a hard disk in Windows, macOS, and Linux systems.
5.3.2 For macOS Systems:
- Open 'Disk Utility' (you can find it using Spotlight Search: Command + Spacebar, then type 'Disk Utility').
- In Disk Utility, go to 'View' and select 'Show All Devices' to ensure your drive is visible.
- Select the root of your external drive (e.g., 'Samsung SSD 860 EVO 500G Media'), not just a volume.
- Click 'Erase' in the toolbar.
- Enter a name for the drive. For 'Format', select 'ExFAT'. For 'Scheme', select 'Master Boot Record'.
- Click 'Erase' to format the drive.
5.3.3 For Linux Systems:
- Open the 'Disks' utility (often found in 'Utilities' or by searching).
- Select your newly added hard disk from the left pane.
- പുതിയൊരു പാർട്ടീഷൻ സൃഷ്ടിക്കാൻ '+' ബട്ടൺ ക്ലിക്ക് ചെയ്യുക.
- Choose the desired partition size.
- In the 'Format Volume' dialog, select 'Other' for the file system type, then choose 'ExFAT' from the custom format options.
- Click 'Create' to format the drive.
6. പ്രവർത്തന നിർദ്ദേശങ്ങൾ
Once the drive is successfully installed and formatted, it will appear as an external storage device on your computer. You can now drag and drop files, create folders, and manage data just like any other drive.
- ഡാറ്റ കൈമാറ്റം: ലളിതമായി വലിച്ചിടുക files to and from the drive. The USB 3.1 Gen 2 interface with UASP support ensures fast transfer speeds.
- സുരക്ഷിതമായ നീക്കം: Always safely eject the drive from your operating system before disconnecting the USB cable to prevent data loss or corruption.
7. പരിപാലനം
- ചുറ്റുപാട് വൃത്തിയായും പൊടി വിമുക്തമായും സൂക്ഷിക്കുക. വൃത്തിയാക്കാൻ മൃദുവായതും ഉണങ്ങിയതുമായ തുണി ഉപയോഗിക്കുക.
- തീവ്രമായ ഊഷ്മാവ്, നേരിട്ടുള്ള സൂര്യപ്രകാശം അല്ലെങ്കിൽ ഉയർന്ന ആർദ്രത എന്നിവയിലേക്ക് ഉപകരണം എക്സ്പോഷർ ചെയ്യുന്നത് ഒഴിവാക്കുക.
- Do not attempt to disassemble the enclosure beyond removing the cover for drive installation.
8. പ്രശ്നപരിഹാരം
ഡ്രൈവ് തിരിച്ചറിയാൻ കഴിഞ്ഞിട്ടില്ല:
- Ensure the USB C cable is securely connected to both the enclosure and your computer.
- Try connecting to a different USB C port on your computer.
- Test with a different USB C cable if available.
- Check 'Disk Management' (Windows) or 'Disk Utility' (macOS/Linux) to see if the drive appears but is uninitialized or unformatted. Follow the initialization and formatting steps in Section 5.3.
- Ensure the drive inside the enclosure is properly seated and connected to the SATA interface.
മന്ദഗതിയിലുള്ള ട്രാൻസ്ഫർ വേഗത:
- Ensure your computer's USB C port supports USB 3.1 Gen 2 for optimal speeds. Older USB 2.0 or 3.0 ports will result in slower transfers.
- നിങ്ങളുടെ ഓപ്പറേറ്റിംഗ് സിസ്റ്റവും ഡ്രൈവറുകളും കാലികമാണെന്ന് ഉറപ്പാക്കുക.
- The performance of the drive itself (SSD vs. HDD) will affect transfer speeds.
- നിരവധി ചെറിയവ കൈമാറ്റം ചെയ്യുന്നത് ഒഴിവാക്കുക. files simultaneously, as this can reduce overall speed compared to large single files.
9. വാറണ്ടിയും പിന്തുണയും
വാറന്റി വിവരങ്ങൾക്കും സാങ്കേതിക പിന്തുണയ്ക്കും, ദയവായി ഔദ്യോഗിക UGREEN കാണുക. webUGREEN ഉപഭോക്തൃ സേവനവുമായി നേരിട്ട് ബന്ധപ്പെടുക അല്ലെങ്കിൽ സൈറ്റിൽ ബന്ധപ്പെടുക. വാറന്റി ക്ലെയിമുകൾക്കായി നിങ്ങളുടെ വാങ്ങൽ രസീത് സൂക്ഷിക്കുക.


