1. ആമുഖം
This manual provides instructions for the installation, operation, and maintenance of your Hunter Builder Plus 51111 52-inch Indoor Ceiling Fan with LED Lights. This traditional ceiling fan is designed to complement various room aesthetics while providing efficient air circulation and lighting. It features a Whisper Wind motor for quiet performance and dimmable LED bulbs for adjustable ambiance. The fan includes a three-position mounting system for versatile installation and reversible blades for seasonal use.

Figure 1: Hunter Builder Plus 51111 52-inch Ceiling Fan. An overhead view of the Hunter Builder Plus 51111 ceiling fan, showcasing its brushed nickel motor housing, five light wood-grain blades, and three frosted glass light shades.
2 സുരക്ഷാ വിവരങ്ങൾ
Read and understand all instructions before beginning installation. Failure to follow these instructions may result in electric shock, fire, or personal injury.
- ഇലക്ട്രിക്കൽ സുരക്ഷ: Always disconnect power at the main circuit breaker or fuse box before starting installation or performing any maintenance. Ensure all electrical connections comply with local codes and ordinances. If you are unfamiliar with electrical wiring, consult a qualified electrician.
- മൗണ്ടിംഗ്: The fan must be mounted to a structurally sound ceiling joist or an outlet box rated for fan support (at least 35 lbs). Ensure the mounting location can support the fan's weight.
- ബ്ലേഡ് ക്ലിയറൻസ്: Maintain a minimum clearance of 7 feet from the floor to the bottom edge of the fan blades. Ensure there is adequate clearance from walls and other obstructions to prevent injury or damage.
- ഫാൻ പ്രവർത്തനം: ഫാൻ പ്രവർത്തിക്കുമ്പോൾ ഫാൻ ബ്ലേഡുകളുടെ പാതയിലേക്ക് വസ്തുക്കൾ തിരുകരുത്.
- ലൈറ്റ് കിറ്റ്: നിർദ്ദിഷ്ട ബൾബ് തരവും വാട്ടും മാത്രം ഉപയോഗിക്കുകtage. Allow bulbs to cool before replacing.
3. പാക്കേജ് ഉള്ളടക്കം
Verify that all components listed below are included in your package before beginning installation. If any parts are missing or damaged, contact Hunter customer support.
- മോട്ടോർ ഹൗസിംഗ് അസംബ്ലി
- 5 Fan Blades (reversible finish)
- ബ്ലേഡ് ബ്രാക്കറ്റുകൾ
- Light Kit Assembly with 3 Frosted Glass Shades
- LED Light Bulbs (3 included)
- മേലാപ്പും മൗണ്ടിംഗ് ബ്രാക്കറ്റും
- 2-ഇഞ്ച് ഡൗൺറോഡ്
- 3-ഇഞ്ച് ഡൗൺറോഡ്
- ഹാർഡ്വെയർ പായ്ക്ക് (സ്ക്രൂകൾ, വാഷറുകൾ, വയർ നട്ടുകൾ)
- പുൾ ചെയിനുകൾ (ഫാൻ വേഗതയ്ക്കും പ്രകാശ നിയന്ത്രണത്തിനും)
4. സജ്ജീകരണവും ഇൻസ്റ്റാളേഷനും
നിങ്ങളുടെ സീലിംഗ് ഫാൻ ശരിയായി ഇൻസ്റ്റാൾ ചെയ്യുന്നതിന് ഈ ഘട്ടങ്ങൾ പാലിക്കുക. ഇൻസ്റ്റാളേഷനായി രണ്ട് പേർ ഉണ്ടായിരിക്കുന്നതാണ് ഉചിതം.
- പവർ ഓഫ് ചെയ്യുക: Before starting, ensure power is disconnected at the circuit breaker or fuse box to prevent electrical shock.
- മൗണ്ടിംഗ് ബ്രാക്കറ്റ് ഇൻസ്റ്റാൾ ചെയ്യുക: Secure the mounting bracket to the ceiling outlet box. Ensure the outlet box is rated for ceiling fan support (minimum 35 lbs) and is securely fastened to a building structure.
- ഡൗൺറോഡ് കൂട്ടിച്ചേർക്കുക: Choose the appropriate downrod (2-inch or 3-inch) for your ceiling height. Feed the electrical wires from the fan motor through the downrod.
- ഹാംഗ് ഫാൻ അസംബ്ലി: Carefully lift the fan motor assembly and place the downrod ball into the mounting bracket. Ensure the tab in the mounting bracket aligns with the slot in the downrod ball.
- ഫാൻ വയർ ചെയ്യുക: Connect the electrical wires from the fan to the house wiring according to the wiring diagram provided in the full instruction manual (not included here). Ensure all connections are secure with wire nuts.
- സുരക്ഷിത മേലാപ്പ്: മേലാപ്പ് സീലിംഗിലേക്ക് സ്ലൈഡ് ചെയ്ത് നൽകിയിരിക്കുന്ന സ്ക്രൂകൾ ഉപയോഗിച്ച് മൗണ്ടിംഗ് ബ്രാക്കറ്റിലേക്ക് ഉറപ്പിക്കുക.
- ഫാൻ ബ്ലേഡുകൾ ഘടിപ്പിക്കുക: Attach each fan blade to its blade bracket using the provided screws. Then, attach the blade assemblies to the motor housing. The blades feature a reversible finish (light wood-grain and darker wood-grain); choose your preferred side.
- ലൈറ്റ് കിറ്റ് ഇൻസ്റ്റാൾ ചെയ്യുക: Connect the light kit wiring to the fan motor wiring. Secure the light kit assembly to the bottom of the fan motor housing. Install the three LED bulbs and then attach the frosted glass shades.
- Attach Pull Chains: Thread the decorative pull chains through the designated holes in the light kit.
- പവർ പുന ore സ്ഥാപിക്കുക: ഇൻസ്റ്റാളേഷൻ പൂർത്തിയായിക്കഴിഞ്ഞാൽ, സർക്യൂട്ട് ബ്രേക്കറിൽ പവർ പുനഃസ്ഥാപിക്കുക.

Figure 2: Fan installed in a bedroom. The Hunter Builder Plus 51111 ceiling fan mounted in a modern bedroom setting, demonstrating its aesthetic integration and size within a living space.

Figure 3: Fan installed in a living room. The Hunter Builder Plus 51111 ceiling fan installed in a spacious living room, highlighting its suitability for larger common areas.
5. പ്രവർത്തന നിർദ്ദേശങ്ങൾ
Your Hunter Builder Plus 51111 ceiling fan is designed for ease of use with pull chain controls.
ഫാൻ സ്പീഡ് നിയന്ത്രണം
The fan speed is controlled by one of the pull chains. Each pull will cycle through the available speeds (High, Medium, Low, Off). Pull the chain until you reach your desired fan speed.
പ്രകാശ നിയന്ത്രണം
The light kit is controlled by the other pull chain. Pull the chain to turn the lights On or Off. The included LED bulbs are dimmable, allowing you to adjust the light intensity (dimming functionality may require specific wiring or a compatible dimmer switch, consult a qualified electrician if unsure).
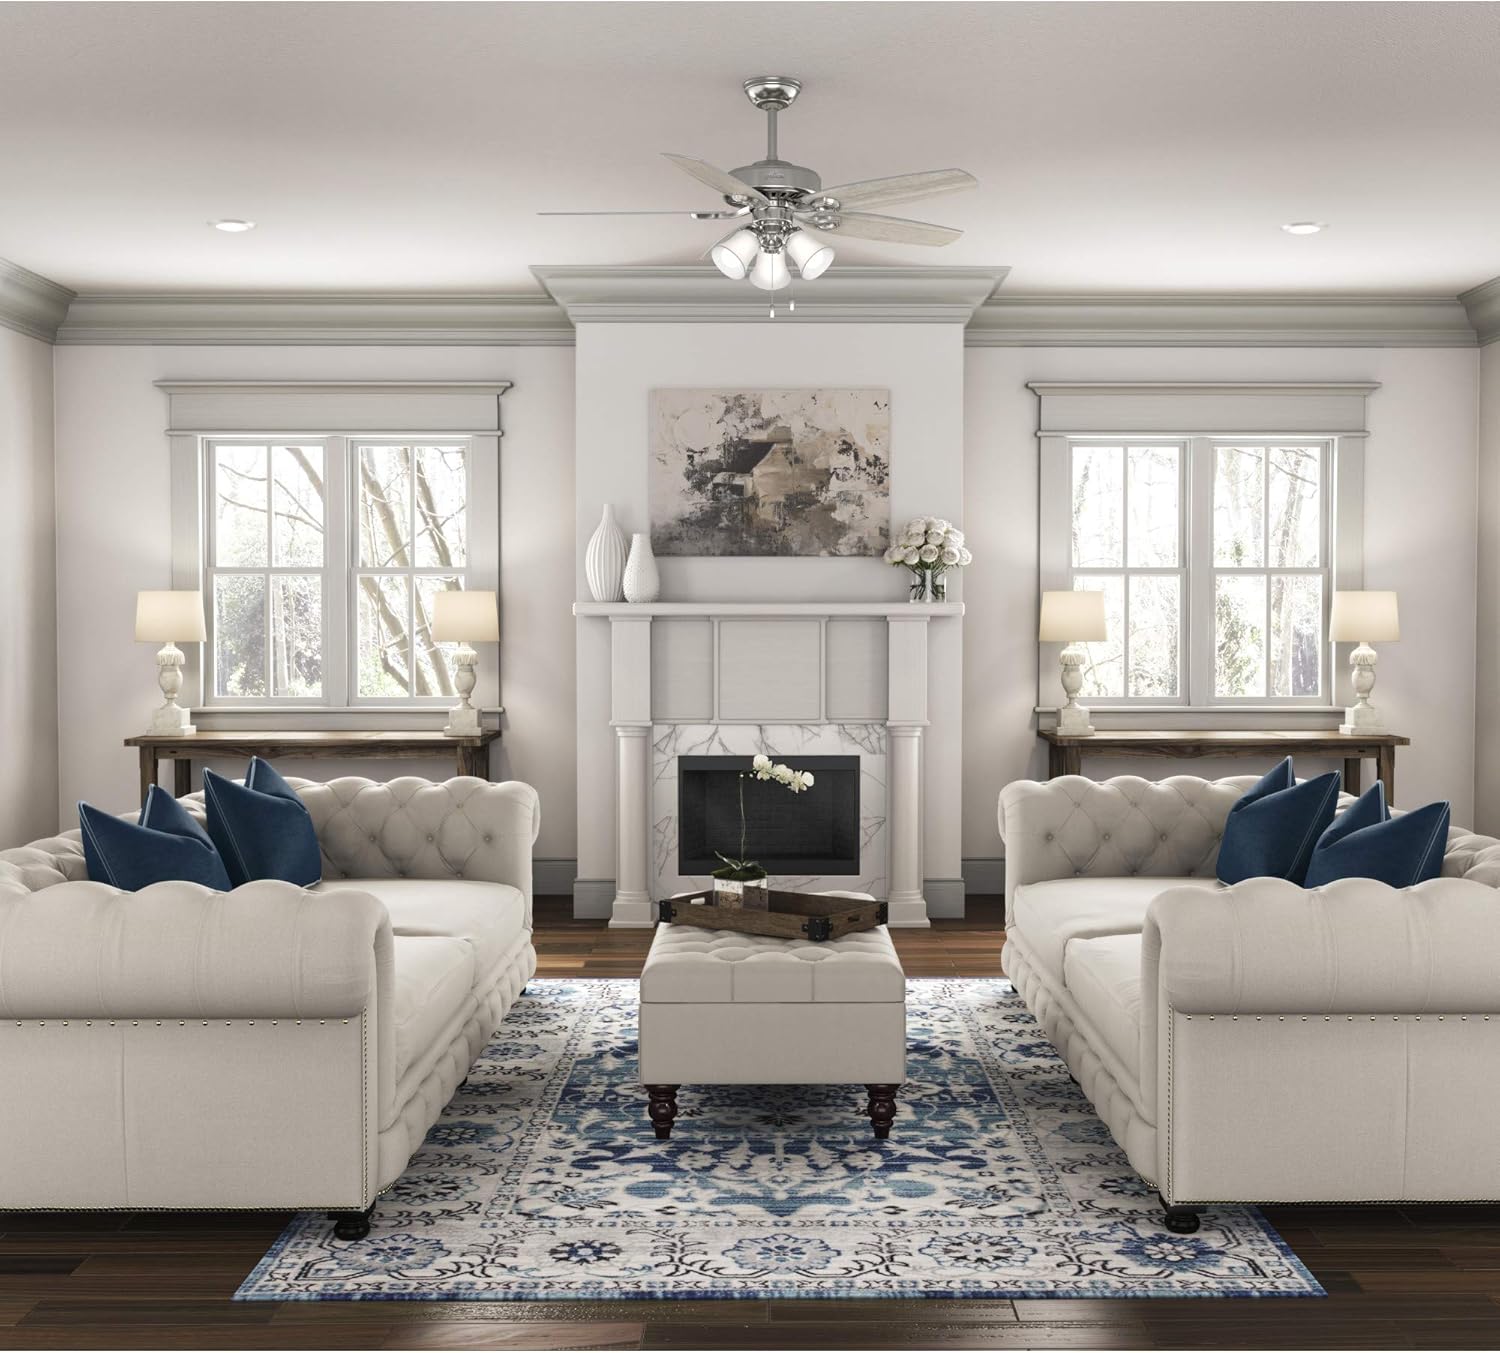
Figure 4: Close-up of fan controls. A detailed view of the central motor housing and light kit of the Hunter Builder Plus 51111 fan, showing the brushed nickel finish, frosted glass shades, and the two pull chains for fan speed and light control.
റിവേഴ്സിബിൾ മോട്ടോർ ഫംഗ്ഷൻ
The fan features a reversible motor for year-round comfort. A switch on the fan motor housing allows you to change the direction of blade rotation.
- Summer Operation (Downdraft): Set the switch to allow the blades to rotate counter-clockwise, creating a downdraft that produces a cooling breeze.
- Winter Operation (Updraft): Set the switch to allow the blades to rotate clockwise, creating an updraft that circulates warm air trapped near the ceiling, helping to warm the room.
മോട്ടോറിന്റെ ദിശ മാറ്റുന്നതിന് മുമ്പ് എല്ലായ്പ്പോഴും ഫാൻ ഓഫ് ചെയ്ത് ബ്ലേഡുകൾ പൂർണ്ണമായും നിർത്തുന്നത് വരെ കാത്തിരിക്കുക.

Figure 5: Light wood-grain blade finish. A close-up image of one of the fan blades, featuring a light wood-grain texture on one side.

Figure 6: Dark wood-grain blade finish. A close-up image of one of the fan blades, featuring a darker wood-grain texture on the reverse side, indicating reversible blade finishes.
6. പരിപാലനം
പതിവ് അറ്റകുറ്റപ്പണികൾ നിങ്ങളുടെ സീലിംഗ് ഫാനിന്റെ മികച്ച പ്രകടനവും ദീർഘായുസ്സും ഉറപ്പാക്കുന്നു.
- വൃത്തിയാക്കൽ: ഫാൻ വൃത്തിയാക്കാൻ, മൃദുവായ, ഡി തുണി ഉപയോഗിച്ച് തുടയ്ക്കുക.amp തുണി. അബ്രാസീവ് ക്ലീനറുകളോ ലായകങ്ങളോ ഉപയോഗിക്കരുത്, കാരണം ഇവ ഫിനിഷിന് കേടുവരുത്തും.
- ബ്ലേഡ് ക്ലീനിംഗ്: ഫാൻ ബ്ലേഡുകൾ പതിവായി പൊടി തുടയ്ക്കുക, പൊടി അടിഞ്ഞുകൂടുന്നത് തടയാൻ ഇത് ഫാൻ ബാലൻസിനെയും പ്രകടനത്തെയും ബാധിക്കും.
- ലൈറ്റ് ബൾബ് മാറ്റിസ്ഥാപിക്കൽ: Ensure power is off before replacing LED bulbs. Allow bulbs to cool completely. Replace with LED bulbs of the same type and wattage (6.5 watts, 1800 lumens, 3000 Kelvin, 120 volts).
- ഫാസ്റ്റനറുകൾ ശക്തമാക്കുക: Periodically check and tighten all screws and fasteners on the fan blades and mounting hardware to ensure secure operation.
7. പ്രശ്നപരിഹാരം
നിങ്ങളുടെ സീലിംഗ് ഫാനിൽ പ്രശ്നങ്ങൾ അനുഭവപ്പെടുകയാണെങ്കിൽ, താഴെപ്പറയുന്ന പൊതുവായ പ്രശ്നങ്ങളും പരിഹാരങ്ങളും പരിശോധിക്കുക:
| പ്രശ്നം | സാധ്യമായ കാരണം | പരിഹാരം |
|---|---|---|
| ഫാൻ ആരംഭിക്കുന്നില്ല | No power to the fan; Loose wire connections; Motor switch not engaged. | Check circuit breaker/fuse; Ensure all wire connections are secure; Verify the motor reverse switch is fully engaged in either direction. |
| ഫാൻ കുലുങ്ങുന്നു | അയഞ്ഞ ബ്ലേഡ് സ്ക്രൂകൾ; അസന്തുലിതമായ ബ്ലേഡുകൾ; അയഞ്ഞ മൗണ്ടിംഗ് ബ്രാക്കറ്റ്. | Tighten all blade screws; Use a balancing kit (sold separately) to balance blades; Ensure mounting bracket is securely fastened to the ceiling joist. |
| വെളിച്ചം പ്രവർത്തിക്കുന്നില്ല | Loose bulb; Faulty bulb; Loose wire connection in light kit. | Ensure bulbs are screwed in tightly; Replace bulbs; Check light kit wiring connections. |
| ശബ്ദായമാനമായ പ്രവർത്തനം | അയഞ്ഞ സ്ക്രൂകൾ; മോട്ടോർ മുഴക്കം; ഒരു തടസ്സത്തിൽ തട്ടുന്ന ബ്ലേഡുകൾ. | Tighten all screws; Ensure canopy is not vibrating against the ceiling; Check for any obstructions in the blade path. |
8 സ്പെസിഫിക്കേഷനുകൾ
| ബ്രാൻഡ് | വേട്ടക്കാരൻ |
| മോഡലിൻ്റെ പേര് | ബിൽഡർ പ്ലസ് |
| മോഡൽ നമ്പർ | 51111 |
| ഉൽപ്പന്ന അളവുകൾ | 52"D x 52"W x 18.06"H |
| നിറം | ബ്രഷ്ഡ് നിക്കൽ ഫിനിഷ് |
| ബ്ലേഡുകളുടെ എണ്ണം | 5 |
| സ്വിച്ച് തരം | ചെയിൻ വലിക്കുക |
| പവർ ഉറവിടം | AC |
| വാല്യംtage | 120 വോൾട്ട് |
| വാട്ട്tagഇ (ലൈറ്റ് കിറ്റ്) | 6.5 വാട്ട്സ് (ഒരു ബൾബിന്) |
| തിളങ്ങുന്ന ഫ്ലക്സ് | 1800 ല്യൂമെൻ |
| ബൾബിൻ്റെ തരം | എൽഇഡി |
| ഇൻഡോർ/ഔട്ട്ഡോർ ഉപയോഗം | ഇൻഡോർ |
| ഇനത്തിൻ്റെ ഭാരം | 18.96 പൗണ്ട് |
| യു.പി.സി | 049694511119 |
9. വാറൻ്റി വിവരങ്ങൾ
Your Hunter Builder Plus 51111 ceiling fan comes with a Limited Lifetime Motor Warranty. This warranty is backed by Hunter Fan Company, a manufacturer with over 130 years of experience in the fan business. For specific terms and conditions, please refer to the warranty documentation included with your product or visit the official Hunter webസൈറ്റ്.
10. ഉപഭോക്തൃ പിന്തുണ
For further assistance, troubleshooting, or to inquire about replacement parts, please contact Hunter customer support. You can find contact information on the official Hunter webസൈറ്റ് അല്ലെങ്കിൽ പാക്കേജിംഗ് മെറ്റീരിയലുകൾക്കുള്ളിൽ.
Visit the official Hunter store for more information: Hunter Fan Company Store


