1. ആമുഖം
This manual provides essential instructions for setting up, operating, maintaining, and troubleshooting your EPSON EcoTank M3140 A4 4-in-1 Monochrome Printer. Please read this manual thoroughly before using the product to ensure correct and safe operation.
2. ഉൽപ്പന്നം കഴിഞ്ഞുview
The EPSON EcoTank M3140 is a versatile 4-in-1 monochrome printer designed for efficient document printing. It features an integrated ink tank system, Wi-Fi connectivity, an LCD screen, and an Automatic Document Feeder (ADF) for enhanced productivity.
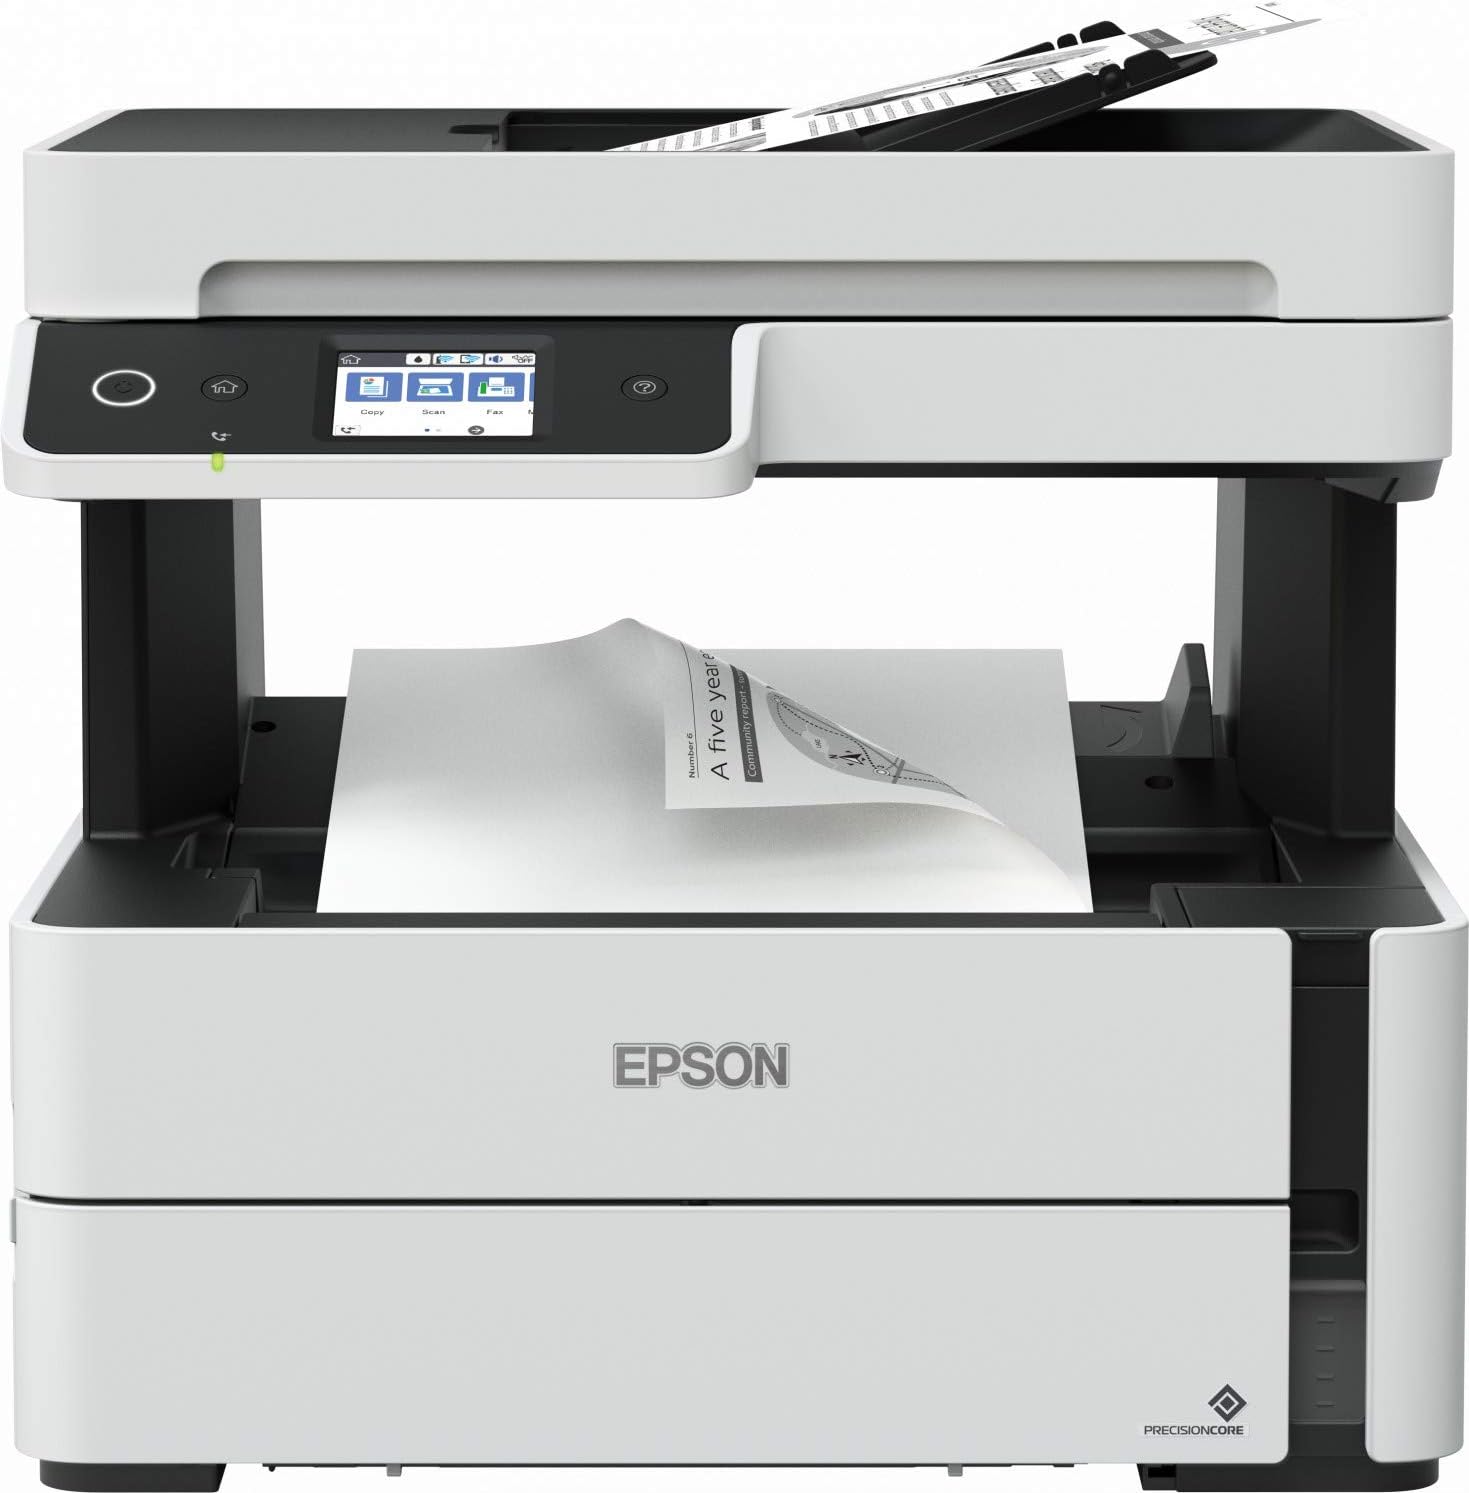
ചിത്രം 2.1: ഫ്രണ്ട് view of the EPSON EcoTank M3140 printer, showing the control panel, ADF, and paper output tray.
3. സജ്ജീകരണം
3.1 അൺപാക്കിംഗ്
- പ്രിൻ്റർ അതിൻ്റെ പാക്കേജിംഗിൽ നിന്ന് നീക്കം ചെയ്യുക.
- പ്രിന്ററിന്റെ പുറംഭാഗത്തും ഉൾഭാഗത്തുനിന്നും എല്ലാ സംരക്ഷണ ടേപ്പുകളും പാക്കിംഗ് വസ്തുക്കളും നീക്കം ചെയ്യുക.
- പ്രിന്റർ ഒരു സ്ഥിരതയുള്ളതും പരന്നതുമായ പ്രതലത്തിൽ സ്ഥാപിക്കുക.
3.2 പവർ കണക്ഷൻ
- പവർ കോർഡ് പ്രിന്ററിന്റെ പവർ ഇൻപുട്ടിലേക്ക് ബന്ധിപ്പിക്കുക.
- പവർ കോർഡിന്റെ മറ്റേ അറ്റം ഗ്രൗണ്ടഡ് ഇലക്ട്രിക്കൽ ഔട്ട്ലെറ്റിലേക്ക് പ്ലഗ് ചെയ്യുക.
- പ്രിന്റർ ഓണാക്കാൻ പവർ ബട്ടൺ അമർത്തുക.
3.3 മഷി നിറയ്ക്കൽ
The EcoTank M3140 uses an integrated ink tank system. Follow these steps to fill the ink tank:
- പ്രിന്ററിലെ ഇങ്ക് ടാങ്ക് കവർ തുറക്കുക.
- Uncap the black ink bottle.
- Insert the ink bottle into the corresponding ink tank opening. The ink will automatically fill the tank.
- Once the tank is full, remove the bottle and recap it. Close the ink tank cover.

ചിത്രം 3.1: Illustration of the ink refilling process for the EcoTank system.
3.4 സോഫ്റ്റ്വെയർ ഇൻസ്റ്റലേഷൻ
- Insert the software CD-ROM into your computer's drive, or download the latest drivers and utilities from the official Epson support webസൈറ്റ്.
- പ്രിന്റർ ഡ്രൈവറുകളും യൂട്ടിലിറ്റി സോഫ്റ്റ്വെയറും ഇൻസ്റ്റാൾ ചെയ്യുന്നതിന് ഓൺ-സ്ക്രീൻ നിർദ്ദേശങ്ങൾ പാലിക്കുക.
3.5 നെറ്റ്വർക്ക് കണക്ഷൻ (വൈ-ഫൈ)
- On the printer's LCD screen, navigate to the Wi-Fi setup menu.
- ലിസ്റ്റിൽ നിന്ന് നിങ്ങളുടെ വയർലെസ് നെറ്റ്വർക്ക് (SSID) തിരഞ്ഞെടുക്കുക.
- Enter your network password (WPA/WPA2 key) using the on-screen keyboard.
- Confirm the connection. The Wi-Fi indicator on the printer should illuminate steadily once connected.
4. പ്രവർത്തന നിർദ്ദേശങ്ങൾ
4.1 പേപ്പർ ലോഡ് ചെയ്യുന്നു
The printer supports various paper sizes, including A4. To load paper:
- പ്രിന്ററിന്റെ മുൻവശത്ത് നിന്ന് പേപ്പർ കാസറ്റ് പുറത്തെടുക്കുക.
- Adjust the paper guides to match the width of your paper.
- Load the paper stack print-side down into the cassette. Do not overload.
- Gently push the paper cassette back into the printer until it clicks into place.

ചിത്രം 4.1: Proper loading of paper into the printer's paper cassette.
4.2 അടിസ്ഥാന പ്രിന്റിംഗ്
- പ്രിന്റർ ഓണാക്കിയിട്ടുണ്ടെന്നും നിങ്ങളുടെ കമ്പ്യൂട്ടറിലേക്കോ നെറ്റ്വർക്കിലേക്കോ ബന്ധിപ്പിച്ചിട്ടുണ്ടെന്നും ഉറപ്പാക്കുക.
- നിങ്ങളുടെ കമ്പ്യൂട്ടറിൽ പ്രിന്റ് ചെയ്യാൻ ആഗ്രഹിക്കുന്ന പ്രമാണം തുറക്കുക.
- ആപ്ലിക്കേഷന്റെ മെനുവിൽ നിന്ന് 'പ്രിന്റ്' തിരഞ്ഞെടുക്കുക.
- Choose the EPSON M3140 as your printer and adjust settings (e.g., paper size, number of copies).
- 'പ്രിന്റ്' ക്ലിക്ക് ചെയ്യുക.
4.3 പകർത്തൽ
The M3140 can copy documents using either the flatbed scanner or the Automatic Document Feeder (ADF).
- ഫ്ലാറ്റ്ബെഡ് ഉപയോഗിക്കുന്നു: സ്കാനർ ഗ്ലാസിൽ ഡോക്യുമെന്റ് മുഖം താഴേക്ക് വയ്ക്കുക, കോർണർ മാർക്കിനൊപ്പം അത് വിന്യസിക്കുക.
- ADF ഉപയോഗിക്കുന്നു: Load multiple pages face-up into the ADF input tray.
- On the printer's LCD screen, select 'Copy'.
- Adjust copy settings such as number of copies, paper type, and quality.
- പകർത്തൽ ആരംഭിക്കാൻ 'ആരംഭിക്കുക' ബട്ടൺ അമർത്തുക.

ചിത്രം 4.2: The printer's LCD control panel, used for selecting functions like Copy, Scan, and Fax.
4.4 സ്കാനിംഗ്
- നിങ്ങളുടെ ഡോക്യുമെന്റ് സ്കാനർ ഗ്ലാസിലോ ADF-ലോ വയ്ക്കുക.
- On the printer's LCD screen, select 'Scan'.
- Choose your scan destination (e.g., computer, cloud service) and adjust scan settings.
- സ്കാനിംഗ് ആരംഭിക്കാൻ 'ആരംഭിക്കുക' ബട്ടൺ അമർത്തുക.
4.5 ഫാക്സിംഗ്
- Load the document(s) into the ADF or place a single document on the scanner glass.
- On the printer's LCD screen, select 'Fax'.
- സ്വീകർത്താവിന്റെ ഫാക്സ് നമ്പർ നൽകുക.
- ഫാക്സ് അയയ്ക്കാൻ 'ആരംഭിക്കുക' ബട്ടൺ അമർത്തുക.
4.6 ഡ്യൂപ്ലെക്സ് പ്രിൻ്റിംഗ്
The M3140 supports automatic double-sided printing. To use this feature, select the duplex printing option in your printer driver settings before sending a print job.
5. പരിപാലനം
5.1 മഷി നിറയ്ക്കൽ
When the ink level is low, the printer will notify you. Refer to Section 3.3 for detailed ink refilling instructions. Use only genuine EPSON ink bottles for optimal performance and to prevent damage.
5.2 പ്രിന്റ് ഹെഡ് വൃത്തിയാക്കൽ
If print quality declines (e.g., missing lines, streaking), perform a print head cleaning:
- പ്രിന്ററിന്റെ നിയന്ത്രണ പാനലിൽ നിന്ന്, 'മെയിന്റനൻസ്' അല്ലെങ്കിൽ 'സെറ്റപ്പ്' എന്നതിലേക്ക് നാവിഗേറ്റ് ചെയ്യുക.
- Select 'Print Head Cleaning' or 'Nozzle Check'.
- Follow the on-screen prompts. You may need to perform this process multiple times.
5.3 സ്കാനർ ഗ്ലാസ് വൃത്തിയാക്കൽ
Dust or smudges on the scanner glass can affect scan and copy quality. Wipe the scanner glass and the ADF glass strip with a soft, lint-free cloth dampഒരു മൈൽഡ് ഗ്ലാസ് ക്ലീനർ ഉപയോഗിച്ച് നിർമ്മിച്ചത്. ഗ്ലാസിൽ നേരിട്ട് ക്ലീനർ സ്പ്രേ ചെയ്യരുത്.
5.4 Paper Jam Resolution
If a paper jam occurs, the printer's LCD screen will display an error message. Carefully open the printer covers and remove any jammed paper, pulling it gently in the direction of the paper path. Ensure no torn pieces of paper remain inside the printer.
6. പ്രശ്നപരിഹാരം
This section addresses common issues you might encounter with your EPSON EcoTank M3140.
6.1 പ്രിന്റർ പ്രതികരിക്കുന്നില്ല
- Check if the printer is powered on and properly connected to the computer or network.
- നിങ്ങളുടെ ആപ്ലിക്കേഷന്റെ പ്രിന്റ് ഡയലോഗിൽ ശരിയായ പ്രിന്റർ തിരഞ്ഞെടുത്തിട്ടുണ്ടെന്ന് ഉറപ്പാക്കുക.
- പ്രിന്ററും നിങ്ങളുടെ കമ്പ്യൂട്ടറും പുനരാരംഭിക്കുക.
6.2 മോശം പ്രിന്റ് നിലവാരം
- മഷിയുടെ അളവ് പരിശോധിച്ച് ആവശ്യമെങ്കിൽ വീണ്ടും നിറയ്ക്കുക.
- Perform a print head cleaning and nozzle check (refer to Section 5.2).
- Ensure you are using appropriate paper settings for your print job.
6.3 വൈ-ഫൈ കണക്റ്റിവിറ്റി പ്രശ്നങ്ങൾ
- Ensure your Wi-Fi router is functioning correctly.
- Re-enter your Wi-Fi password on the printer's control panel.
- Move the printer closer to the wireless router to improve signal strength.
For more detailed troubleshooting, refer to the comprehensive online support resources available on the official Epson webസൈറ്റ്.
7 സ്പെസിഫിക്കേഷനുകൾ
| ഫീച്ചർ | സ്പെസിഫിക്കേഷൻ |
|---|---|
| അച്ചടി മാധ്യമം | പേപ്പർ (പ്ലെയിൻ) |
| സ്കാനർ തരം | ഫ്ലാറ്റ്ബെഡ് |
| പരമാവധി ഷീറ്റ് ശേഷി | 100 |
| അനുയോജ്യമായ ഉപകരണങ്ങൾ | സ്മാർട്ട്ഫോണുകൾ (ആൻഡ്രോയിഡ്, iOS) |
| പേപ്പർ വലിപ്പം | A4 |
| പരമാവധി കറുപ്പും വെളുപ്പും പ്രിന്റ് റെസല്യൂഷൻ | 200 dpi (implied from context, often higher for actual print) |
| ഇരട്ട-വശങ്ങളുള്ള പ്രിന്റിംഗ് | അതെ (ഓട്ടോമാറ്റിക് ഡ്യൂപ്ലെക്സ്) |
| ഉൽപ്പന്ന അളവുകൾ | 41 x 41 x 43.2 സെ.മീ |
| ഇനത്തിൻ്റെ ഭാരം | 9.13 കിലോഗ്രാം |
| കണക്റ്റിവിറ്റി ടെക്നോളജി | വൈഫൈ |
| പ്രിന്റർ സാങ്കേതികവിദ്യ | മഷി ടാങ്ക് |
| പ്രത്യേക സവിശേഷതകൾ | Auto-Duplex, ADF, LCD Screen |
| പ്രിൻ്റർ ഔട്ട്പുട്ട് | മോണോക്രോം |
8. വാറൻ്റിയും പിന്തുണയും
8.1 വാറൻ്റി വിവരങ്ങൾ
The EPSON EcoTank M3140 comes with a one-year or 100,000-page warranty, whichever comes first. Please retain your proof of purchase for warranty claims. The warranty covers defects in materials and workmanship under normal use.
8.2 ഉപഭോക്തൃ പിന്തുണ
For technical assistance, product registration, or to find authorized service centers, please visit the official Epson support website or contact Epson customer service in your region. Support resources often include FAQs, driver downloads, and troubleshooting guides.


