ആമുഖം
This manual provides essential information for setting up, operating, and maintaining your GIGABYTE G32QC Advanced 32-inch Curved Gaming Monitor. This monitor features a 2560x1440 VA display with a 165Hz refresh rate and 1ms (MPRT) response time, offering a native 1500R curvature for an immersive experience. It supports AMD FreeSync Premium Pro, VESA Display HDR400, and covers 93% DCI-P3 color space. The monitor also includes GIGABYTE's tactical features and OSD Sidekick for easy adjustments, along with an ergonomic design for tilt and height adjustments, low blue light, and flicker-free technology.

Figure 1: GIGABYTE G32QC Advanced 32-inch Curved Gaming Monitor.
സജ്ജമാക്കുക
1. അൺപാക്കിംഗ്, പാക്കേജ് ഉള്ളടക്കം
പാക്കേജിംഗിൽ നിന്ന് എല്ലാ ഘടകങ്ങളും ശ്രദ്ധാപൂർവ്വം നീക്കം ചെയ്യുക. താഴെ പട്ടികപ്പെടുത്തിയിരിക്കുന്ന എല്ലാ ഇനങ്ങളും ഉണ്ടെന്ന് ഉറപ്പാക്കുക:
- GIGABYTE G32QC Advanced Monitor
- മോണിറ്റർ സ്റ്റാൻഡ് (ബേസും കഴുത്തും)
- പവർ അഡാപ്റ്റർ
- ഡിസ്പ്ലേ പോർട്ട് കേബിൾ
- HDMI കേബിൾ
- USB Type-B Cable (for USB 3.0 hub functionality)
- ക്വിക്ക് സ്റ്റാർട്ട് ഗൈഡ് / യൂസർ മാനുവൽ (ഈ ഡോക്യുമെന്റ്)

Figure 2: Monitor and packaging upon unboxing.
2. സ്റ്റാൻഡ് അസംബ്ലി
- മോണിറ്റർ പാനലിലേക്ക് സ്റ്റാൻഡ് നെക്ക് ഘടിപ്പിക്കുക.
- നൽകിയിരിക്കുന്ന സ്ക്രൂകൾ ഉപയോഗിച്ച് സ്റ്റാൻഡ് ബേസ് കഴുത്തിൽ ഉറപ്പിക്കുക.
- കൂട്ടിച്ചേർത്ത മോണിറ്റർ ഒരു സ്ഥിരതയുള്ളതും പരന്നതുമായ പ്രതലത്തിൽ സ്ഥാപിക്കുക.
The monitor stand allows for height and tilt adjustments. For VESA wall mounting, remove the stand and use a compatible VESA 100x100mm mount.

Figure 3: Adjustable stand and VESA 100x100mm mounting points.
3. ഒരു കമ്പ്യൂട്ടറിലേക്ക് ബന്ധിപ്പിക്കുന്നു
Connect the monitor to your computer using one of the available video input ports:
- ഡിസ്പ്ലേ പോർട്ട് 1.2: For optimal performance, including 165Hz refresh rate and FreeSync Premium Pro.
- എച്ച്ഡിഎംഐ 2.0: ഉയർന്ന പുതുക്കൽ നിരക്കുകളും റെസല്യൂഷനുകളും പിന്തുണയ്ക്കുന്നു.
Additionally, connect the USB Type-B cable from your computer to the monitor's USB upstream port to enable the monitor's USB 3.0 downstream ports.

Figure 4: Input/Output (I/O) Ports diagram.

Figure 5: Physical rear view of the monitor ports.
4. പവർ കണക്ഷൻ
Connect the power adapter to the monitor's DC power input, then plug the power cord into an electrical outlet.
പ്രവർത്തന നിർദ്ദേശങ്ങൾ
1. Power On/Off and OSD Navigation
The monitor typically uses a joystick control for power and On-Screen Display (OSD) navigation. Press the joystick to power on/off or to access the OSD menu. Use the joystick to navigate through menu options and adjust settings.
For advanced settings and easier control, install the GIGABYTE OSD Sidekick software on your computer. This utility allows you to adjust display options using your keyboard and mouse.

Figure 6: GIGABYTE OSD Sidekick software for monitor settings.
2. Key Features and Adjustments
- ഉയർന്ന പുതുക്കൽ നിരക്കും പ്രതികരണ സമയവും: Experience smooth gameplay with 165Hz refresh rate and 1ms (MPRT) response time.
- എഎംഡി ഫ്രീസിങ്ക് പ്രീമിയം പ്രോ: Ensures tear-free and stutter-free gaming by synchronizing the monitor's refresh rate with your GPU's frame rate.
- VESA Display HDR400 & 93% DCI-P3: Delivers vibrant colors and improved contrast for a more realistic visual experience.
- ബ്ലാക്ക് ഇക്വലൈസർ: Enhances visibility in dark areas of the screen without overexposing bright areas, providing a tactical advantagഇ ഗെയിമുകളിൽ.
- Low Blue Light & Flicker-Free: TÜV Rheinland certified technologies to reduce eye strain and fatigue during extended use.
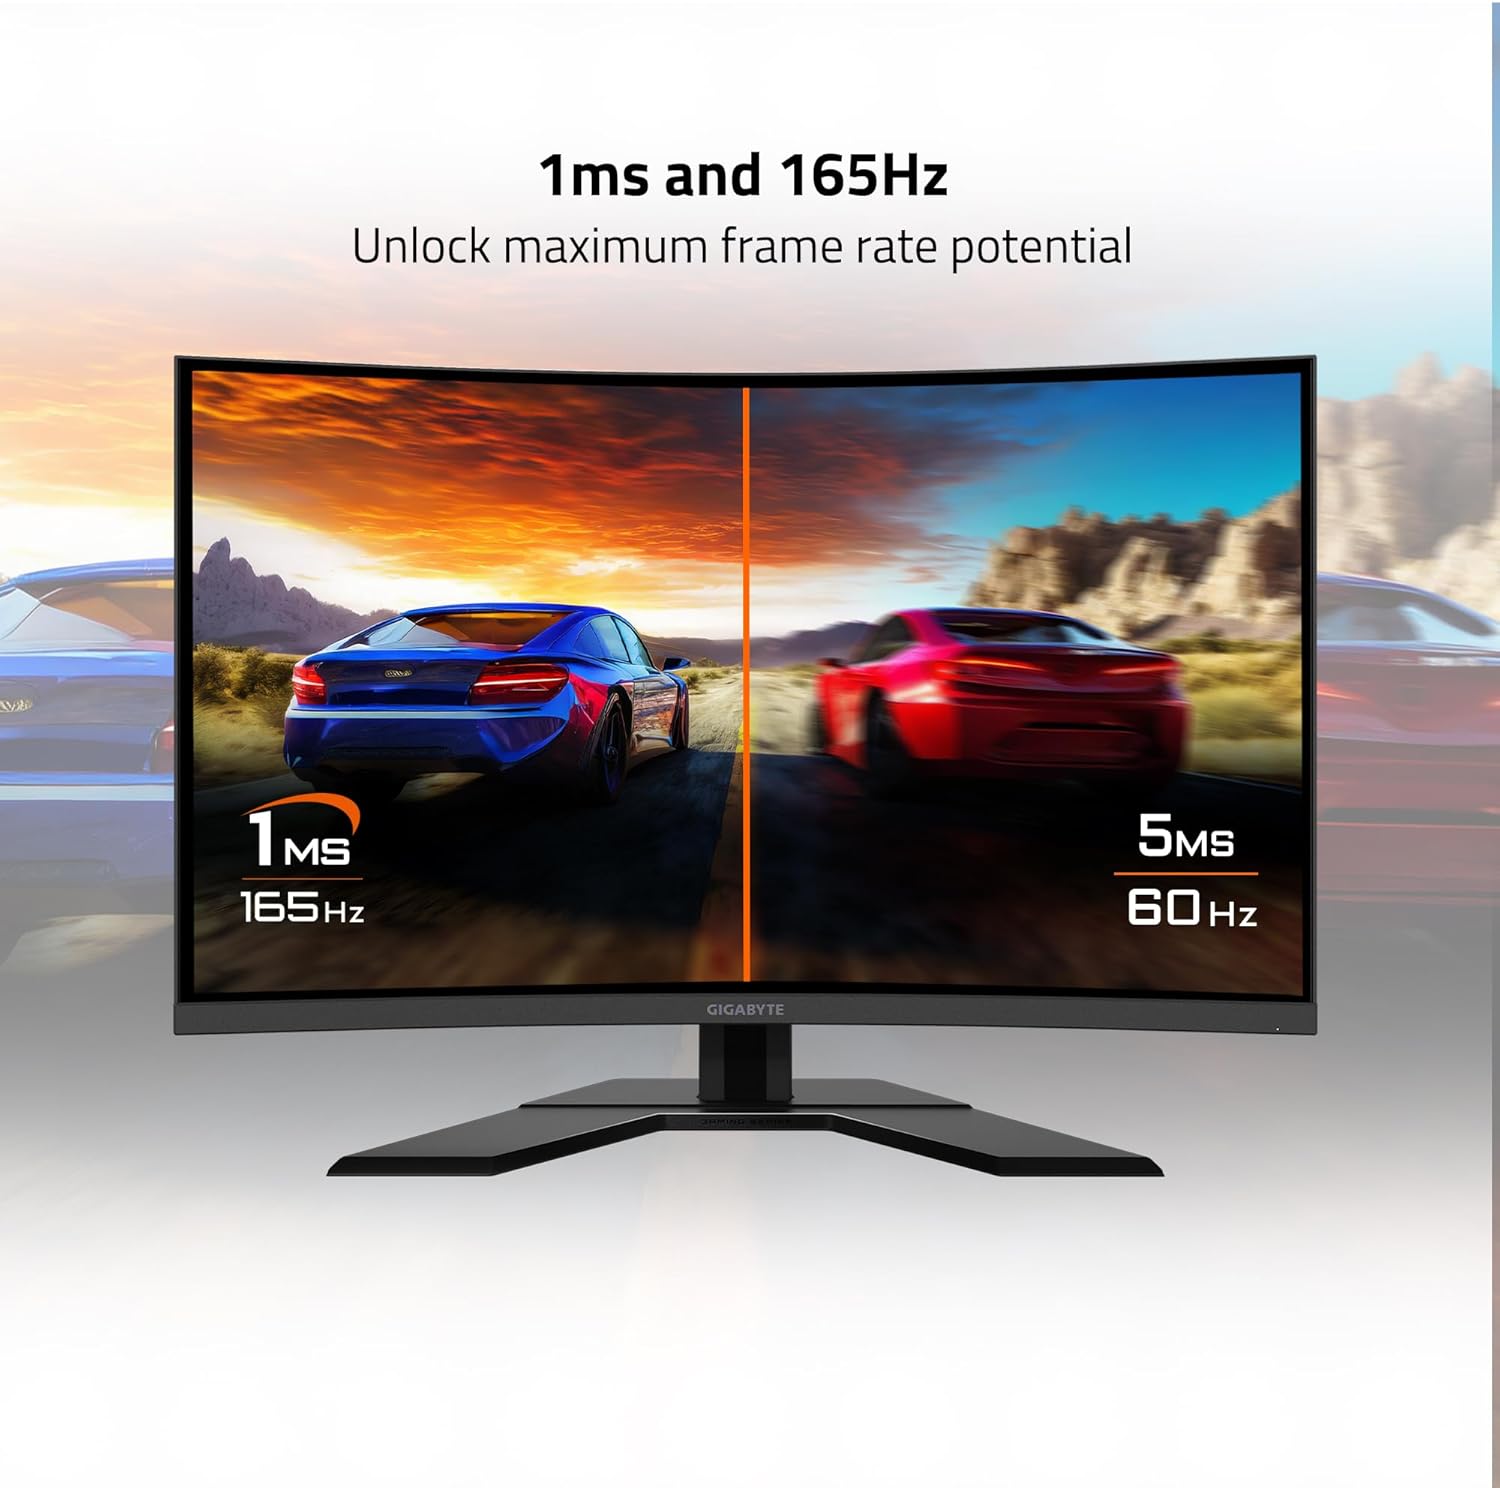
Figure 7: Visual representation of 1ms and 165Hz performance.

Figure 8: Monitor supports AMD FreeSync Premium Pro and HDR.

Figure 9: Black Equalizer feature demonstration.

Figure 10: TÜV Rheinland certified eye care features.
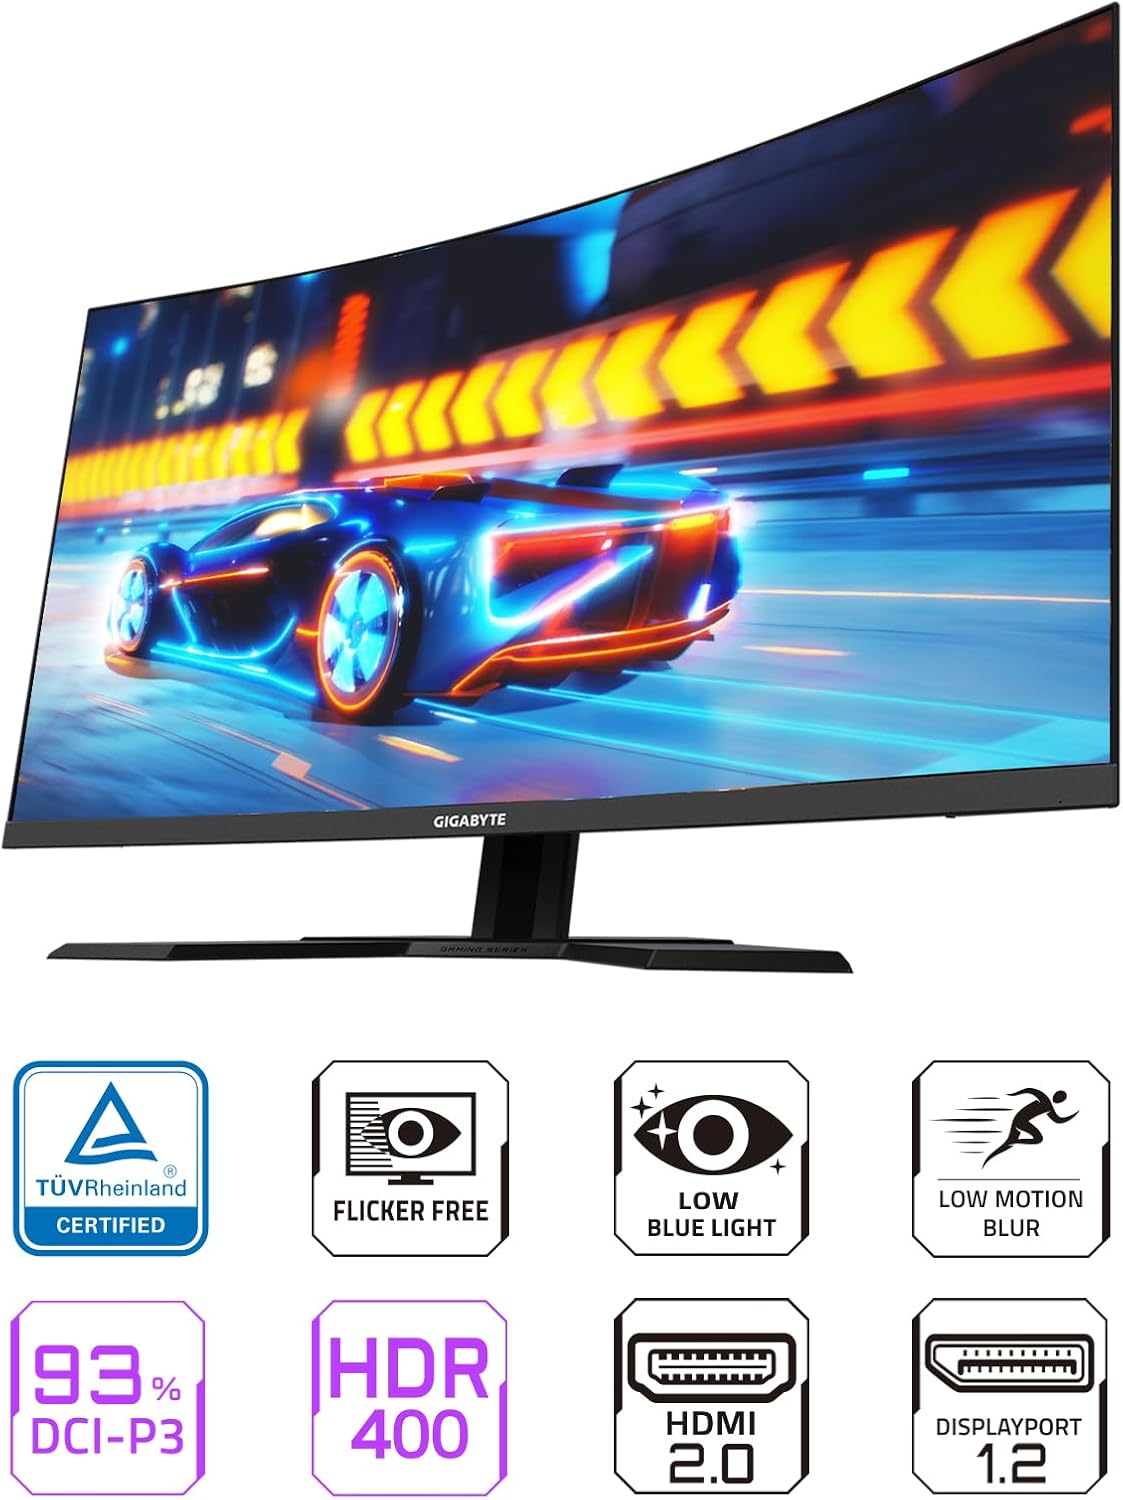
ചിത്രം 11: ഓവർview of monitor features.
മെയിൻ്റനൻസ്
1. മോണിറ്റർ വൃത്തിയാക്കൽ
- വൃത്തിയാക്കുന്നതിന് മുമ്പ് എല്ലായ്പ്പോഴും മോണിറ്റർ ഓഫ് ചെയ്ത് പവർ കോർഡ് അഴിക്കുക.
- നനവില്ലാത്തതും ലിനില്ലാത്തതുമായ തുണി ചെറുതായി ഉപയോഗിക്കുകampവെള്ളം അല്ലെങ്കിൽ നേരിയതും, ഉരച്ചിലുകളില്ലാത്തതുമായ സ്ക്രീൻ ക്ലീനർ ഉപയോഗിച്ച് തുടയ്ക്കുക.
- ക്ലീനർ നേരിട്ട് സ്ക്രീനിൽ സ്പ്രേ ചെയ്യരുത്.
- ബെൻസീൻ, കനംകുറഞ്ഞ, അമോണിയ അടിസ്ഥാനമാക്കിയുള്ള ക്ലീനറുകൾ, അല്ലെങ്കിൽ ഉരച്ചിലുകൾ എന്നിവ ഉപയോഗിക്കുന്നത് ഒഴിവാക്കുക, കാരണം ഇവ സ്ക്രീനിനോ സി.asing.
2. ജനറൽ കെയർ
- നേരിട്ടുള്ള സൂര്യപ്രകാശത്തിലോ താപ സ്രോതസ്സുകൾക്ക് സമീപമോ മോണിറ്റർ സ്ഥാപിക്കുന്നത് ഒഴിവാക്കുക.
- അമിതമായി ചൂടാകുന്നത് തടയാൻ മോണിറ്ററിന് ചുറ്റും മതിയായ വായുസഞ്ചാരം ഉറപ്പാക്കുക.
- മോണിറ്ററിലോ അതിന്റെ കേബിളുകളിലോ ഭാരമുള്ള വസ്തുക്കൾ വയ്ക്കരുത്.
- മോണിറ്റർ കൂടുതൽ നേരം ഉപയോഗിക്കുന്നില്ലെങ്കിൽ, പവർ ഔട്ട്ലെറ്റിൽ നിന്ന് അത് ഊരിവെക്കുക.
ട്രബിൾഷൂട്ടിംഗ്
| പ്രശ്നം | സാധ്യമായ കാരണം | പരിഹാരം |
|---|---|---|
| ശക്തിയില്ല | പവർ കേബിൾ ബന്ധിപ്പിച്ചിട്ടില്ല; പവർ ഔട്ട്ലെറ്റ് തകരാറിലാണ്; മോണിറ്റർ പവർ ബട്ടൺ ഓഫാണ്. | മോണിറ്ററിലേക്കും ഔട്ട്ലെറ്റിലേക്കും പവർ കേബിൾ സുരക്ഷിതമായി ബന്ധിപ്പിച്ചിട്ടുണ്ടെന്ന് ഉറപ്പാക്കുക. മറ്റൊരു ഉപകരണം ഉപയോഗിച്ച് ഔട്ട്ലെറ്റ് പരിശോധിക്കുക. മോണിറ്റർ പവർ ബട്ടൺ അമർത്തുക. |
| സ്ക്രീനിൽ ചിത്രമൊന്നുമില്ല | വീഡിയോ കേബിൾ ബന്ധിപ്പിച്ചിട്ടില്ല; തെറ്റായ ഇൻപുട്ട് ഉറവിടം തിരഞ്ഞെടുത്തു; കമ്പ്യൂട്ടർ സ്ലീപ്പ് മോഡിലാണ്. | Check video cable connections (DisplayPort/HDMI). Select correct input source via OSD. Wake up computer. |
| ചിത്രം മങ്ങിയതോ വളച്ചൊടിച്ചതോ ആണ് | Incorrect resolution; Graphics driver issues; Cable quality. | ഡിസ്പ്ലേ റെസല്യൂഷൻ 2560x1440 ആയി സജ്ജമാക്കുക. ഗ്രാഫിക്സ് ഡ്രൈവറുകൾ അപ്ഡേറ്റ് ചെയ്യുക. മറ്റൊരു വീഡിയോ കേബിൾ പരീക്ഷിക്കുക. |
| മിന്നുന്ന സ്ക്രീൻ | Refresh rate mismatch; Faulty cable; Graphics card issue. | Ensure refresh rate is set to 165Hz in display settings. Replace video cable. Update graphics drivers. |
| USB പോർട്ടുകൾ പ്രവർത്തിക്കുന്നില്ല | USB അപ്സ്ട്രീം കേബിൾ ബന്ധിപ്പിച്ചിട്ടില്ല; കമ്പ്യൂട്ടറിലെ USB പോർട്ട് പ്രശ്നം. | Connect the USB Type-B upstream cable from the monitor to your computer. Try a different USB port on your computer. |
സ്പെസിഫിക്കേഷനുകൾ
| ഫീച്ചർ | വിശദാംശങ്ങൾ |
|---|---|
| മോഡൽ നമ്പർ | G32QC A-SA |
| സ്ക്രീൻ വലിപ്പം | 32 ഇഞ്ച് |
| പാനൽ തരം | VA (ലംബ വിന്യാസം) |
| വക്രത | 1500R |
| റെസലൂഷൻ | 2560 x 1440 (ക്യുഎച്ച്ഡി വൈഡ് 1440p) |
| പുതുക്കിയ നിരക്ക് | 165Hz |
| പ്രതികരണ സമയം | 1ms (MPRT) |
| വർണ്ണ ഗാമറ്റ് | 93% DCI-P3 |
| HDR പിന്തുണ | വെസ ഡിസ്പ്ലേ HDR400 |
| അഡാപ്റ്റീവ് സിൻക് ടെക്നോളജി | എഎംഡി ഫ്രീസിങ്ക് പ്രീമിയം പ്രോ |
| വീഡിയോ ഇൻപുട്ടുകൾ | 1x ഡിസ്പ്ലേ പോർട്ട് 1.2, 2x HDMI 2.0 |
| USB പോർട്ടുകൾ | 2x USB 3.0 (downstream), 1x USB Type-B (upstream) |
| ഓഡിയോ | ഇയർഫോൺ ജാക്ക് |
| എർഗണോമിക്സ് | ഉയരം ക്രമീകരണം, ടിൽറ്റ് ക്രമീകരണം |
| വെസ മൗണ്ടിംഗ് | 100x100 മി.മീ |
| ഇനത്തിൻ്റെ ഭാരം | 24.9 പൗണ്ട് |
| ഉൽപ്പന്ന അളവുകൾ (LxWxH) | 7.5 x 33.4 x 21.8 ഇഞ്ച് |

ചിത്രം 12: മോണിറ്റർ അളവുകൾ.
വാറൻ്റി വിവരങ്ങൾ
GIGABYTE products are covered by a limited warranty. The specific terms and duration of the warranty may vary by region and product type. Please refer to the official GIGABYTE website or your product's warranty card for detailed information regarding warranty coverage, terms, and conditions.
വാറന്റി ക്ലെയിമുകൾക്ക് ആവശ്യമായി വരുന്നതിനാൽ, നിങ്ങളുടെ വാങ്ങലിന്റെ തെളിവ് (രസീത് അല്ലെങ്കിൽ ഇൻവോയ്സ്) സൂക്ഷിക്കുക.
പിന്തുണ
For technical support, driver downloads, FAQs, or further assistance with your GIGABYTE G32QC Advanced monitor, please visit the official GIGABYTE support webസൈറ്റ്:
www.gigabyte.com/support (www.gigabyte.com/support) എന്ന വെബ്സൈറ്റ് സന്ദർശിക്കുക.
You may also find helpful resources and community forums on the GIGABYTE webസൈറ്റ്.


