1. ആമുഖം
The Logitech Scribe is an AI-powered whiteboard camera designed to integrate physical whiteboard content into video meetings. It is compatible with leading video conferencing services such as Microsoft Teams Rooms and Zoom Rooms. The Scribe utilizes built-in artificial intelligence and a custom lens to broadcast whiteboard content with enhanced clarity, ensuring remote participants have an unobstructed view. It supports standard dry erase markers and whiteboard surfaces up to 6 feet by 4 feet.
Content sharing can be initiated via a wireless share button or a meeting room touch controller, such as Logitech Tap.

ചിത്രം 1: മുൻഭാഗം view of the Logitech Scribe Whiteboard Camera.
2. ബോക്സിൽ എന്താണുള്ളത്?
പാക്കേജിംഗിൽ എല്ലാ ഘടകങ്ങളും ഉണ്ടെന്ന് ഉറപ്പാക്കുക:
- Logitech Scribe Camera Unit
- മൌണ്ടിംഗ് ബ്രാക്കറ്റ്
- മൗണ്ടിംഗ് ഹാർഡ്വെയർ (സ്ക്രൂകൾ, ആങ്കറുകൾ)
- ഇഥർനെറ്റ് അഡാപ്റ്ററിലേക്ക് USB
- PoE ഇൻജക്ടർ (പവർ ഓവർ ഇതർനെറ്റ്)
- ഇഥർനെറ്റ് കേബിൾ
- Wireless Share Button (with AAAA batteries)
- ഇൻസ്റ്റാളേഷൻ ടെംപ്ലേറ്റ്

Figure 2: Contents of the Logitech Scribe package.
3. സജ്ജീകരണം
Proper installation is crucial for optimal performance. Follow these steps for setting up your Logitech Scribe:
- ക്യാമറ ഘടിപ്പിക്കുന്നു: Use the provided installation template to position the camera above the whiteboard. Secure the mounting bracket to the wall using the appropriate hardware. Ensure the camera is centered and at the correct height for your whiteboard dimensions (up to 6 ft x 4 ft).
- ക്യാമറ ബന്ധിപ്പിക്കുന്നു: The Scribe connects to a computer via a USB to Ethernet adapter and a Power over Ethernet (PoE) injector. Connect the Ethernet cable from the camera unit to the PoE injector, then from the PoE injector to the USB to Ethernet adapter. Finally, connect the USB adapter to your meeting room computer.
- കേബിൾ മാനേജുമെന്റ്: Route cables neatly to maintain a professional appearance and prevent accidental disconnections. The mounting bracket includes channels for cable routing.

ചിത്രം 3: പിൻഭാഗം view of the Logitech Scribe, illustrating mounting and connection points.

Figure 4: Illustration of cable routing through the Logitech Scribe mounting base.
4. പ്രവർത്തന നിർദ്ദേശങ്ങൾ
The Logitech Scribe is designed for intuitive operation during video conferences.
- Initiating Whiteboard Sharing: To share whiteboard content, press the wireless share button or use your meeting room's touch controller (e.g., Logitech Tap). The Scribe will automatically detect and broadcast the whiteboard feed to your video meeting.
- AI സവിശേഷതകൾ: The Scribe's built-in AI enhances whiteboard content clarity and provides a transparency effect. This allows meeting participants to see 'through' the presenter, ensuring an unobstructed view of the writing on the whiteboard.
- Whiteboard Area: The camera is optimized to capture whiteboards up to 6 feet by 4 feet. Ensure your whiteboard content stays within these dimensions for optimal capture.
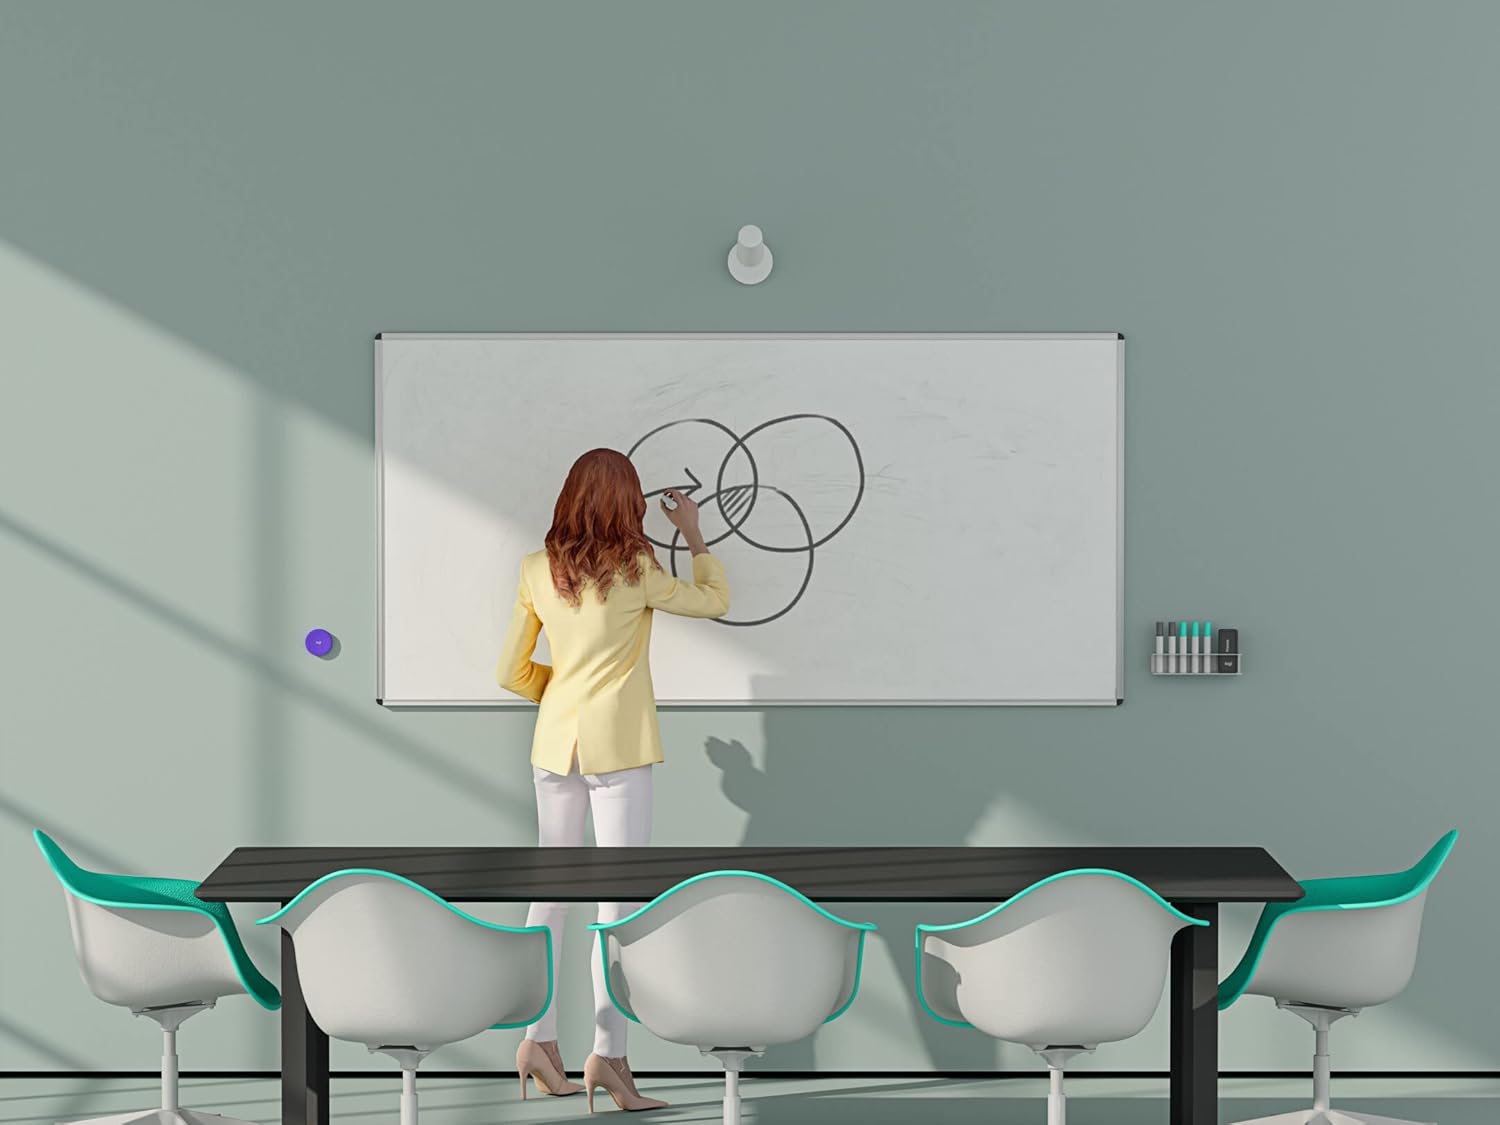
Figure 5: The Logitech Scribe camera unit alongside its wireless share button.

Figure 6: A user interacting with a whiteboard while the Logitech Scribe captures the content for remote participants.

Figure 7: The Logitech Scribe camera integrated into a meeting room environment.
5. പരിപാലനം
To ensure the longevity and optimal performance of your Logitech Scribe, follow these maintenance guidelines:
- വൃത്തിയാക്കൽ: Gently wipe the camera lens and body with a soft, dry, lint-free cloth. Avoid using abrasive cleaners or solvents.
- Whiteboard Care: Use only dry erase markers on your whiteboard. Regularly clean the whiteboard surface to prevent marker residue buildup, which can affect the Scribe's image clarity.
- ഫേംവെയർ അപ്ഡേറ്റുകൾ: Periodically check for and install firmware updates for the Logitech Scribe through the Logitech Sync application. Updates can improve performance, add features, and resolve issues.
- Wireless Share Button Batteries: The wireless share button requires AAAA batteries. Replace them when the indicator light suggests low power or the button becomes unresponsive.

Figure 8: Underside of the wireless share button, indicating the battery compartment.
6. പ്രശ്നപരിഹാരം
If you encounter issues with your Logitech Scribe, consider the following troubleshooting steps:
- Image Distortion/Fuzzy Output: If the whiteboard image appears distorted or fuzzy, use the Logitech Sync application to calibrate the camera. The app allows you to set four points on the raw camera image to correct fisheye distortion. Ensure these settings are saved and not inadvertently altered.
- No Image/Connectivity Issues:
- Verify all cables (USB, Ethernet) are securely connected between the camera, PoE injector, USB to Ethernet adapter, and the computer.
- Ensure the PoE injector is receiving power.
- Check if the computer recognizes the Scribe as a camera device.
- Restart the computer and the video conferencing application.
- Share Button Unresponsive:
- Check the batteries in the wireless share button and replace them if necessary.
- Ensure the share button is within range of the Scribe camera.
- Content Not Clear: Ensure you are using fresh, high-quality dry erase markers. Faded markers may not be captured clearly by the camera's enhancement features.
7 സ്പെസിഫിക്കേഷനുകൾ
| ഫീച്ചർ | സ്പെസിഫിക്കേഷൻ |
|---|---|
| മോഡൽ നമ്പർ | 960-001332 |
| ഉൽപ്പന്ന അളവുകൾ | 23.35 x 4.69 x 5.87 ഇഞ്ച് |
| ഇനത്തിൻ്റെ ഭാരം | 2.4 പൗണ്ട് |
| വീഡിയോ ക്യാപ്ചർ റെസല്യൂഷൻ | 1080p |
| ഫോട്ടോ സെൻസർ ടെക്നോളജി | സിസിഡി |
| കണക്റ്റിവിറ്റി ടെക്നോളജി | USB |
| Supported Whiteboard Area | Up to 6 ft x 4 ft |
| പവർ ഉറവിടം | പവർ ഓവർ ഇഥർനെറ്റ് (PoE) |
| Wireless Share Button Batteries | 1 AAAA battery required |
8. വാറൻ്റിയും പിന്തുണയും
Logitech products are manufactured to high quality standards and are covered by a limited hardware warranty. For detailed warranty information, product support, and additional resources, please visit the official Logitech support webസൈറ്റ്. നിങ്ങൾക്ക് പതിവുചോദ്യങ്ങൾ, ട്രബിൾഷൂട്ടിംഗ് ഗൈഡുകൾ, ഉപഭോക്തൃ സേവനത്തിനായുള്ള ബന്ധപ്പെടാനുള്ള വിവരങ്ങൾ എന്നിവ അവിടെ കണ്ടെത്താനാകും.
For the most up-to-date information, please refer to the official Logitech webസൈറ്റ് അല്ലെങ്കിൽ നിങ്ങളുടെ ഉൽപ്പന്നത്തിൽ ഉൾപ്പെടുത്തിയിരിക്കുന്ന ഡോക്യുമെന്റേഷൻ.


