ആമുഖം
This manual provides detailed instructions for the installation, operation, and maintenance of your SECRUI Wireless Doorbell System M520+F55. This system includes two wireless push buttons (transmitters) and two plug-in receivers, designed to provide reliable notification for visitors in various environments such as homes, offices, and classrooms. Please read this manual thoroughly before use to ensure proper function and longevity of your device.

ചിത്രം: കഴിഞ്ഞുview of the SECRUI Wireless Doorbell System M520+F55, showing two black push buttons and two black plug-in receivers.
പാക്കേജ് ഉള്ളടക്കം
നിങ്ങളുടെ പാക്കേജിൽ എല്ലാ ഘടകങ്ങളും ഉണ്ടെന്ന് ഉറപ്പാക്കുക:
- 2 × Wireless Push Buttons (Transmitters) (CR2032 battery included)
- 2 × Plug-in Receivers
- 2 × പശ ടേപ്പുകൾ
- 4 × സ്ക്രൂകൾ
- 4 × ആങ്കറുകൾ
- 1 × ഉപയോക്തൃ മാനുവൽ
ഉൽപ്പന്ന സവിശേഷതകൾ
- വിപുലീകരിച്ച ശ്രേണി: Up to 1000 feet (300 meters) in open areas, suitable for large homes, offices, and multiple-floor buildings.
- ഒന്നിലധികം മണിനാദങ്ങൾ: 58 selectable melodies to suit personal preferences.
- ക്രമീകരിക്കാവുന്ന വോളിയം: 5 levels of volume adjustment, ranging from 0 dB (mute) to 110 dB.
- LED സൂചകം: Visual alert for the hearing impaired or when the receiver is in mute mode.
- മെമ്മറി പ്രവർത്തനം: Retains selected melody and volume level after power loss.
- വെതർപ്രൂഫ് ഡിസൈൻ: IP55 rated push button, resistant to dust and water splashes, operating effectively in temperatures from -4°F to 140°F (-20°C to 60°C).
- വഴക്കമുള്ള ശക്തി: Receivers are AC powered (120 Volts), push buttons are battery-powered (CR2032, included).
- എളുപ്പമുള്ള ഇൻസ്റ്റാളേഷൻ: Options for adhesive tape or screw mounting for the push button.

Image: Diagram illustrating the 1000-foot wireless range of the doorbell system, showing receivers placed in different rooms of a house.

Image: A doorbell push button shown in a weather-resistant context, highlighting its IP55 waterproof rating and operational temperature range from -4°F to 140°F.
സുരക്ഷാ വിവരങ്ങൾ
- Always follow manufacturer's advice when using power tools and wear suitable protective equipment (e.g., safety goggles) when drilling holes.
- ചുവരുകളിൽ ദ്വാരങ്ങൾ ഇടുന്നതിനുമുമ്പ്, മറഞ്ഞിരിക്കുന്ന വൈദ്യുതി കേബിളുകളും വാട്ടർ പൈപ്പുകളും പരിശോധിക്കുക. സംശയമുണ്ടെങ്കിൽ ഒരു കേബിൾ/പൈപ്പ് ലൊക്കേറ്റർ ഉപയോഗിക്കുന്നത് നല്ലതാണ്.
- The receiver operates on 120 Volts AC. Ensure proper electrical safety practices are followed when plugging into an outlet.
- Keep the product away from extreme heat sources or open flames.
- ഉപകരണം സ്വയം ഡിസ്അസംബ്ലിംഗ് ചെയ്യാനോ നന്നാക്കാനോ ശ്രമിക്കരുത്. സഹായത്തിന് ഉപഭോക്തൃ പിന്തുണയുമായി ബന്ധപ്പെടുക.
സജ്ജീകരണവും ഇൻസ്റ്റാളേഷനും
1. റിസീവർ ഇൻസ്റ്റാളേഷൻ
- Select a suitable indoor electrical outlet for your receiver. Consider central locations for optimal sound distribution.
- Plug the receiver into the 120V AC outlet. The receiver will light up, indicating it is powered on.
2. Push Button (Transmitter) Installation
Choose between adhesive mounting or screw mounting:
പശ മൗണ്ടിംഗ്:
- പൊടിയും ഈർപ്പവും ഇല്ലാത്തതാണെന്ന് ഉറപ്പാക്കാൻ ആവശ്യമുള്ള മൗണ്ടിംഗ് ഉപരിതലം നന്നായി വൃത്തിയാക്കുക.
- Peel off one side of the provided double-sided adhesive tape and attach it to the back of the push button.
- Peel off the other side of the adhesive tape and firmly press the push button onto the cleaned surface for at least 30 seconds.
സ്ക്രൂ മൗണ്ടിംഗ്:
- Open the back cover of the push button.
- പിൻ കവർ ഒരു ടെംപ്ലേറ്റായി ഉപയോഗിച്ച് ദ്വാരങ്ങൾ തുരക്കുന്നതിനുള്ള സ്ഥാനങ്ങൾ അടയാളപ്പെടുത്തുക.
- Drill two holes at the marked positions. Insert the plastic anchors if mounting on masonry or drywall.
- Secure the back cover to the wall using the provided screws.
- Snap the push button onto the secured back cover.

Image: A visual guide demonstrating the simple installation process, showing a hand pressing the outdoor push button and a receiver plugged into an indoor wall outlet.

Image: Step-by-step illustrations for both adhesive patch mounting and screw mounting methods for the wireless doorbell push button.
പ്രവർത്തന നിർദ്ദേശങ്ങൾ
1. മാറ്റുന്ന ഈണങ്ങൾ
To cycle through the 58 available melodies:
- Press the "Melody Selection" button (often marked with a music note icon) on the side of the receiver.
- Each press will play the next melody. Stop pressing when you hear your desired chime.
2. വോളിയം ക്രമീകരിക്കുന്നു
വോളിയം ലെവൽ ക്രമീകരിക്കുന്നതിന്:
- Press the "Volume Control" button (often marked with a speaker icon) on the side of the receiver.
- There are 5 volume levels, including a mute mode (0 dB). Cycle through them until you reach your preferred setting.
3. Pairing Additional Devices (Optional)
Your system comes pre-paired. If you wish to add more push buttons or receivers, or re-pair existing ones:
- റിസീവർ പ്ലഗ് ഇൻ ചെയ്യുക.
- Press and hold the "Volume Control" button on the receiver for approximately 5 seconds until the LED indicator flashes rapidly. This indicates pairing mode.
- Immediately press the push button you wish to pair. The receiver will chime, confirming successful pairing.
- Repeat for any additional push buttons. Each receiver can be paired with up to 20 transmitters.
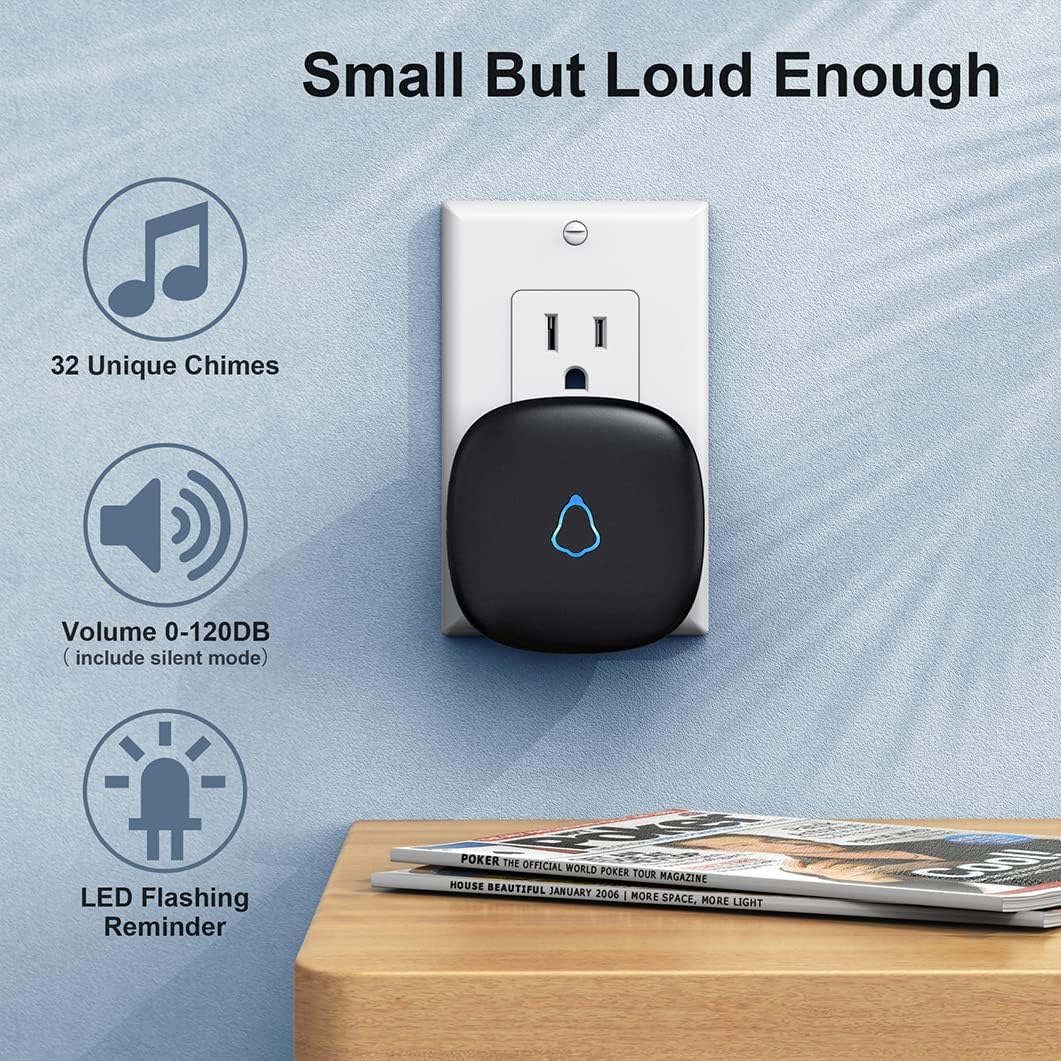
Image: A close-up of the doorbell receiver, illustrating its features including 32 unique chimes, adjustable volume (0-120dB), and an LED flashing reminder.

Image: Depiction of the doorbell's 5 volume levels and mute option, showing its suitability for various situations like a sleeping baby or a classroom setting.
മെയിൻ്റനൻസ്
1. വൃത്തിയാക്കൽ
Wipe the doorbell units with a soft, dry cloth. Do not use abrasive cleaners or solvents.
2. പുഷ് ബട്ടൺ ബാറ്ററി മാറ്റിസ്ഥാപിക്കൽ
The push button uses a CR2032 lithium battery, which typically lasts for about 3 years. When the push button's LED indicator no longer lights up or the range decreases significantly, it's time to replace the battery.
- Carefully open the back cover of the push button.
- പഴയ CR2032 ബാറ്ററി നീക്കം ചെയ്യുക.
- പോസിറ്റീവ് (+) വശം മുകളിലേക്ക് അഭിമുഖീകരിക്കുന്ന ഒരു പുതിയ CR2032 ബാറ്ററി ഇടുക.
- പിൻ കവർ സുരക്ഷിതമായി അടയ്ക്കുക.
ട്രബിൾഷൂട്ടിംഗ്
| പ്രശ്നം | സാധ്യമായ കാരണം | പരിഹാരം |
|---|---|---|
| റിസീവർ മണി മുഴങ്ങുന്നില്ല. |
|
|
| ഹ്രസ്വമായ പ്രവർത്തന ശ്രേണി. |
|
|
| തെറ്റായ അലാറങ്ങൾ. |
|
|
സ്പെസിഫിക്കേഷനുകൾ
- മോഡൽ: എം520+F55
- ബ്രാൻഡ്: SECRUI
- ട്രാൻസ്മിറ്റർ പവർ സ്രോതസ്സ്: 1 x CR2032 Lithium Battery (included)
- Receiver Power Source: എസി 120 വി
- വയർലെസ് ശ്രേണി: തുറന്ന സ്ഥലത്ത് 1000 അടി (300 മീറ്റർ) വരെ
- മെലഡികൾ: തിരഞ്ഞെടുക്കാവുന്ന 58 മണിനാദങ്ങൾ
- വോളിയം ലെവലുകൾ: 5 (0 dB മുതൽ 110 dB വരെ)
- വാട്ടർപ്രൂഫ് റേറ്റിംഗ് (പുഷ് ബട്ടൺ): IP55
- പ്രവർത്തന താപനില: -4°F മുതൽ 140°F വരെ (-20°C മുതൽ 60°C വരെ)
- മെറ്റീരിയൽ: എബിഎസ്
- ഇൻസ്റ്റലേഷൻ രീതി: Self-Adhesive & Screw-In
വാറൻ്റിയും പിന്തുണയും
SECRUI products are designed for reliability and performance. For any questions, technical support, or warranty claims, please contact SECRUI customer service through the retailer where the product was purchased or visit the official SECRUI webബന്ധപ്പെടാനുള്ള വിവരങ്ങൾക്കുള്ള സൈറ്റ്.
വാറന്റി ആവശ്യങ്ങൾക്കായി വാങ്ങിയതിന്റെ തെളിവായി നിങ്ങളുടെ വാങ്ങൽ രസീത് സൂക്ഷിക്കുക.
കുറിപ്പ്: പ്രദേശത്തെയും റീട്ടെയിലറെയും ആശ്രയിച്ച് നിർദ്ദിഷ്ട വാറന്റി നിബന്ധനകൾ വ്യത്യാസപ്പെടാം.


