1. ആമുഖം
Thank you for choosing the Hunter Fan Company Avia II Ceiling Fan. This manual provides detailed instructions for the safe installation, operation, and maintenance of your new ceiling fan. Please read all instructions carefully before beginning installation and retain this manual for future reference.

Figure 1: Hunter Avia II Ceiling Fan, 52-inch, Matte Black finish with light wood-grain blades.
The Avia II is a contemporary ceiling fan designed to enhance your living space with its soft-modern style and integrated light fixture. Its smooth rounded edges contribute to a unified and elegant appearance. This fan is equipped with a 3-speed WhisperWind reversible motor, ensuring optimal performance for both cooling in summer and circulating warm air in winter. It is ideal for large rooms such as living rooms and bedrooms.

Figure 2: Avia II Ceiling Fan installed in a spacious modern bedroom setting.
2 സുരക്ഷാ വിവരങ്ങൾ
വൈദ്യുതാഘാതം, തീപിടുത്തം അല്ലെങ്കിൽ വ്യക്തിപരമായ പരിക്കുകൾ എന്നിവയുടെ അപകടസാധ്യത കുറയ്ക്കുന്നതിന്, എല്ലായ്പ്പോഴും ഈ അടിസ്ഥാന സുരക്ഷാ മുൻകരുതലുകൾ പാലിക്കുക:
- Read all instructions and safety information before installing your fan and save these instructions.
- എല്ലാ വയറിംഗും ദേശീയ, പ്രാദേശിക ഇലക്ട്രിക്കൽ കോഡുകൾക്ക് അനുസൃതമായിരിക്കണം. വയറിംഗിൽ നിങ്ങൾക്ക് പരിചയമില്ലെങ്കിൽ, യോഗ്യതയുള്ള ഒരു ഇലക്ട്രീഷ്യനെ സമീപിക്കുക.
- Before you begin, disconnect power by turning off the circuit breakers to the fan's outlet box and associated wall switch location.
- The outlet box and support structure must be securely mounted and capable of reliably supporting a minimum of 35 lbs (15.9 kg). Use only UL Listed outlet boxes marked "FOR FAN SUPPORT."
- കേടായ പവർ കോഡുകളോ പ്ലഗുകളോ ഉപയോഗിച്ച് ഫാൻ പ്രവർത്തിപ്പിക്കരുത്.
- ബ്ലേഡുകളുടെ പാതയിൽ വസ്തുക്കൾ സ്ഥാപിക്കുന്നത് ഒഴിവാക്കുക.
- തറയിൽ നിന്ന് ബ്ലേഡുകൾ കുറഞ്ഞത് 7 അടി (2.13 മീറ്റർ) ഉയരത്തിൽ ഫാൻ സ്ഥാപിച്ചിട്ടുണ്ടെന്ന് ഉറപ്പാക്കുക.
- Do not use the fan with a dimmer switch not specifically designed for ceiling fans.
3. പാക്കേജ് ഉള്ളടക്കം
നിങ്ങളുടെ ഫാൻ ശ്രദ്ധാപൂർവ്വം അൺപാക്ക് ചെയ്ത് ഉള്ളടക്കങ്ങൾ പരിശോധിക്കുക. നിങ്ങൾക്ക് ഇനിപ്പറയുന്ന ഇനങ്ങൾ ഉണ്ടായിരിക്കണം:
- ഫാൻ മോട്ടോർ അസംബ്ലി
- ഫാൻ ബ്ലേഡുകൾ (5)
- ബാറ്ററി ഉപയോഗിച്ച് റിമോട്ട് കൺട്രോൾ
- Downrod (4 inch)
- മേലാപ്പും മൗണ്ടിംഗ് ബ്രാക്കറ്റും
- ലൈറ്റ് കിറ്റ് അസംബ്ലി
- ഹാർഡ്വെയർ പായ്ക്ക് (സ്ക്രൂകൾ, വാഷറുകൾ, വയർ നട്ടുകൾ മുതലായവ)

Figure 3: Included handheld remote control for the Avia II Ceiling Fan.
4. സജ്ജീകരണവും ഇൻസ്റ്റാളേഷനും
4.1 പ്രീ-ഇൻസ്റ്റലേഷൻ
- സർക്യൂട്ട് ബ്രേക്കറിൽ വൈദ്യുതി ഓഫാണെന്ന് ഉറപ്പാക്കുക.
- Verify that the chosen installation location has a suitable, UL Listed outlet box capable of supporting the fan's weight.
- Gather all necessary tools: Phillips screwdriver, flat-blade screwdriver, wire strippers, electrical tape, ladder.
4.2 ഫാൻ ഘടിപ്പിക്കൽ
- Attach the mounting bracket to the outlet box using the screws provided with the outlet box. Ensure it is securely fastened.
- Assemble the downrod to the fan motor assembly, feeding the wires through the downrod.
- Carefully lift the fan assembly and hang it from the mounting bracket using the hanger ball.

Figure 4: Recommended downrod lengths based on ceiling height for optimal air circulation.
4.3 വയറിംഗ്
Connect the fan's electrical wires to the household wiring according to the wiring diagram provided in the separate installation guide (not included in this manual). Typically, this involves connecting the ground wire, neutral wire, and hot wire(s) using wire nuts. Ensure all connections are secure.
4.4 ബ്ലേഡുകളും ലൈറ്റ് കിറ്റും ഘടിപ്പിക്കൽ
- Attach the fan blades to the motor housing using the provided screws. Ensure all screws are tightened securely.
- Connect the light kit wires to the fan motor wires as instructed.
- Secure the light kit assembly to the fan motor housing.
- Install the light cover/diffuser.

Figure 5: Close-up of the integrated LED light fixture.

Figure 6: Detail of the fan blade texture and attachment.
5. പ്രവർത്തന നിർദ്ദേശങ്ങൾ
5.1 റിമോട്ട് കൺട്രോൾ ഓപ്പറേഷൻ
Your Avia II ceiling fan comes with a handheld remote control for convenient operation. Ensure the battery is correctly installed in the remote.
- ഫാൻ സ്പീഡ് നിയന്ത്രണം: Use the fan speed buttons (typically up/down arrows or numbered buttons) to cycle through the 3 available fan speeds (low, medium, high).
- പ്രകാശ നിയന്ത്രണം: Press the light button to turn the light on or off. Hold the light button to dim or brighten the integrated LED light.
Figure 7: Remote control functions for fan speed and light dimming.
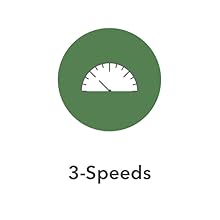
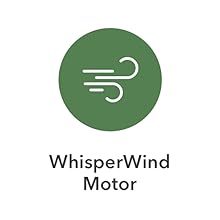
Figure 8: Icons indicating 3-speed control and WhisperWind motor technology.
5.2 റിവേഴ്സിബിൾ മോട്ടോർ ഫംഗ്ഷൻ
The Avia II features a WhisperWind reversible motor, allowing you to change the direction of the fan blades for year-round comfort.
- വേനൽക്കാല പ്രവർത്തനം: In warmer weather, set the fan to rotate counter-clockwise (downward airflow). This creates a cooling breeze effect.
- ശീതകാല പ്രവർത്തനം: In cooler weather, set the fan to rotate clockwise (upward airflow). This helps to circulate warm air trapped near the ceiling, distributing it throughout the room.
To reverse the motor direction, locate the reverse switch on the fan motor housing (usually a small slide switch). Ensure the fan is off before changing the direction.
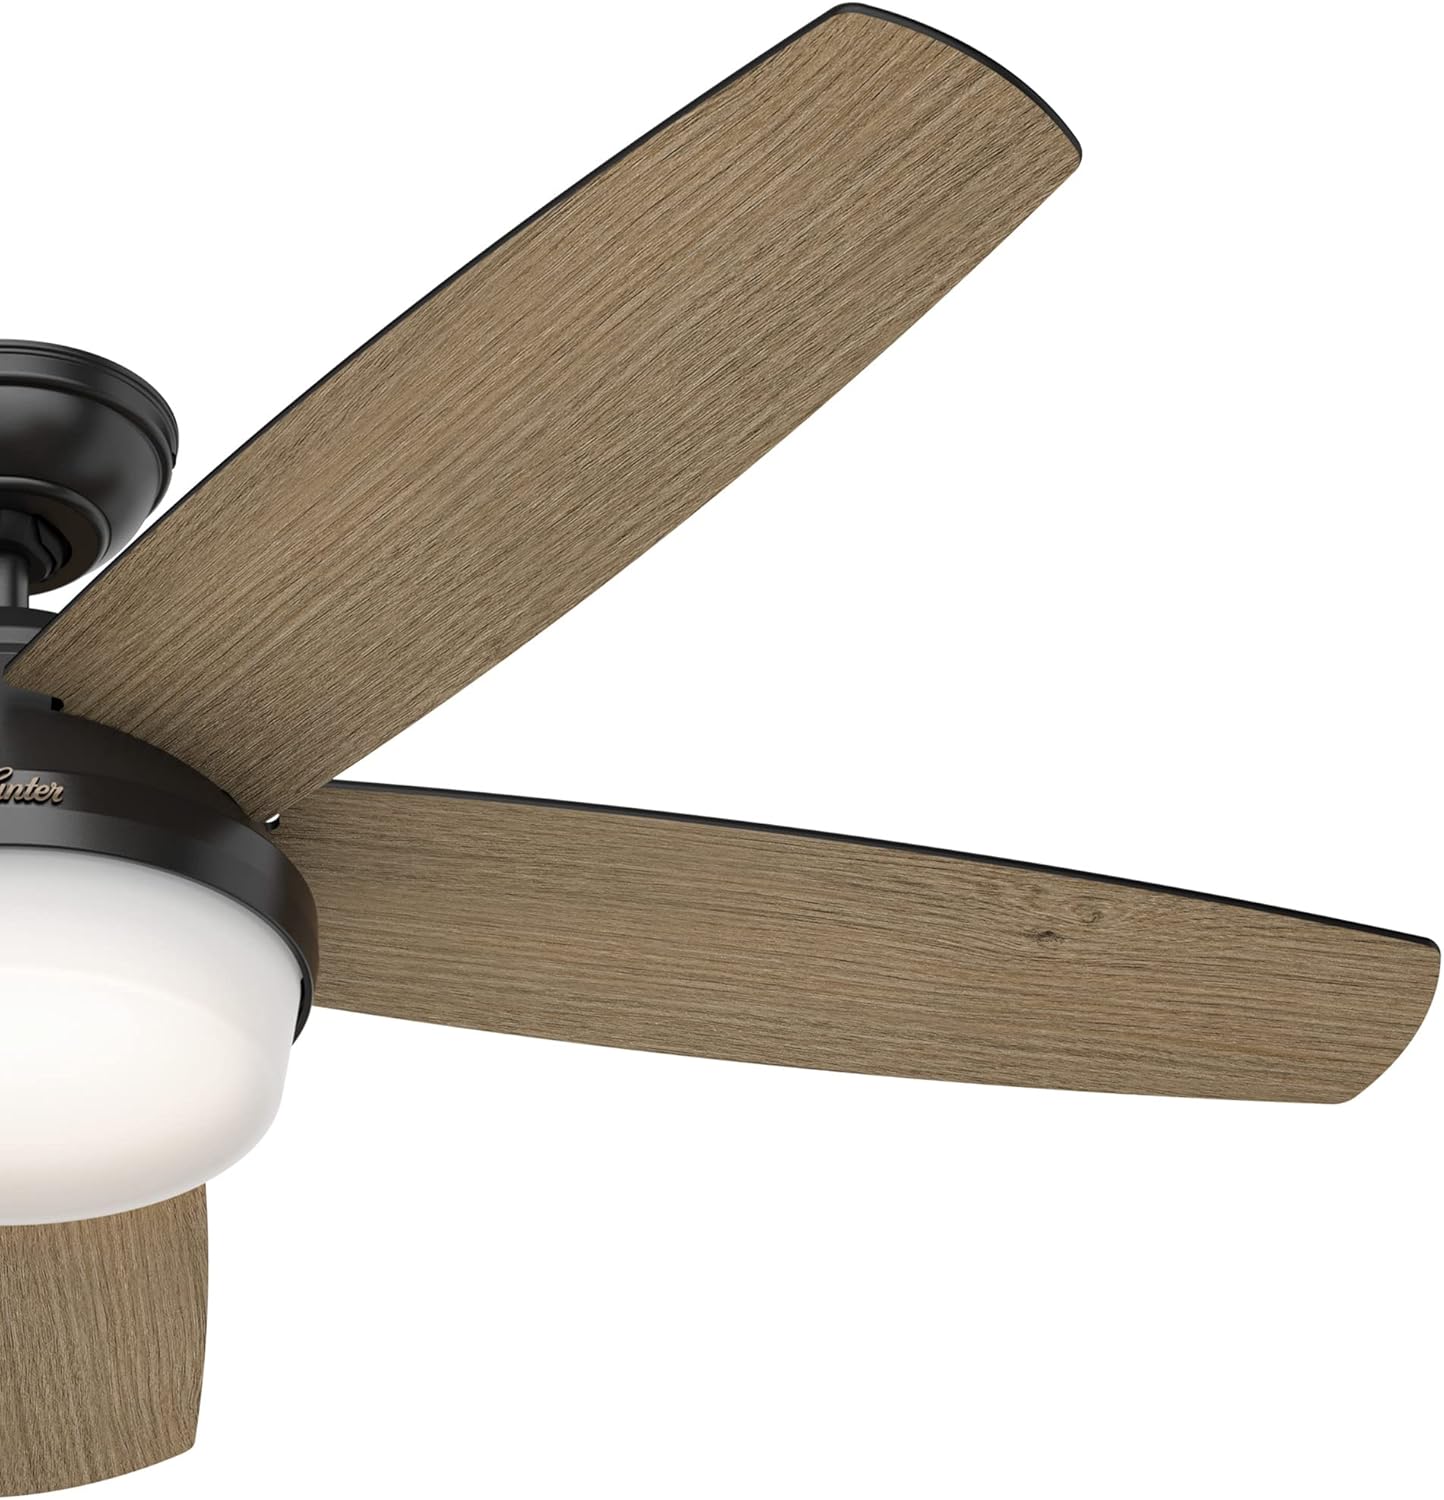
Figure 9: Fan blade angle for optimal air movement.
6. പരിപാലനം
Regular maintenance will ensure the longevity and optimal performance of your Hunter Avia II Ceiling Fan.
- വൃത്തിയാക്കൽ: ഫാൻ വൃത്തിയാക്കാൻ, മൃദുവായ, ഡി തുണി ഉപയോഗിച്ച് തുടയ്ക്കുക.amp cloth. Do not use abrasive cleaners or solvents, as they may damage the finish or blades.
- ബ്ലേഡ് ക്ലീനിംഗ്: Dust the fan blades regularly to prevent dust buildup, which can affect balance and performance.
- മുറുകുന്ന സ്ക്രൂകൾ: Periodically check all screws on the fan and mounting hardware to ensure they are tight. Loose connections can cause noise or wobbling.
- ലൈറ്റ് കിറ്റ്: The integrated LED light is designed for long life and typically does not require replacement. If issues arise, consult a qualified electrician or Hunter customer support.
7. പ്രശ്നപരിഹാരം
If you experience issues with your fan, refer to the following troubleshooting guide:
| പ്രശ്നം | സാധ്യമായ കാരണം | പരിഹാരം |
|---|---|---|
| ഫാൻ ആരംഭിക്കുന്നില്ല | ഫാനിലേക്ക് വൈദ്യുതിയില്ല; അയഞ്ഞ വയർ കണക്ഷനുകൾ; റിമോട്ട് കൺട്രോൾ ബാറ്ററി തീർന്നു. | സർക്യൂട്ട് ബ്രേക്കർ പരിശോധിക്കുക; എല്ലാ വയർ കണക്ഷനുകളും സുരക്ഷിതമാണെന്ന് ഉറപ്പാക്കുക; റിമോട്ട് കൺട്രോൾ ബാറ്ററി മാറ്റിസ്ഥാപിക്കുക. |
| ഫാൻ കുലുങ്ങുന്നു | അയഞ്ഞ ബ്ലേഡ് സ്ക്രൂകൾ; അസന്തുലിതമായ ബ്ലേഡുകൾ; അയഞ്ഞ മൗണ്ടിംഗ് ബ്രാക്കറ്റ്. | എല്ലാ ബ്ലേഡ് സ്ക്രൂകളും മുറുക്കുക; ബ്ലേഡുകൾ ബാലൻസ് ചെയ്യാൻ ഒരു ബാലൻസിംഗ് കിറ്റ് (ഉൾപ്പെടുത്തിയിട്ടില്ല) ഉപയോഗിക്കുക; മൗണ്ടിംഗ് ബ്രാക്കറ്റ് സുരക്ഷിതമായി ഉറപ്പിച്ചിട്ടുണ്ടെന്ന് ഉറപ്പാക്കുക. |
| വെളിച്ചം പ്രവർത്തിക്കുന്നില്ല | Loose wire connections in light kit; Faulty LED module. | Check light kit wiring connections; Contact Hunter customer support if LED module is suspected faulty. |
| ശബ്ദായമാനമായ പ്രവർത്തനം | Loose screws; Fan not level; Motor hum. | Check and tighten all screws; Ensure fan is level; A slight motor hum is normal, but excessive noise may indicate an issue. |
8 സ്പെസിഫിക്കേഷനുകൾ
Detailed specifications for the Hunter Avia II Ceiling Fan (Model 59593):
| ഫീച്ചർ | വിശദാംശങ്ങൾ |
|---|---|
| ബ്രാൻഡ് | വേട്ടക്കാരൻ |
| മോഡലിൻ്റെ പേര് | Avia II |
| മോഡൽ നമ്പർ | 59593 |
| വലിപ്പം | 52 ഇഞ്ച് |
| നിറം | മാറ്റ് ബ്ലാക്ക് |
| ഫിനിഷ് തരം | Brushed Nickel, Matte Black |
| ബ്ലേഡുകളുടെ എണ്ണം | 5 |
| ബ്ലേഡ് മെറ്റീരിയൽ | പ്ലാസ്റ്റിക് |
| മോട്ടോർ തരം | AC Motor (WhisperWind Reversible) |
| പവർ ലെവലുകളുടെ എണ്ണം | 3 (വേഗത) |
| നിയന്ത്രണ രീതി | റിമോട്ട് കൺട്രോൾ |
| ലൈറ്റ് തരം | സംയോജിത എൽഇഡി |
| തിളങ്ങുന്ന ഫ്ലക്സ് | 800 ല്യൂമെൻസ് |
| വർണ്ണ താപനില | 3000 കെൽവിൻ |
| വാട്ട്tage | 40 വാട്ട്സ് |
| വാല്യംtage | 120 വോൾട്ട് |
| പവർ ഉറവിടം | AC |
| ഇൻഡോർ/ഔട്ട്ഡോർ ഉപയോഗം | ഇൻഡോർ |
| ഇനത്തിൻ്റെ ഭാരം | 19.62 പൗണ്ട് |
| ഉൽപ്പന്ന അളവുകൾ | 52 x 52 x 14.75 ഇഞ്ച് |
| ഉൾപ്പെടുത്തിയ ഘടകങ്ങൾ | Blades, Motor, Remote |
| ബാറ്ററികൾ ഉൾപ്പെടുത്തിയിട്ടുണ്ടോ? | അതെ |
| ബാറ്ററി സെൽ തരം | ആൽക്കലൈൻ |
| ആദ്യ തീയതി ലഭ്യമാണ് | 28 മാർച്ച് 2022 |

Figure 10: Indoor usage icon and fan size selection guide.
9. വാറൻ്റിയും പിന്തുണയും
9.1 വാറൻ്റി വിവരങ്ങൾ
The Hunter Avia II Ceiling Fan comes with a limited lifetime motor warranty. This warranty is backed by Hunter Fan Company, a leader in the fan business with over 135 years of experience, ensuring innovation, style, and expertise in every product they make.

Figure 11: Hunter Fan Company's commitment to quality and heritage.
9.2 ഉപഭോക്തൃ പിന്തുണ
For technical assistance, troubleshooting beyond this manual, or warranty claims, please contact Hunter Fan Company customer support. Refer to the contact information provided with your product packaging or visit the official Hunter Fan Company webഏറ്റവും കാലികമായ പിന്തുണാ വിശദാംശങ്ങൾക്കായി സൈറ്റ്.


