ആമുഖം
This instruction manual provides detailed guidance for the installation, operation, and maintenance of your Yale Assure Lever Wi-Fi Touchscreen Smart Lever Lock, Model YRL226-WF1-0BP. This smart lock offers key-free entry through a responsive touchscreen keypad, Wi-Fi connectivity for remote access management, and compatibility with popular voice assistants. It is designed for doors with a single bore hole and includes features such as automatic unlocking upon approach and automatic relocking. Please read this manual thoroughly before installation and use to ensure proper functionality and security.
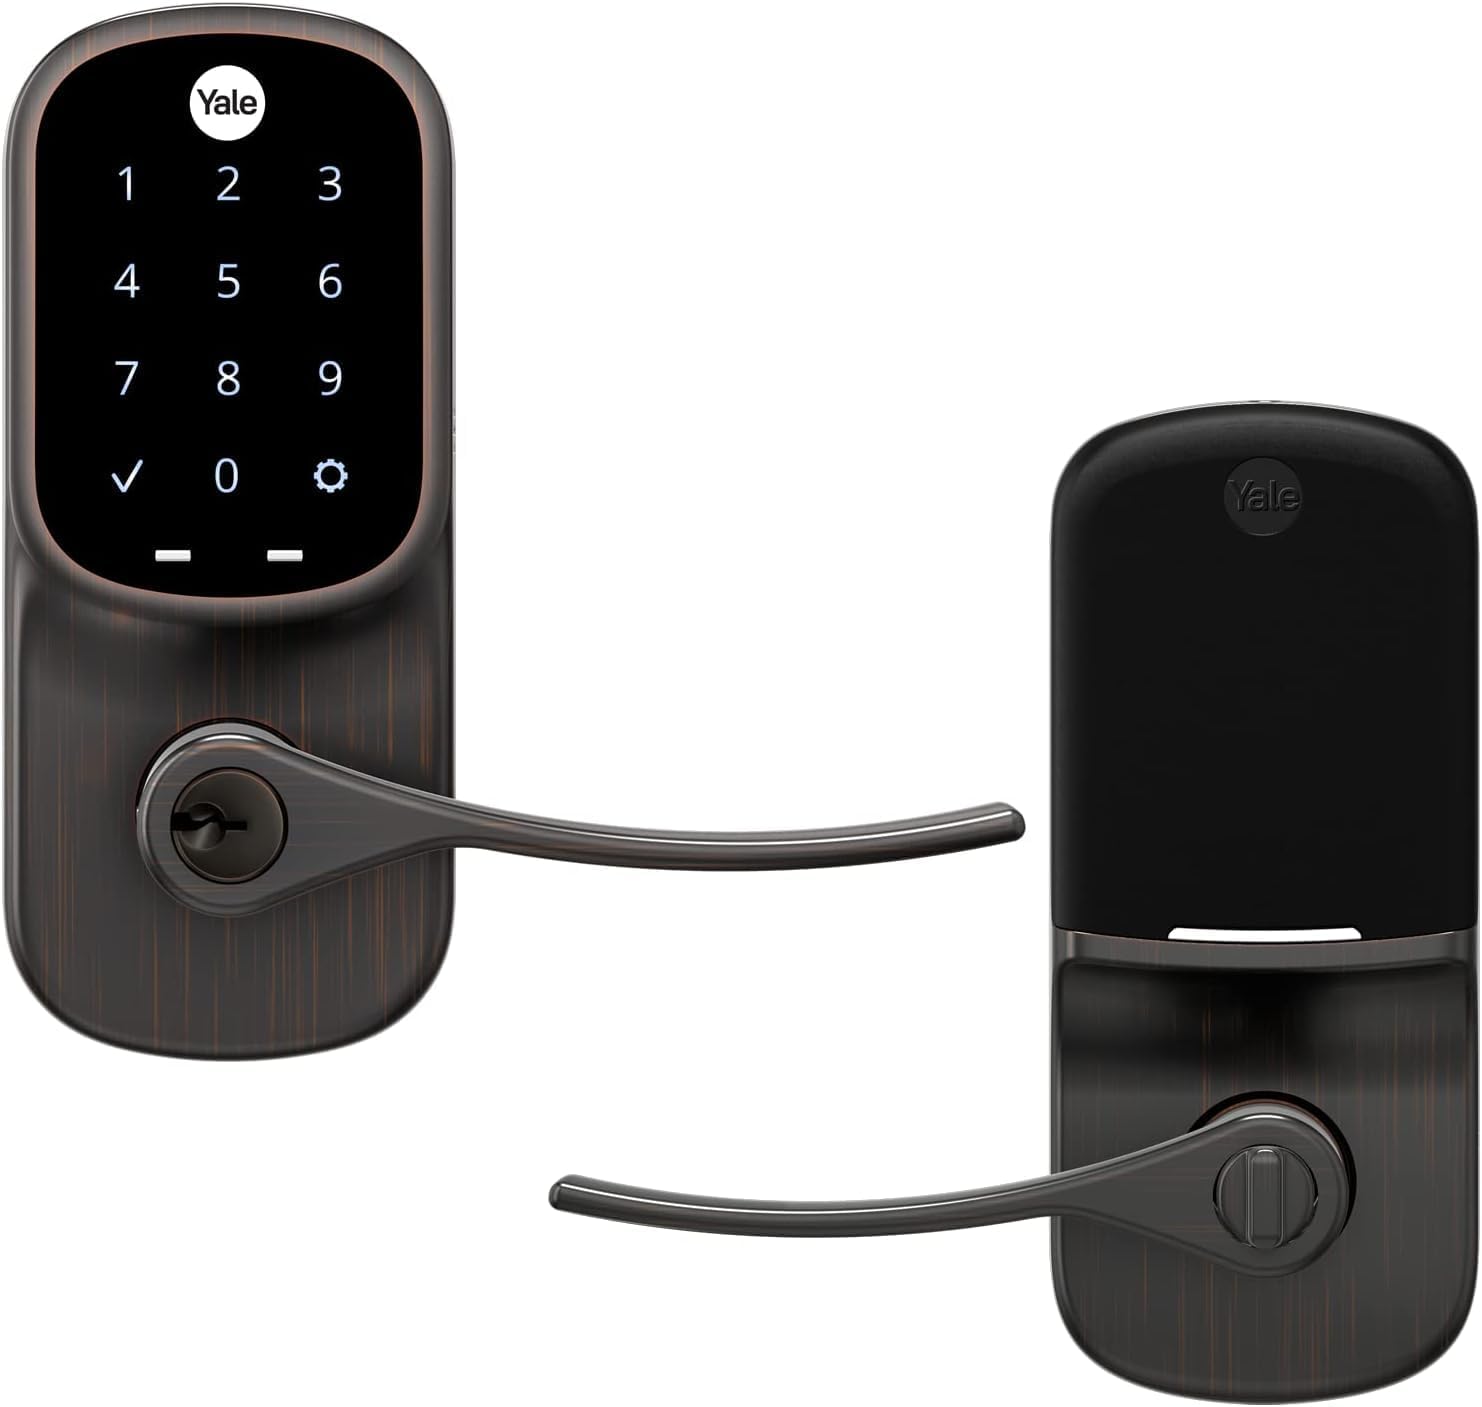
Figure 1: Yale Assure Lever Wi-Fi Touchscreen Smart Lever Lock (Model YRL226-WF1-0BP)
സജ്ജീകരണവും ഇൻസ്റ്റാളേഷനും
The Yale Assure Lever is designed for straightforward installation on doors with a single bore hole (no deadbolt). A Phillips head screwdriver is the only tool required.
പ്രീ-ഇൻസ്റ്റലേഷൻ പരിശോധനകൾ
- വാതിൽ അനുയോജ്യത: Ensure your door has a single bore hole (no deadbolt).
- വാതിൽ കനം: The door thickness must be between 1-3/8 inches and 1-3/4 inches.
- Bore Hole Dimensions: The cross bore hole must be 2-1/8 inches in diameter. The edge bore hole must be 1 inch in diameter.
- ബാക്ക്സെറ്റ്: The latch is adjustable for backsets of 2-3/8 inches or 2-3/4 inches.
- Existing Hardware: Remove any existing door hardware before beginning installation.
ഇൻസ്റ്റലേഷൻ ഘട്ടങ്ങൾ
- വാതിൽ തയ്യാറാക്കുക: Ensure the door is prepped according to the specifications listed above.
- ലാച്ച് ഇൻസ്റ്റാൾ ചെയ്യുക:
- Determine the correct orientation for the latchbolt curve based on your door's strike plate.
- Adjust the latch for the correct backset (2-3/8" or 2-3/4") if needed.
- Slide the latch into the door's edge bore hole, ensuring the horizontal rectangular hole is centered in the cross bore hole.
- Secure the latch with the two wood screws provided. Do not overtighten.
- ബാഹ്യ കീപാഡ് ഇൻസ്റ്റാൾ ചെയ്യുക:
- Check the orientation of the tailpiece; the arrow should face upward, and the tailpiece should be vertical.
- Position the exterior keypad flush on the outside of the door.
- Guide the cable under the latch and through the cross bore hole to the interior side.
- Install the Interior Mounting Bracket:
- Guide the cable through the hole in the mounting bracket.
- Ensure the mounting bracket is flush with the door and straight.
- Secure with the two long through-bolts. Do not overtighten.
- Connect the Interior Lever:
- Remove the battery cover using the included battery cover key.
- Attach the cable from the exterior keypad to the adapter on the interior side of the lock. Ensure the cable's ridges are facing outwards and it is securely fastened.
- Seat the cable under the cable hook on the interior side of the lock.
- Ensure the thumb turn is in the horizontal position.
- Mount the interior side of the lock onto the mounting plate, being careful not to pinch the cable. Hook the bottom first, then push the top into place until it clicks.
- Insert the two small black screws into the battery compartment holes and tighten.
- Install Key-Free Cylinder and Levers:
- Insert the key-free cylinder into the opening on the keypad side. The bar on the cylinder should face the opposite direction from the latch.
- Install the interior and exterior levers by snapping them into place. Push in the spring clips using the battery key or a screwdriver as you slide the levers.
- ടെസ്റ്റ് ഓപ്പറേഷൻ: Test the lever latchbolt by rotating the lever from both the interior and exterior sides of the door.
വിഷ്വൽ ഇൻസ്റ്റലേഷൻ ഗൈഡ്
Video 1: Official Yale Assure Lever Installation Guide. This video demonstrates the step-by-step process for installing the smart lever lock, including preparing the door, installing the latch, exterior keypad, interior mounting bracket, and connecting the interior lever.

Figure 2: Installation of the interior components of the Yale Assure Lever.
പ്രവർത്തന നിർദ്ദേശങ്ങൾ
വാതിൽ അൺലോക്ക് ചെയ്യുന്നു
- Using the Touchscreen Keypad:
- Wake the keypad by touching the Yale logo or any number.
- നിങ്ങളുടെ 4-8 അക്ക എൻട്രി കോഡ് നൽകുക.
- Press the checkmark (✓) to confirm. The lock will unlock.
- Using the Yale Access App:
- Open the Yale Access App on your smartphone.
- Select your lock and tap the unlock icon.
- The lock can also be configured for Auto-Unlock, which unlocks the door automatically as you approach with your phone.
- വോയ്സ് അസിസ്റ്റന്റുകൾ ഉപയോഗിക്കുന്നു:
- If integrated with Amazon Alexa, Hey Google, or Siri, use voice commands to unlock the door. (e.g., "Alexa, unlock the front door").
വാതിൽ പൂട്ടുന്നു
- Using the Touchscreen Keypad:
- Simply touch the Yale logo on the keypad. The lock will engage.
- Using the Yale Access App:
- Open the Yale Access App and tap the lock icon.
- The lock can be configured for Auto-Relock, which automatically locks the door after a set period once it's closed.
- വോയ്സ് അസിസ്റ്റന്റുകൾ ഉപയോഗിക്കുന്നു:
- Use voice commands to lock the door (e.g., "Hey Google, lock the front door").

Figure 3: Unlocking the Yale Assure Lever using the touchscreen keypad.

Figure 4: Remote access and status monitoring via the Yale Access App.
മെയിൻ്റനൻസ്
- ബാറ്ററി മാറ്റിസ്ഥാപിക്കൽ: The lock requires 4 AA alkaline batteries. Replace all batteries simultaneously when the low battery indicator appears or when prompted by the Yale Access App or voice assistant. Use the battery cover key to remove the cover.
- വൃത്തിയാക്കൽ: Clean the touchscreen and exterior surfaces with a soft, damp cloth. Avoid abrasive cleaners or solvents that may damage the finish.
- ലൂബ്രിക്കേഷൻ: Periodically lubricate the latch mechanism with a silicone-based lubricant to ensure smooth operation. Do not use oil-based lubricants.
- ഫേംവെയർ അപ്ഡേറ്റുകൾ: Ensure your Yale Access App is up-to-date to receive notifications for firmware updates for your lock. Regular updates enhance security and functionality.
ട്രബിൾഷൂട്ടിംഗ്
- ലോക്ക് പ്രതികരിക്കുന്നില്ല:
- ബാറ്ററി ലെവലുകൾ പരിശോധിച്ച് ആവശ്യമെങ്കിൽ മാറ്റിസ്ഥാപിക്കുക.
- Ensure the cable connection between the exterior and interior units is secure.
- Keypad Not Lighting Up:
- Tap the Yale logo or any number to wake the keypad.
- Verify batteries are correctly installed and have sufficient charge.
- Auto-Unlock/Auto-Relock Issues:
- Check your phone's location services and Bluetooth settings for the Yale Access App.
- Ensure the door sensor is correctly aligned and functioning.
- Verify settings within the Yale Access App.
- റിമോട്ട് ആക്സസ് പ്രശ്നങ്ങൾ:
- Confirm your home Wi-Fi network is active and the lock is connected.
- Check the status of your Yale Smart Module within the app.
- Incorrect Code Entry:
- Ensure you are entering the correct 4-8 digit code followed by the checkmark (✓).
- If multiple incorrect attempts are made, the lock may temporarily disable the keypad for security.
For further assistance, refer to the full product manual or contact Yale customer support.
സ്പെസിഫിക്കേഷനുകൾ
| ഫീച്ചർ | വിശദാംശങ്ങൾ |
|---|---|
| ബ്രാൻഡ് | യേൽ |
| മോഡലിൻ്റെ പേര് | Yale Assure Lever |
| ഇനം മോഡൽ നമ്പർ | YRL226-WF1-0BP |
| ലോക്ക് തരം | App, Keypad, Touchscreen, Wi-Fi |
| പ്രത്യേക ഫീച്ചർ | Wi-Fi Built In, No Hubs |
| കണക്റ്റിവിറ്റി പ്രോട്ടോക്കോൾ | വൈഫൈ |
| കൺട്രോളർ തരം | ആമസോൺ അലക്സ, സിരി |
| നിറം | വെങ്കലം |
| ഫിനിഷ് തരം | എണ്ണ തടവി |
| മെറ്റീരിയൽ | Rubber, Bronze |
| ഉൽപ്പന്ന അളവുകൾ | 1.38 x 2.75 x 6.06 ഇഞ്ച് |
| ഇനത്തിൻ്റെ ഭാരം | 4.67 പൗണ്ട് |
| ബാറ്ററികൾ | 4 AA ബാറ്ററികൾ ആവശ്യമാണ് (ഉൾപ്പെടുന്നു) |
| ശുപാർശ ചെയ്യുന്ന ഉപയോഗങ്ങൾ | വീട് |
വാറൻ്റി വിവരങ്ങൾ
The Yale Assure Lever (Model YRL226-WF1-0BP) comes with a Lifetime Limited Warranty on Finish and Mechanical components. Electronic components are covered by a ഒരു വർഷത്തെ വാറൻ്റി. For detailed terms and conditions, please refer to the official Yale warranty documentation included with your product or visit the Yale webസൈറ്റ്.
പിന്തുണയും കോൺടാക്റ്റും
Should you require further assistance with your Yale Assure Lever, please contact Yale customer support.
- ഓൺലൈൻ പിന്തുണ: ഔദ്യോഗിക യേൽ സന്ദർശിക്കുക webപതിവുചോദ്യങ്ങൾ, ട്രബിൾഷൂട്ടിംഗ് ഗൈഡുകൾ, ഉൽപ്പന്ന രജിസ്ട്രേഷൻ എന്നിവയ്ക്കുള്ള സൈറ്റ്.
- ഫോൺ പിന്തുണ: പ്രാദേശിക പിന്തുണ നമ്പറുകൾക്കായി നിങ്ങളുടെ ഉൽപ്പന്ന പാക്കേജിംഗിൽ നൽകിയിരിക്കുന്ന കോൺടാക്റ്റ് വിവരങ്ങൾ പരിശോധിക്കുക.
- യേൽ ആക്സസ് ആപ്പ്: The app often provides in-app support and resources.
When contacting support, please have your product model number (YRL226-WF1-0BP) and purchase information readily available.


