ആമുഖം
The Rockler Mini Deluxe Panel Clamps are designed to facilitate precise and flat glue-ups for woodworking panels. This 2-pack set provides four-way pressure, ensuring that panels remain flat and joints are flush during the curing process. These clamps are optimized for smaller to medium-sized projects such as cutting boards, small panels, and frame-and-panel door assemblies. They accommodate panels from 1/2 inch to 1-1/2 inches thick and up to 16 inches wide.
എന്താണ് ഉൾപ്പെടുത്തിയിരിക്കുന്നത്
Your Rockler Mini Deluxe Panel Clamps set includes the following components:
- 2 Pairs of Clamp റെയിലുകൾ
- 2 Clamp Headstocks with Handles
- 2 Clamp Tailstocks
- 1 Wall Storage Rack
സ്പെസിഫിക്കേഷനുകൾ
| മെറ്റീരിയൽ | അലോയ് സ്റ്റീൽ |
| അളവുകൾ (L x W x H) | 21.5 x 7.5 x 5.5 ഇഞ്ച് |
| ഇനത്തിൻ്റെ ഭാരം | 8.23 പൗണ്ട് (3.74 കിലോഗ്രാം) |
| Panel Thickness Capacity | 1/2 inch to 1-1/2 inches |
| Panel Width Capacity | 16 ഇഞ്ച് വരെ |
| Rail Construction | 1.8mm-thick steel with durable powder-coat finish |
| Headstock & Tailstock Finish | പൊടി പൂശി |
| Threaded Rod & Handle Finish | Zinc coating |
സജ്ജമാക്കുക
Proper setup is crucial for achieving optimal results with your Rockler Mini Deluxe Panel Clamps. It is highly recommended to perform a dry run without glue to familiarize yourself with the clamping mechanism before a live glue-up.
- ഘടകങ്ങൾ അൺപാക്ക് ചെയ്യുക: Carefully remove all components from the packaging. Identify the clamp rails, headstocks (with handles), and tailstocks.
- Cl കൂട്ടിച്ചേർക്കുകamps: Slide the headstock and tailstock onto the clamp rails. Ensure they are oriented correctly. The sawtooth pattern on the rails allows for easy adjustment.
- പ്രാരംഭ ക്രമീകരണം: Place the panel you intend to glue between the assembled clamps. Adjust the headstock and tailstock along the sawtooth rails to roughly match the width of your panel. The integrated feet in the rails provide clearance for easier adjustment.
- ഡ്രൈ റൺ: Practice engaging the scissor-action couplers and tightening the handles. Observe how the clamps apply pressure and flatten the panel. This practice will help you understand the necessary tension and alignment for your project.

Image: Rockler Mini Deluxe Panel Clamps assembled and ready for use on a small panel, demonstrating the setup.
പ്രവർത്തന നിർദ്ദേശങ്ങൾ
Follow these steps for effective use of your Rockler Mini Deluxe Panel Clamps to achieve flat and flush glue-ups.
- Prepare Your Panel: Ensure your panel pieces are cut accurately and the edges to be joined are clean and flat.
- Apply Wood Glue: Apply an even layer of wood glue to the edges of the panel pieces that will be joined. Work efficiently, especially if using a fast-setting glue.
- പൊസിഷൻ പാനൽ: Carefully place the glued panel pieces between the clamp rails. Ensure the panel is centered and stable.
- Engage Clamps: Engage the scissor-action couplers on both the headstock and tailstock. These couplers apply pressure from all four sides of the panel.
- Tighten Handles: Turn the handles on the headstocks to apply even pressure. Tighten gradually and alternately to ensure the panel remains flat and the joints are flush. The clamps are designed to force the panel flat, eliminating bowing.
- വിന്യാസം പരിശോധിക്കുക: Visually inspect the panel to confirm it is flat and the joints are tightly closed and flush. Adjust tension as needed.
- ക്യൂറിംഗ് സമയം: Allow the glue to cure completely according to the glue manufacturer's instructions before removing the clamps.
- Cl റിലീസ് ചെയ്യുകamps: Once the glue is cured, loosen the handles and disengage the scissor-action couplers to release the panel.
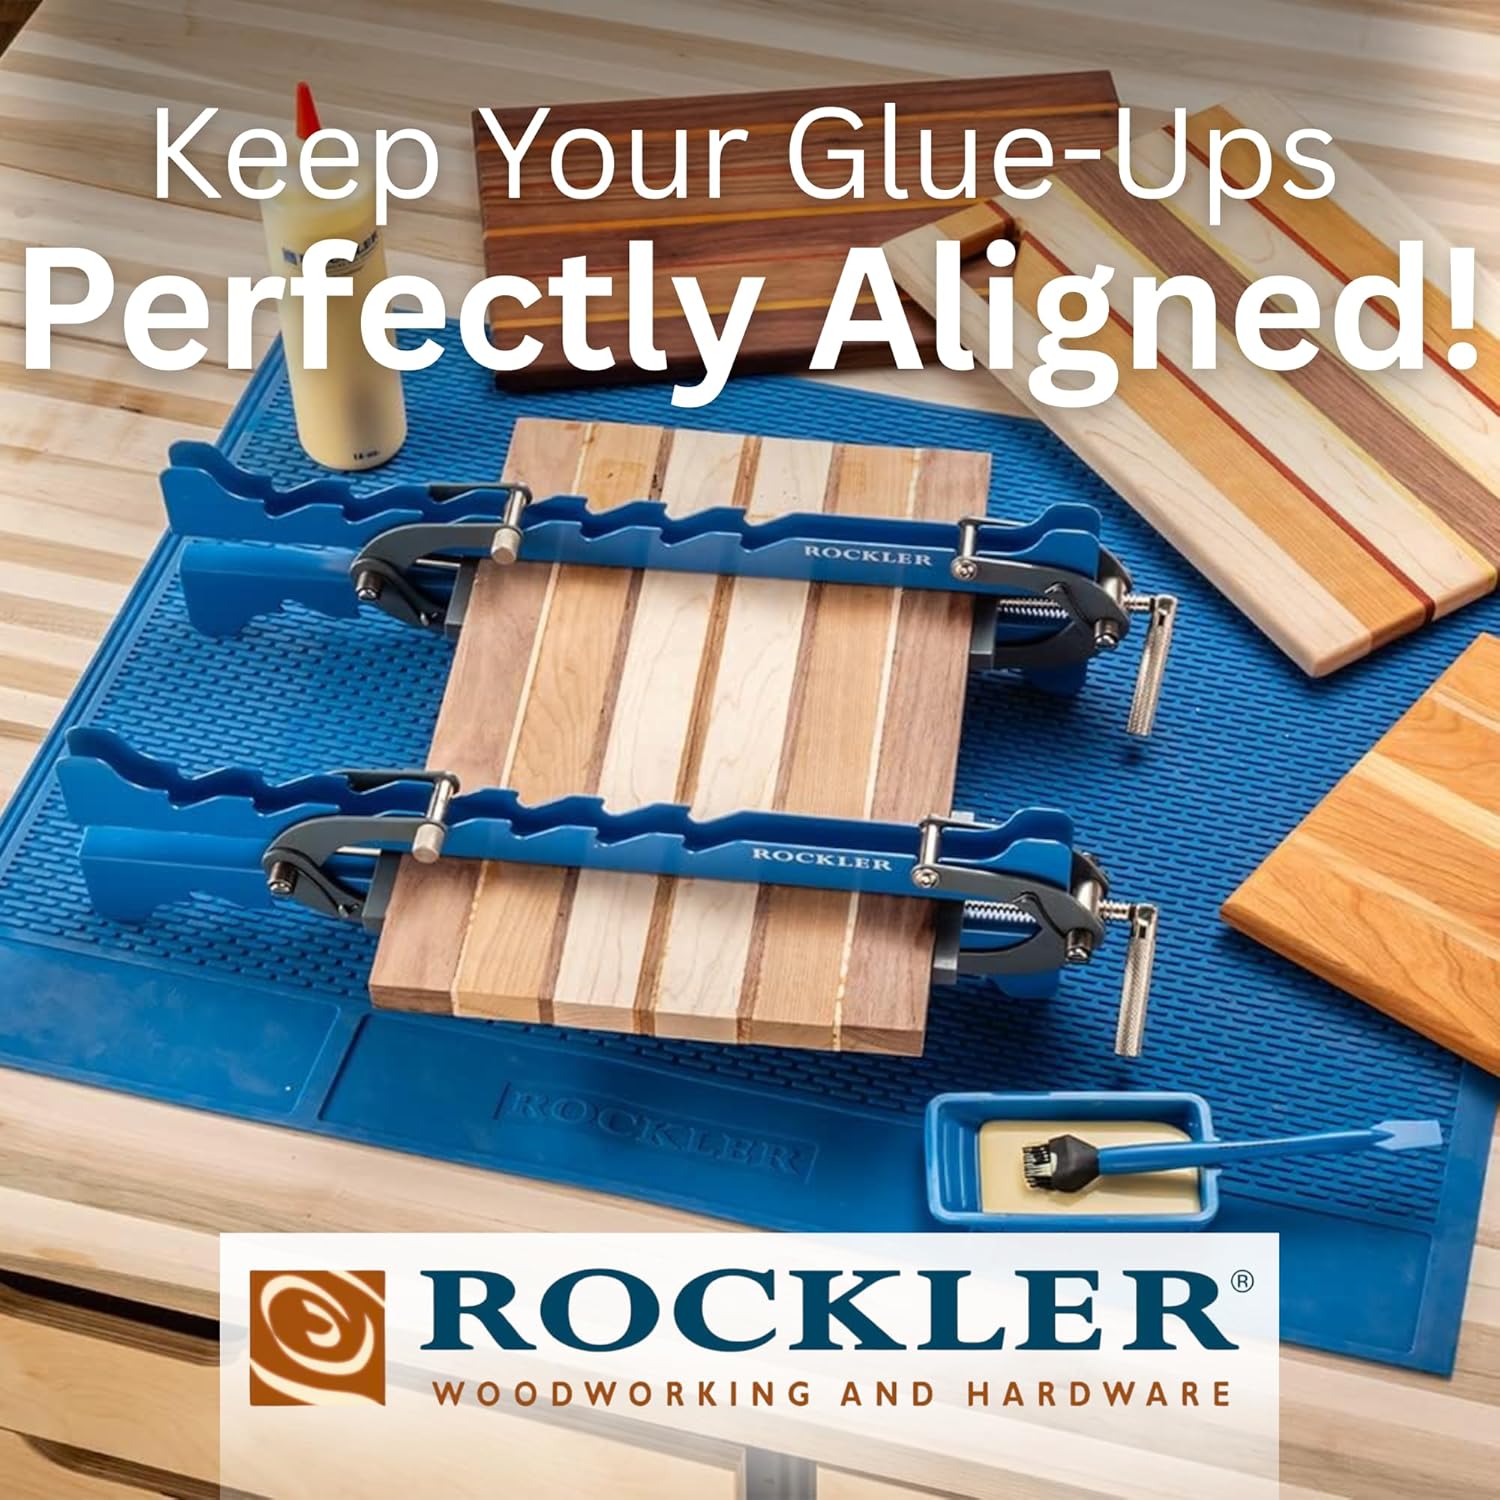
Image: A pair of Rockler Mini Deluxe Panel Clamps securing a multi-piece cutting board during a glue-up, demonstrating proper alignment.
മെയിൻ്റനൻസ്
Regular maintenance will extend the lifespan and ensure the continued performance of your Rockler Mini Deluxe Panel Clamps.
- വൃത്തിയാക്കൽ: After each use, promptly clean any excess wood glue from the clamp rails, headstocks, and tailstocks. The powder-coat finish and zinc coating are designed to resist glue adhesion, making cleaning easier.
- പരിശോധന: Periodically inspect all components for signs of wear, damage, or corrosion. Ensure the threaded rods operate smoothly.
- ലൂബ്രിക്കേഷൻ: If the threaded rods become stiff, apply a small amount of dry lubricant or wax to ensure smooth operation.
- സംഭരണം: Cl സംഭരിക്കുകamps on the provided wall rack in a dry environment to prevent rust and keep them organized.
ട്രബിൾഷൂട്ടിംഗ്
If you encounter issues while using your panel clamps, refer to the following common problems and solutions.
| പ്രശ്നം | സാധ്യമായ കാരണം | പരിഹാരം |
|---|---|---|
| Panel not flat or joints not flush | Uneven pressure, insufficient clamps for panel length, improper initial setup. | Ensure even tightening of both clamps. For longer panels, consider using additional clamps. Perform a dry run to refine setup technique. |
| Difficulty in setting up clampവേഗം | Lack of familiarity with the clamping mechanism, fast-setting glue. | Practice with dry runs until comfortable. Use wood glue with a longer open time for complex glue-ups. |
| Glue sticking to clamps | Excessive glue squeeze-out, dried glue. | Wipe off excess glue immediately after clamping. clamp surfaces are designed to resist glue, but prompt cleaning is best. |
വാറൻ്റിയും പിന്തുണയും
For specific warranty information or technical support regarding your Rockler Mini Deluxe Panel Clamps, please refer to the documentation provided with your purchase or visit the official Rockler Woodworking and Hardware webസൈറ്റ്.
Rockler Woodworking and Hardware: www.rockler.com


