ആമുഖം
This manual provides detailed instructions for the installation and use of your BRAINWAVZ Screwless Wall Mount, designed specifically for the Eufy T8410X (IndoorCam S220 / E220) security camera. Please read these instructions carefully before installation to ensure proper setup and optimal performance.
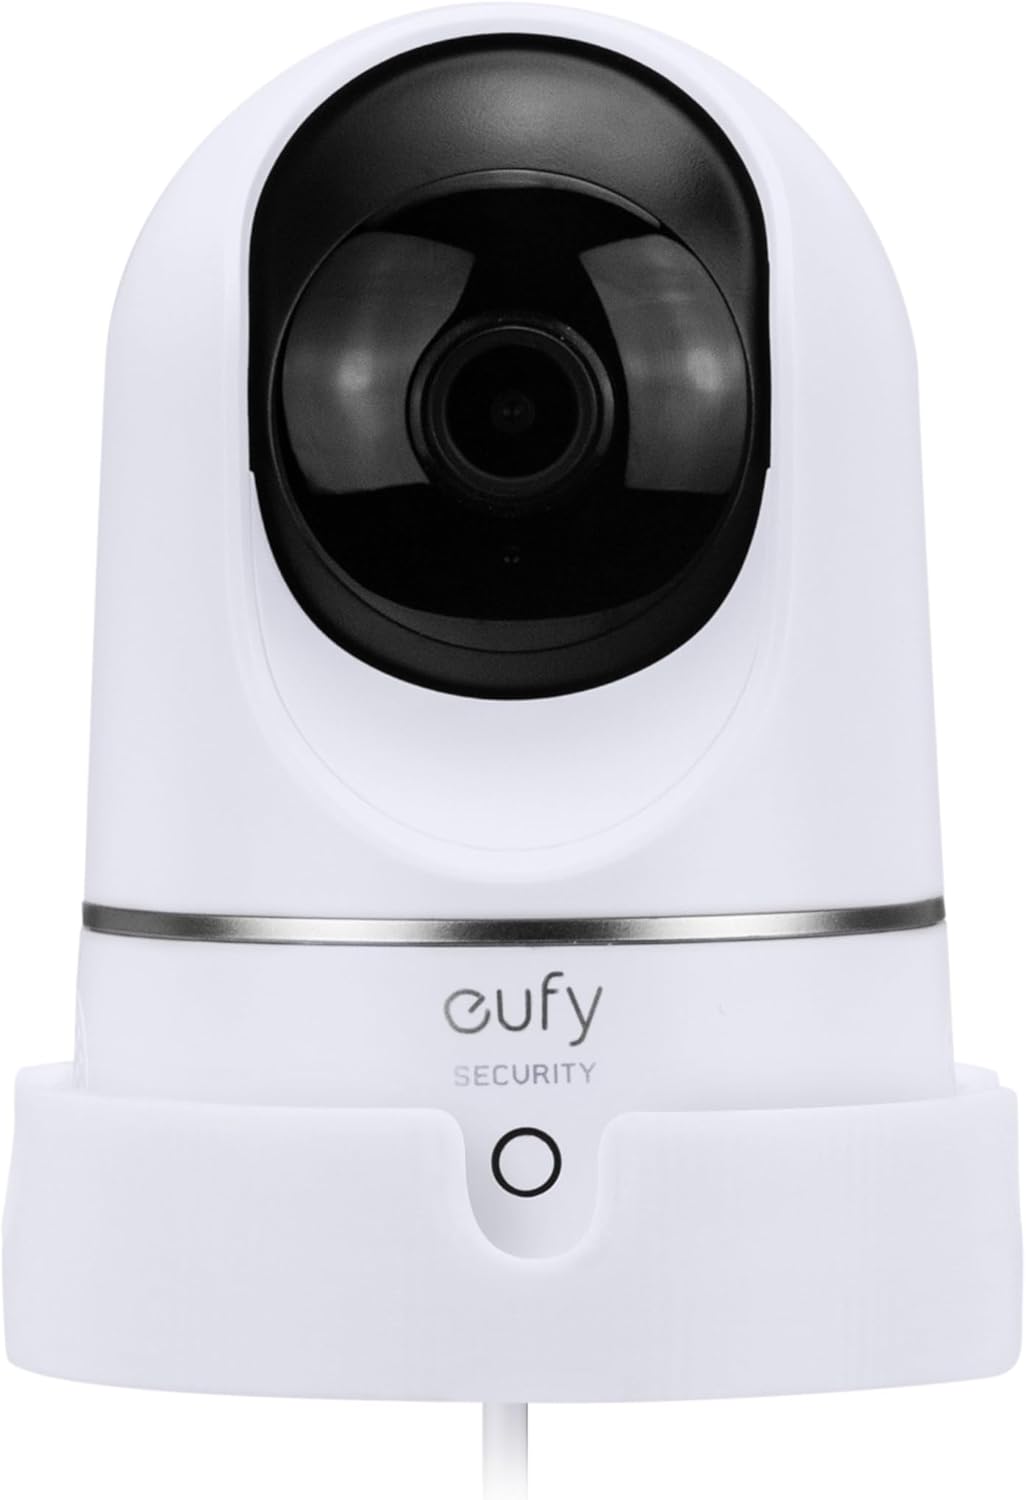
Image: The BRAINWAVZ Wall Mount shown with a compatible Eufy T8410X camera, illustrating how the camera sits securely in the mount.
ഉൽപ്പന്നം കഴിഞ്ഞുview
The BRAINWAVZ Wall Mount offers a secure and versatile solution for positioning your Eufy T8410X camera. It allows for improved viewing angles and helps reduce blind spots by mounting the camera on a vertical surface.
പ്രധാന സവിശേഷതകൾ:
- അനുയോജ്യത: Specifically designed for Eufy T8410X (IndoorCam S220 / E220).
- സുരക്ഷിത മൗണ്ടിംഗ്: Camera sits firmly in the base, secured with an included ¼” mounting bolt.
- കേബിൾ മാനേജുമെന്റ്: Power cord exits neatly to the rear of the hanger.
- ബഹുമുഖ ഇൻസ്റ്റാളേഷൻ: Supports both screw mounting and 3M VHB adhesive mounting.
- ഫ്ലെക്സിബിൾ ഓറിയൻ്റേഷൻ: Can be mounted upside down for tighter locations and better angles.
- നീണ്ടുനിൽക്കുന്ന നിർമ്മാണം: കരുത്തുറ്റതും ഈടുനിൽക്കുന്നതുമായ പ്ലാസ്റ്റിക്കിൽ നിന്നാണ് നിർമ്മിച്ചിരിക്കുന്നത്.
ബോക്സിൽ എന്താണുള്ളത്:
- BRAINWAVZ Wall Mount
- 3M VHB Tape (pre-attached for adhesive mounting option)
- Screws, Washers, Wall Plugs, and Screw Caps (for screw mount option)
- ¼” Mounting Bolt
അനുയോജ്യത
This BRAINWAVZ Wall Mount is exclusively compatible with the following Eufy camera models:
- Eufy T8410X
- Eufy IndoorCam S220
- Eufy IndoorCam E220
Please ensure your camera model matches one of the listed compatible devices before proceeding with installation. This mount is not designed for use with other camera models or brands.

Image: Visual confirmation of compatibility with Eufy T8410X, IndoorCam S220, and E220 models, highlighting the camera's model number location.
ഇൻസ്റ്റലേഷൻ ഗൈഡ്
The BRAINWAVZ Wall Mount offers two installation methods: screw mounting for maximum security and adhesive mounting for a quick, tool-free setup. Choose the method best suited for your wall surface and needs.
Method 1: Screw Mount Option (Recommended for maximum security)
This method provides the most secure attachment for your camera mount. All necessary hardware is included.
- ലൊക്കേഷൻ തിരഞ്ഞെടുക്കുക: Choose a suitable vertical surface for mounting. Consider viewing angles and power cable access.
- ഡ്രിൽ ഹോളുകൾ അടയാളപ്പെടുത്തുക: Hold the mount against the wall at the desired location. Use a pencil to mark the positions for the screw holes.
- ഡ്രിൽ പൈലറ്റ് ദ്വാരങ്ങൾ: Using an appropriate drill bit for your wall type, drill pilot holes at the marked positions. If mounting into drywall, insert the provided wall plugs.
- മൗണ്ട് അറ്റാച്ചുചെയ്യുക: Align the mount with the pilot holes/wall plugs. Insert the screws through the mount and tighten them securely using a screwdriver. Place screw caps over the screw heads for a finished look.
- സുരക്ഷിത ക്യാമറ: Place your Eufy camera into the mount. Ensure the power cable is routed through the designated access hole at the rear. Secure the camera to the mount using the included ¼” mounting bolt.
- Adjust Orientation (Optional): The mount can be installed upside down if required for specific viewing angles or to fit into tighter spaces.

Image: Illustration showing the screw mount option with a screwdriver, alongside the 3M VHB adhesive tape for alternative installation.

Image: Diagram demonstrating how to install the Eufy camera upside down into the wall mount, securing it with the ¼” bolt.
Method 2: Self-Adhesive Mount Option (Tool-free installation)
This method uses strong 3M VHB tape for a quick and easy installation without tools. Important: This method is NOT suitable for painted, damp, or plastered walls. These surfaces are not appropriate for adhesive mounting.
- ശുദ്ധമായ ഉപരിതലം: Ensure the chosen vertical surface is clean, dry, and smooth. Wipe away any dust, dirt, or grease.
- പശ തയ്യാറാക്കുക: The 3M VHB tape is pre-attached to the back of the mount. Carefully peel off the red protective backing from the tape.
- പൊസിഷൻ മൗണ്ട്: Firmly press the mount onto the desired location on the wall. Apply strong, even pressure for at least 30 seconds to ensure good adhesion.
- സജ്ജമാക്കാൻ അനുവദിക്കുക: For optimal adhesion, allow the mount to set for a few hours (ideally 24 hours) before placing the camera into it. This allows the adhesive to fully bond with the surface.
- സുരക്ഷിത ക്യാമറ: Once the adhesive has fully set, place your Eufy camera into the mount. Ensure the power cable is routed through the designated access hole at the rear. Secure the camera to the mount using the included ¼” mounting bolt.

ചിത്രം: ക്ലോസ്-അപ്പ് view of the strong 3M VHB adhesive tape on the rear of the BRAINWAVZ Wall Mount, ready for application.

Image: Diagram illustrating the drop-in design for easy camera placement and the cable access hole for neat power cord routing.
മൗണ്ട് പ്രവർത്തിപ്പിക്കൽ
Once installed, the BRAINWAVZ Wall Mount provides a stable platform for your Eufy T8410X camera. The mount itself does not have moving parts; its function is to securely hold the camera in an elevated position, allowing the camera's pan and tilt features to operate effectively from a better vantagഇ പോയിന്റ്.
- മെച്ചപ്പെടുത്തി Viewing: By mounting your camera on a wall, you can achieve wider coverage and reduce blind spots compared to placing it on a flat surface.
- സുരക്ഷ: The secure fit and optional screw mount prevent accidental knocks or movement, keeping your camera safe.
- കേബിൾ മാനേജുമെന്റ്: The integrated cable access ensures a tidy installation, keeping the power cord out of the way.

ചിത്രം: ഉദാamples of the Eufy camera mounted in different home environments such as a living room, nursery, garage, and home office, demonstrating versatile placement options.
മെയിൻ്റനൻസ്
The BRAINWAVZ Wall Mount requires minimal maintenance.
- വൃത്തിയാക്കൽ: To clean the mount, simply wipe it with a soft, dry, or slightly damp cloth. Avoid using harsh chemicals or abrasive cleaners, as these may damage the finish.
- പരിശോധന: Periodically check the mount for any signs of wear or damage. Ensure the camera remains securely fastened with the ¼” bolt.
- പശ പരിശോധന: If using the adhesive mount, occasionally check that the mount is still firmly attached to the wall. If it shows signs of loosening, consider re-securing it with screws if the surface allows, or relocating it to a more suitable surface.
ട്രബിൾഷൂട്ടിംഗ്
If you encounter any issues with your BRAINWAVZ Wall Mount, please refer to the following common solutions:
- Mount is not sticking (Adhesive Option):
- Ensure the wall surface was clean, dry, and smooth before application.
- Verify the surface is not painted, damp, or plastered, as these are unsuitable for adhesive mounting.
- Ensure sufficient pressure was applied during installation and that the adhesive was allowed to set for several hours (24 hours recommended) before placing the camera.
- If issues persist, consider using the screw mount option for a more permanent and secure installation.
- Camera feels loose in the mount:
- Ensure the ¼” mounting bolt is fully tightened, securing the camera to the mount.
- Verify that your camera is indeed a compatible Eufy T8410X, IndoorCam S220, or E220 model.
- Mount is wobbly (Screw Option):
- എല്ലാ സ്ക്രൂകളും പൂർണ്ണമായി ശക്തമാക്കിയിട്ടുണ്ടെന്ന് ഉറപ്പാക്കുക.
- If mounting into drywall, ensure wall plugs were used and are properly seated.
- Check if the wall surface itself is stable and can support the weight of the camera and mount.
സ്പെസിഫിക്കേഷനുകൾ
| ബ്രാൻഡ് | ബ്രെയിൻവാവ്സ് |
| മോഡൽ നമ്പർ | BWAVZ-EUFYW02-WH |
| അനുയോജ്യമായ ഉപകരണങ്ങൾ | Eufy T8410X (IndoorCam S220 / E220) |
| മൗണ്ടിംഗ് തരം | Wall Mount (Screw or Adhesive) |
| മെറ്റീരിയൽ | മോടിയുള്ള പ്ലാസ്റ്റിക് |
| നിറം | വെള്ള |
| ഇനത്തിൻ്റെ ഭാരം | 1.44 ഔൺസ് |
| പാക്കേജ് അളവുകൾ | 7.13 x 4.53 x 3.43 ഇഞ്ച് |
| പ്രത്യേക ഫീച്ചർ | Enhanced Mounting Security and Durability |
വാറൻ്റിയും പിന്തുണയും
BRAINWAVZ products are designed for quality and durability. For specific warranty information or technical support, please refer to the official BRAINWAVZ webസൈറ്റിൽ ബന്ധപ്പെടുക അല്ലെങ്കിൽ അവരുടെ ഉപഭോക്തൃ സേവനവുമായി നേരിട്ട് ബന്ധപ്പെടുക. വാങ്ങിയതിന്റെ തെളിവായി നിങ്ങളുടെ വാങ്ങൽ രസീത് സൂക്ഷിക്കുക.
കൂടുതൽ സഹായത്തിന്, നിങ്ങൾക്ക് സന്ദർശിക്കാവുന്നതാണ് BRAINWAVZ Store on Amazon.


