1. ആമുഖം
This manual provides essential instructions for setting up, operating, maintaining, and troubleshooting your Brother MFC-L2800DW Monochrome Multifunction Laser Printer. Please read this manual thoroughly before using the device to ensure proper and safe operation.

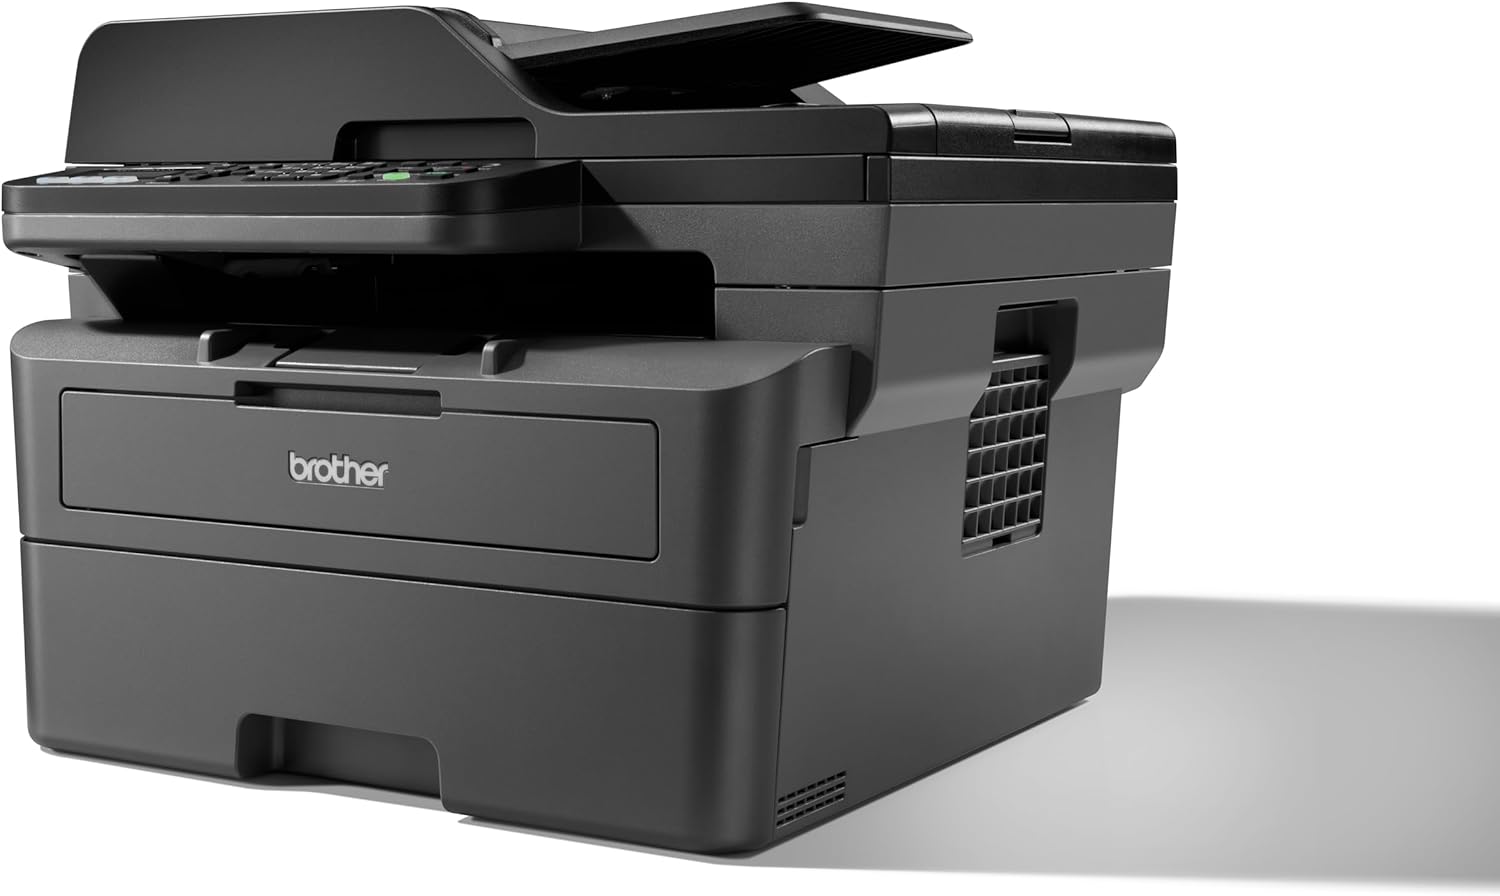
ചിത്രം 1.1: മുൻഭാഗം view of the Brother MFC-L2800DW printer.
2. സജ്ജീകരണം
2.1 പായ്ക്ക് അൺപാക്ക് ചെയ്യലും ഘടക പരിശോധനയും
Carefully remove the printer from its packaging. Verify that all included components are present:
- Brother MFC-L2800DW Printer
- ടോണർ കാട്രിഡ്ജ് (സ്റ്റാർട്ടർ)
- ഡ്രം യൂണിറ്റ്
- പവർ കോർഡ്
- ദ്രുത സജ്ജീകരണ ഗൈഡ്
2.2 Toner and Drum Unit Installation
- പ്രിന്ററിന്റെ മുൻ കവർ തുറക്കുക.
- Remove the drum unit and toner cartridge assembly from its protective bag.
- Insert the toner cartridge firmly into the drum unit until it locks into place.
- Slide the combined drum unit and toner cartridge assembly into the printer until it stops.
- മുൻ കവർ അടയ്ക്കുക.
2.3 പേപ്പർ ലോഡ് ചെയ്യുന്നു
The printer features a 250-sheet paper input tray and a 50-sheet Automatic Document Feeder (ADF).
- Pull out the paper tray completely.
- Adjust the paper guides to fit the paper size (e.g., A4).
- Load paper into the tray, ensuring it is flat and below the maximum fill line.
- പേപ്പർ ട്രേ പതുക്കെ പ്രിന്ററിലേക്ക് തിരികെ തള്ളുക.

ചിത്രം 2.1: മുകളിൽ നിന്ന് താഴേക്ക് view of the printer with the paper tray open, ready for paper loading.
2.4 Power Connection and Initial Power On
- പവർ കോർഡ് പ്രിന്ററിലേക്കും പിന്നീട് ഒരു ഇലക്ട്രിക്കൽ ഔട്ട്ലെറ്റിലേക്കും ബന്ധിപ്പിക്കുക.
- പ്രിന്റർ ഓണാക്കാൻ പവർ ബട്ടൺ അമർത്തുക.
- Follow the on-screen instructions on the LCD display to select your language and region.
2.5 നെറ്റ്വർക്ക് കണക്റ്റിവിറ്റി
The MFC-L2800DW supports Ethernet, Wi-Fi (5 GHz), and USB connections.
- USB കണക്ഷൻ: പ്രിന്ററിൽ നിന്ന് നിങ്ങളുടെ കമ്പ്യൂട്ടറിലേക്ക് ഒരു USB കേബിൾ ബന്ധിപ്പിക്കുക.
- ഇഥർനെറ്റ് കണക്ഷൻ: പ്രിന്ററിൽ നിന്ന് നിങ്ങളുടെ നെറ്റ്വർക്ക് റൂട്ടറിലേക്കോ സ്വിച്ചിലേക്കോ ഒരു ഇതർനെറ്റ് കേബിൾ ബന്ധിപ്പിക്കുക.
- Wi-Fi കണക്ഷൻ: Use the printer's control panel to navigate to the Network settings. Select WLAN, then follow the prompts to connect to your wireless network.
2.6 ഡ്രൈവറും സോഫ്റ്റ്വെയർ ഇൻസ്റ്റാളേഷനും
Insert the installation CD (if provided) into your computer or download the latest drivers and software from the official Brother support webസൈറ്റ്. ഇൻസ്റ്റാളേഷൻ പൂർത്തിയാക്കാൻ ഓൺ-സ്ക്രീൻ നിർദ്ദേശങ്ങൾ പാലിക്കുക.
3. പ്രിന്റർ പ്രവർത്തിപ്പിക്കൽ
3.1 കൺട്രോൾ പാനൽ ഓവർview
ചിത്രം 3.1: ക്ലോസ്-അപ്പ് view of the printer's control panel with LCD display and buttons.
The control panel features a 2-tier LCD display for menu navigation and status updates, along with various buttons for functions like Copy, Scan, Fax, Wi-Fi, and Start.
3.2 പ്രമാണങ്ങൾ അച്ചടിക്കൽ
- പ്രിന്റർ ഓണാക്കിയിട്ടുണ്ടെന്നും നിങ്ങളുടെ കമ്പ്യൂട്ടറിലേക്കോ നെറ്റ്വർക്കിലേക്കോ ബന്ധിപ്പിച്ചിട്ടുണ്ടെന്നും ഉറപ്പാക്കുക.
- നിങ്ങളുടെ കമ്പ്യൂട്ടറിലോ മൊബൈലിലോ പ്രിന്റ് ചെയ്യാൻ ആഗ്രഹിക്കുന്ന ഡോക്യുമെന്റ് തുറക്കുക.
- നിങ്ങളുടെ ആപ്ലിക്കേഷനിൽ നിന്ന് പ്രിന്റ് ഓപ്ഷൻ തിരഞ്ഞെടുക്കുക.
- Choose the Brother MFC-L2800DW from the list of available printers.
- ആവശ്യാനുസരണം പ്രിന്റ് ക്രമീകരണങ്ങൾ (ഉദാ: പകർപ്പുകളുടെ എണ്ണം, പേപ്പർ വലുപ്പം, ഡ്യൂപ്ലെക്സ് പ്രിന്റിംഗ്) ക്രമീകരിക്കുക.
- 'പ്രിന്റ്' ക്ലിക്ക് ചെയ്യുക.

Image 3.2: The Brother MFC-L2800DW printer actively printing a document.
3.3 പ്രമാണങ്ങൾ പകർത്തൽ
- സ്കാനർ ഗ്ലാസിൽ ഡോക്യുമെന്റ് മുഖം താഴേക്ക് വയ്ക്കുക അല്ലെങ്കിൽ ഓട്ടോമാറ്റിക് ഡോക്യുമെന്റ് ഫീഡറിൽ (ADF) മുഖം മുകളിലേക്ക് വയ്ക്കുക.
- അമർത്തുക പകർത്തുക നിയന്ത്രണ പാനലിലെ ബട്ടൺ.
- Use the arrow keys to select copy options (e.g., number of copies, reduction/enlargement, 2-sided copy).
- അമർത്തുക ആരംഭിക്കുക.
3.4 പ്രമാണങ്ങൾ സ്കാൻ ചെയ്യുന്നു
- ഡോക്യുമെന്റ് സ്കാനർ ഗ്ലാസിലോ ADF-ലോ വയ്ക്കുക.
- അമർത്തുക സ്കാൻ ചെയ്യുക നിയന്ത്രണ പാനലിലെ ബട്ടൺ.
- Select your desired scan destination (e.g., PC, Email, FTP).
- Adjust scan settings as prompted by the display.
- അമർത്തുക ആരംഭിക്കുക.
3.5 ഫാക്സിംഗ് രേഖകൾ
- Place the document face down on the scanner glass or face up in the ADF.
- അമർത്തുക ഫാക്സ് നിയന്ത്രണ പാനലിലെ ബട്ടൺ.
- സംഖ്യാ കീപാഡ് ഉപയോഗിച്ച് സ്വീകർത്താവിന്റെ ഫാക്സ് നമ്പർ നൽകുക.
- അമർത്തുക ആരംഭിക്കുക.
4. പരിപാലനം
4.1 ടോണർ കാട്രിഡ്ജ് മാറ്റിസ്ഥാപിക്കൽ
When the 'Toner Low' or 'Replace Toner' message appears on the LCD, it is time to replace the toner cartridge.
- മുൻ കവർ തുറക്കുക.
- Remove the drum unit and toner cartridge assembly from the printer.
- Press the green lock lever and remove the old toner cartridge from the drum unit.
- പുതിയ ടോണർ കാട്രിഡ്ജ് അൺപാക്ക് ചെയ്ത് തിരശ്ചീനമായി പലതവണ സൌമ്യമായി കുലുക്കുക.
- Insert the new toner cartridge firmly into the drum unit until it locks.
- Slide the assembly back into the printer and close the front cover.
4.2 Replacing the Drum Unit
The drum unit is a consumable item that needs replacement after a certain number of pages. The LCD will indicate when replacement is necessary.
- Follow steps 1-3 for toner replacement to remove the old toner and drum assembly.
- Remove the old toner cartridge from the old drum unit.
- പുതിയ ഡ്രം യൂണിറ്റ് അൺപാക്ക് ചെയ്യുക.
- Insert the existing toner cartridge into the new drum unit until it locks.
- Slide the new drum unit and toner cartridge assembly back into the printer and close the front cover.
- Reset the drum counter through the printer's menu.
4.3 പ്രിന്റർ വൃത്തിയാക്കുന്നു
- പുറം: Wipe the exterior with a soft, lint-free cloth.
- സ്കാനർ ഗ്ലാസ്: Clean the scanner glass with a soft, dry cloth. For stubborn marks, use a small amount of glass cleaner applied to the cloth (not directly to the glass).
- Corona Wire: Periodically clean the corona wire inside the drum unit by gently sliding the green tab from left to right several times. Return the tab to its home position.
5. പ്രശ്നപരിഹാരം
This section addresses common issues you might encounter. For more detailed troubleshooting, refer to the official Brother support webസൈറ്റ്.
5.1 പേപ്പർ ജാം
If a paper jam occurs, the LCD will display an error message. Follow these general steps:
- പ്രിന്റർ ഓഫാക്കി പവർ കോർഡ് അൺപ്ലഗ് ചെയ്യുക.
- Open the front cover and carefully remove the drum unit and toner cartridge assembly.
- Gently pull out any jammed paper. Check all paper paths, including the back cover and duplex tray.
- Reinstall the drum unit and toner cartridge assembly, close the cover, and reconnect the power cord.
- പ്രിൻ്റർ ഓണാക്കുക.
5.2 പ്രിന്റ് ഗുണനിലവാര പ്രശ്നങ്ങൾ
- Faded Print: Toner may be low. Replace the toner cartridge.
- വരകൾ അല്ലെങ്കിൽ പാടുകൾ: Clean the corona wire in the drum unit. If the issue persists, the drum unit may need replacement.
- Uneven Density: Ensure the paper type setting matches the paper loaded.
5.3 കണക്റ്റിവിറ്റി പ്രശ്നങ്ങൾ
- ബന്ധമില്ല: Verify all cables are securely connected (USB/Ethernet). For Wi-Fi, ensure the printer is connected to the correct network and the signal is strong.
- പ്രിന്റർ ഓഫ്ലൈൻ: Check printer status on your computer. Restart both the printer and your computer.
6 സ്പെസിഫിക്കേഷനുകൾ
| ഫീച്ചർ | സ്പെസിഫിക്കേഷൻ |
|---|---|
| മോഡലിൻ്റെ പേര് | MFC-L2800DW |
| പ്രിൻ്റിംഗ് ടെക്നോളജി | ലേസർ |
| പ്രിൻ്റർ ഔട്ട്പുട്ട് | മോണോക്രോം |
| പരമാവധി പ്രിന്റ് വേഗത (മോണോക്രോം) | 32 പി.പി.എം |
| പരമാവധി പ്രിന്റ് റെസല്യൂഷൻ (കറുപ്പും വെളുപ്പും) | 1200 x 1200 dpi |
| ഇരട്ട-വശങ്ങളുള്ള പ്രിന്റിംഗ് | അതെ |
| സ്കാനർ തരം | എ.ഡി.എഫ് |
| സ്കാനർ റെസല്യൂഷൻ | 1200 x 1200 |
| പരമാവധി പകർത്തൽ വേഗത (കറുപ്പും വെളുപ്പും) | 32 പി.പി.എം |
| ഓരോ റണ്ണിനും പരമാവധി പകർപ്പുകൾ | 50 |
| കണക്റ്റിവിറ്റി ടെക്നോളജി | Ethernet, USB, Wi-Fi (5 GHz) |
| പരമാവധി ഇൻപുട്ട് ഷീറ്റ് ശേഷി | 250 ഷീറ്റുകൾ |
| ഓട്ടോമാറ്റിക് ഡോക്യുമെൻ്റ് ഫീഡർ (ADF) | 50 ഷീറ്റുകൾ |
| പരമാവധി മീഡിയ വലുപ്പം | A4 |
| ഡിസ്പ്ലേ തരം | LCD (2-tier) |
| മെമ്മറി സ്റ്റോറേജ് കപ്പാസിറ്റി | 128 MB |
| വൈദ്യുതി ഉപഭോഗം | 480 വാട്ട്സ് |
| ഉൽപ്പന്ന അളവുകൾ (LxWxH) | 39.9 x 41 x 31.9 സെ.മീ |
| ഇനത്തിൻ്റെ ഭാരം | 11.6 കിലോഗ്രാം |
| ഉൾപ്പെടുത്തിയ ഘടകങ്ങൾ | Toner Cartridge, Drum Unit, 250 Sheets Paper Input Tray, 50 Sheets Automatic Document Feeder |
7. വാറൻ്റിയും പിന്തുണയും
7.1 ഉൽപ്പന്ന വാറന്റി
Your Brother MFC-L2800DW printer is covered by a manufacturer's warranty. Please refer to the warranty card included with your product or visit the official Brother webനിങ്ങളുടെ പ്രദേശത്തിന് പ്രത്യേകമായുള്ള വിശദമായ വാറന്റി നിബന്ധനകൾക്കും വ്യവസ്ഥകൾക്കും സൈറ്റ് സന്ദർശിക്കുക.
7.2 ഉപഭോക്തൃ പിന്തുണ
For further assistance, technical support, driver downloads, or to access frequently asked questions, please visit the official Brother support webസൈറ്റ്:


