1. ഉൽപ്പന്നം കഴിഞ്ഞുview
The OMTech 50W Fiber Laser Engraver is a high-precision marking and etching machine designed for various materials, including metals, steel, gold, and jewelry. It features a 50W solid-state laser source, a high-speed galvanometric system, and a 7.9x7.9 inch workbed. This machine is compatible with LightBurn and EzCad2 software, offering versatility for detailed engraving tasks.
പ്രധാന സവിശേഷതകൾ:
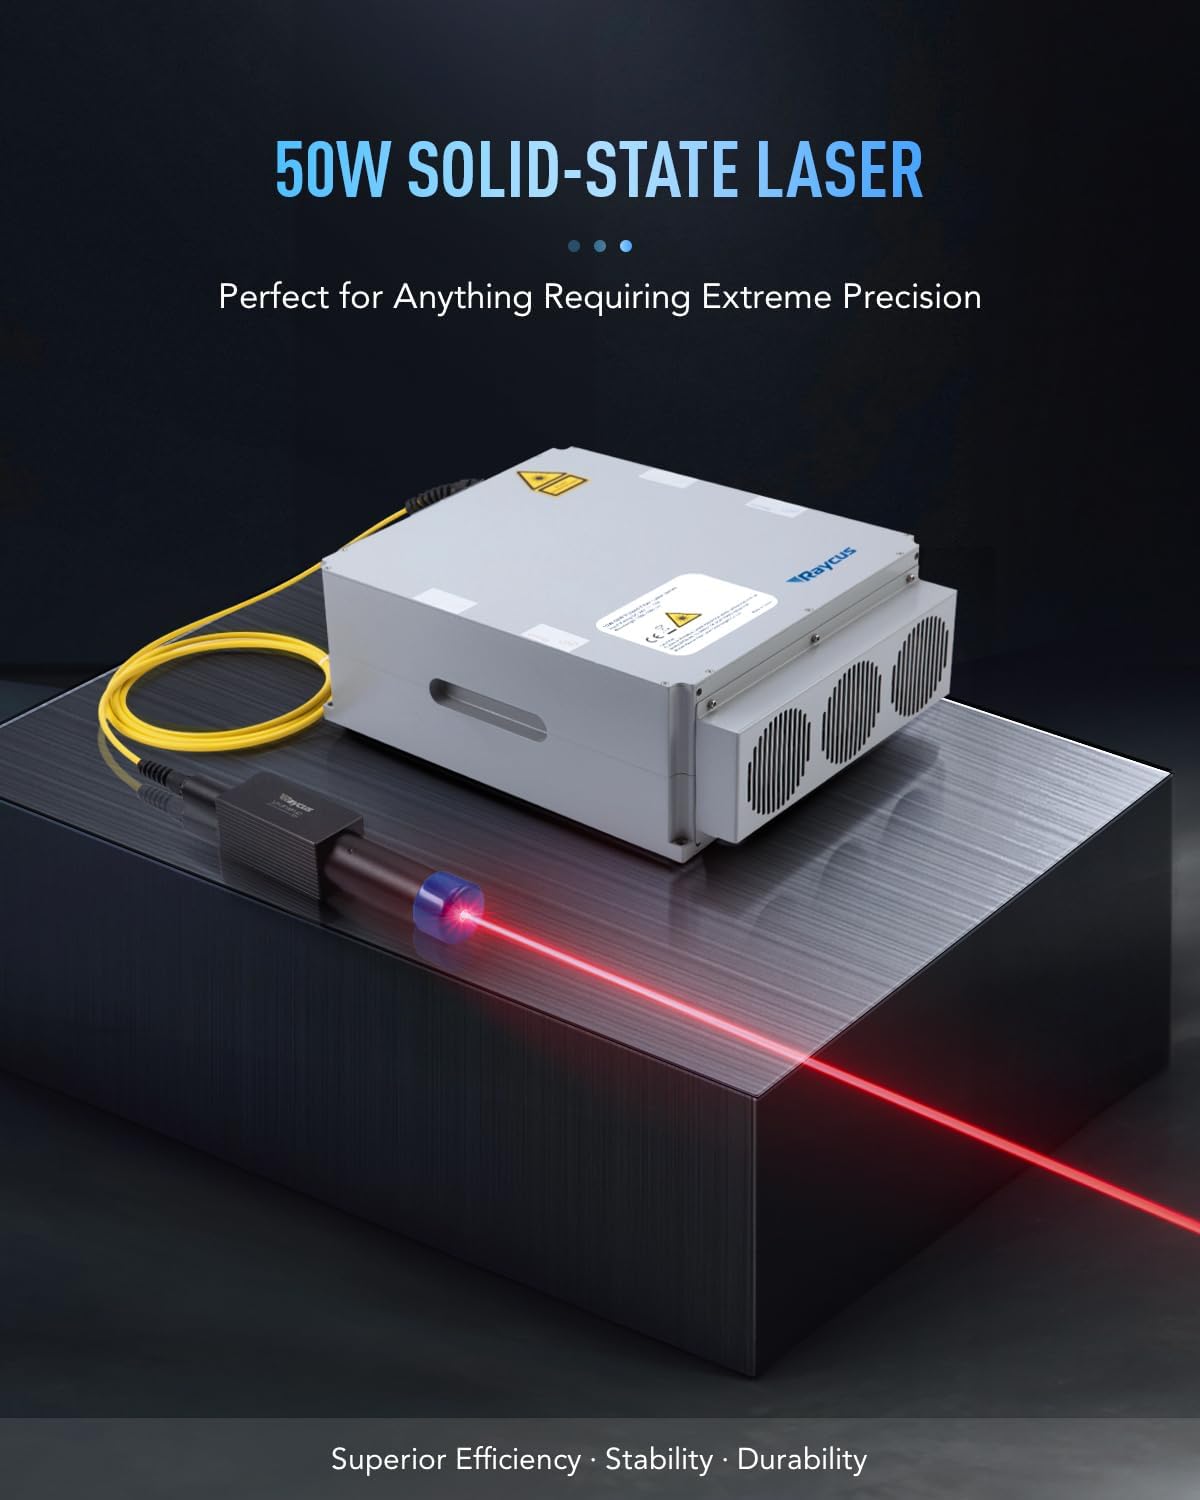
- 50W Solid-State Laser: Provides high speed and precision for etching precious metals. The laser source has an average service life exceeding 100,000 hours.
- Precision Optics: Equipped with a high-speed galvanometric system for quick scanning and engraving. The compact F-theta field lens ensures throughput with less than 1% distortion.
- 200x200 mm Workbed: Features a 7.9x7.9 inch work area with a laser locator for precise calibration and focusing. Protective eyewear is included for safety.
- എളുപ്പമുള്ള പ്രവർത്തനം: Includes EzCad2 software for Windows, supporting various image formats. An emergency button enhances safety, and a 4-pin port allows for rotary axis connection (not included).
- വിശാലമായ ആപ്ലിക്കേഷൻ: This Class 2 laser (0.874 mW output power) is suitable for engraving detailed designs, custom logos, and serial numbers on various materials.

Image: The OMTech 50W Fiber Laser Engraver with its main components, including the laser head and control unit, alongside the LightBurn software logo.
2. സജ്ജീകരണം
Proper setup is crucial for the safe and efficient operation of your OMTech Fiber Laser Engraver. Follow these steps to assemble and connect your machine.
2.1 അൺപാക്കിംഗും അസംബ്ലിയും
Carefully remove all components from the packaging. Ensure all protective materials are removed from the laser head, workbed, and control unit. Assemble the laser head onto the vertical column and secure it to the workbed base. Connect the control unit to the laser head.
Video: This video demonstrates the assembly process for the OMTech fiber laser engraver, showing how to connect the main components and prepare the machine for use.
ചിത്രം: എ view of the OMTech Fiber Laser Engraver's main components, including the laser head, vertical column, and control unit, laid out before assembly.
2.2 Electrical and USB Connections
Connect the power cord to the control unit and a grounded electrical outlet. Connect the USB cable from the control unit to your computer. If using a foot pedal switch, connect it to the designated port on the control unit. Ensure all connections are secure before powering on the machine.

ചിത്രം: ക്ലോസ്-അപ്പ് view of the OMTech Fiber Laser Engraver's control unit, highlighting the ports for the cable to the lens, USB to computer, foot pedal switch, and power cord.
2.3 സോഫ്റ്റ്വെയർ ഇൻസ്റ്റാളേഷനും കണക്ഷനും
Install the provided EzCad2 software on your Windows computer. For LightBurn compatibility, ensure the necessary drivers are installed. Follow the software's instructions to connect your laser engraver to the computer. The device discovery wizard in LightBurn will help identify and configure your machine.
Video: This video provides a step-by-step guide on how to connect your laser engraver with LightBurn software, including device discovery and naming.
3. പ്രവർത്തന നിർദ്ദേശങ്ങൾ
Operating the OMTech Fiber Laser Engraver involves preparing your design, setting up the material, and initiating the engraving process. Always wear protective eyewear during operation.
3.1 മെറ്റീരിയൽ പ്ലേസ്മെന്റും ഫോക്കസിംഗും
Place your material securely on the workbed. Use the red dot pointer for precise calibration and focusing. Adjust the laser head height until the red dots converge, indicating optimal focus. The grid dots on the workbed can assist with material positioning.

Image: Illustration of the red dot guidance system on the OMTech Fiber Laser Engraver, showing how visible laser pointers assist with easy focusing and clear preview കൊത്തുപണി പ്രദേശത്തിന്റെ.
3.2 Design Preparation and Engraving
Prepare your design using LightBurn or EzCad2 software. Import various image formats and adjust parameters such as speed, power, and frequency according to your material and desired effect. Initiate the engraving process through the software. The machine operates at speeds up to 10,000 mm/s for efficient task completion.
Video: A demonstration of the OMTech fiber laser engraver in operation, showing the laser beam marking a metal surface with precision.
Video: This video highlights the ultra-high engraving speed of the OMTech fiber laser engraver, showcasing rapid material marking.
3.3 സുരക്ഷാ സവിശേഷതകൾ
The machine includes an emergency stop button for immediate shutdown in case of an issue. A galvo head lock and access key prevent unauthorized use, ensuring a secure operating environment.

Image: Diagram illustrating the safe and secure controls of the OMTech Fiber Laser Engraver, including the laser button, galvo head lock, and emergency stop button.
4. പരിപാലനം
Regular maintenance ensures the longevity and optimal performance of your laser engraver. Always power off and unplug the machine before performing any maintenance.
- ലെൻസ് ക്ലീനിംഗ്: Periodically inspect and clean the F-theta lens using appropriate lens cleaning solutions and cloths to maintain engraving quality.
- വർക്ക്ബെഡ് വൃത്തിയാക്കൽ: ശരിയായ മെറ്റീരിയൽ സ്ഥാനം ഉറപ്പാക്കുന്നതിനും ലേസർ പാതയിൽ ഇടപെടുന്നത് തടയുന്നതിനും വർക്ക്ബെഡ് അവശിഷ്ടങ്ങളിൽ നിന്നും അവശിഷ്ടങ്ങളിൽ നിന്നും വൃത്തിയായി സൂക്ഷിക്കുക.
- വെൻ്റിലേഷൻ പരിശോധന: Ensure the ventilation system is clear and unobstructed to prevent overheating and maintain air quality.
- കേബിൾ പരിശോധന: Regularly check all cables for any signs of wear or damage. Replace any damaged cables immediately.
5. പ്രശ്നപരിഹാരം
This section provides solutions to common issues you might encounter with your laser engraver.
- ലേസർ വെടിവയ്ക്കുന്നില്ല:
- Check if the machine is powered on and all cables are securely connected.
- അടിയന്തര സ്റ്റോപ്പ് ബട്ടൺ ഓണാക്കിയിട്ടില്ലെന്ന് ഉറപ്പാക്കുക.
- Verify that the software is correctly connected to the laser.
- മോശം കൊത്തുപണി നിലവാരം:
- Confirm the laser is properly focused on the material surface.
- Clean the F-theta lens for any dust or residue.
- Adjust power and speed settings in the software for the specific material being used.
- സോഫ്റ്റ്വെയർ കണക്ഷൻ പ്രശ്നങ്ങൾ:
- ലേസർ എൻഗ്രേവറും നിങ്ങളുടെ കമ്പ്യൂട്ടറും പുനരാരംഭിക്കുക.
- Reinstall the laser drivers and software if necessary.
- Ensure no other programs are interfering with the USB connection.
6 സ്പെസിഫിക്കേഷനുകൾ
| ഫീച്ചർ | വിശദാംശങ്ങൾ |
|---|---|
| ഉൽപ്പന്ന അളവുകൾ | 30.5 x 17.7 x 31.1 ഇഞ്ച് |
| ഇനം മോഡൽ നമ്പർ | RYGEL-FMM5RW2U1 |
| ഇനത്തിൻ്റെ ഭാരം | 120 പൗണ്ട് |
| നിർമ്മാതാവ് | ഒഎംടെക് |
| ആദ്യ തീയതി ലഭ്യമാണ് | ഒക്ടോബർ 16, 2023 |
7. വാറൻ്റിയും പിന്തുണയും
OMTech is committed to providing reliable products and customer support.
- ഉപഭോക്തൃ പിന്തുണ: For any inquiries or assistance, please contact OMTech Direct customer support.
- സാങ്കേതിക സഹായം: U.S.-based technical support is available for quick resolution of any issues.
- വാറൻ്റി: This product typically includes a two-year support period. Please refer to your purchase documentation for specific warranty details.

Image: A visual representation of the OMTech customer support team, emphasizing reliable local support in the U.S.


