1. ആമുഖം
This manual provides essential instructions for setting up, operating, and maintaining your PELADN HA-4 Mini PC. Please read this manual thoroughly before using the device to ensure proper function and longevity.
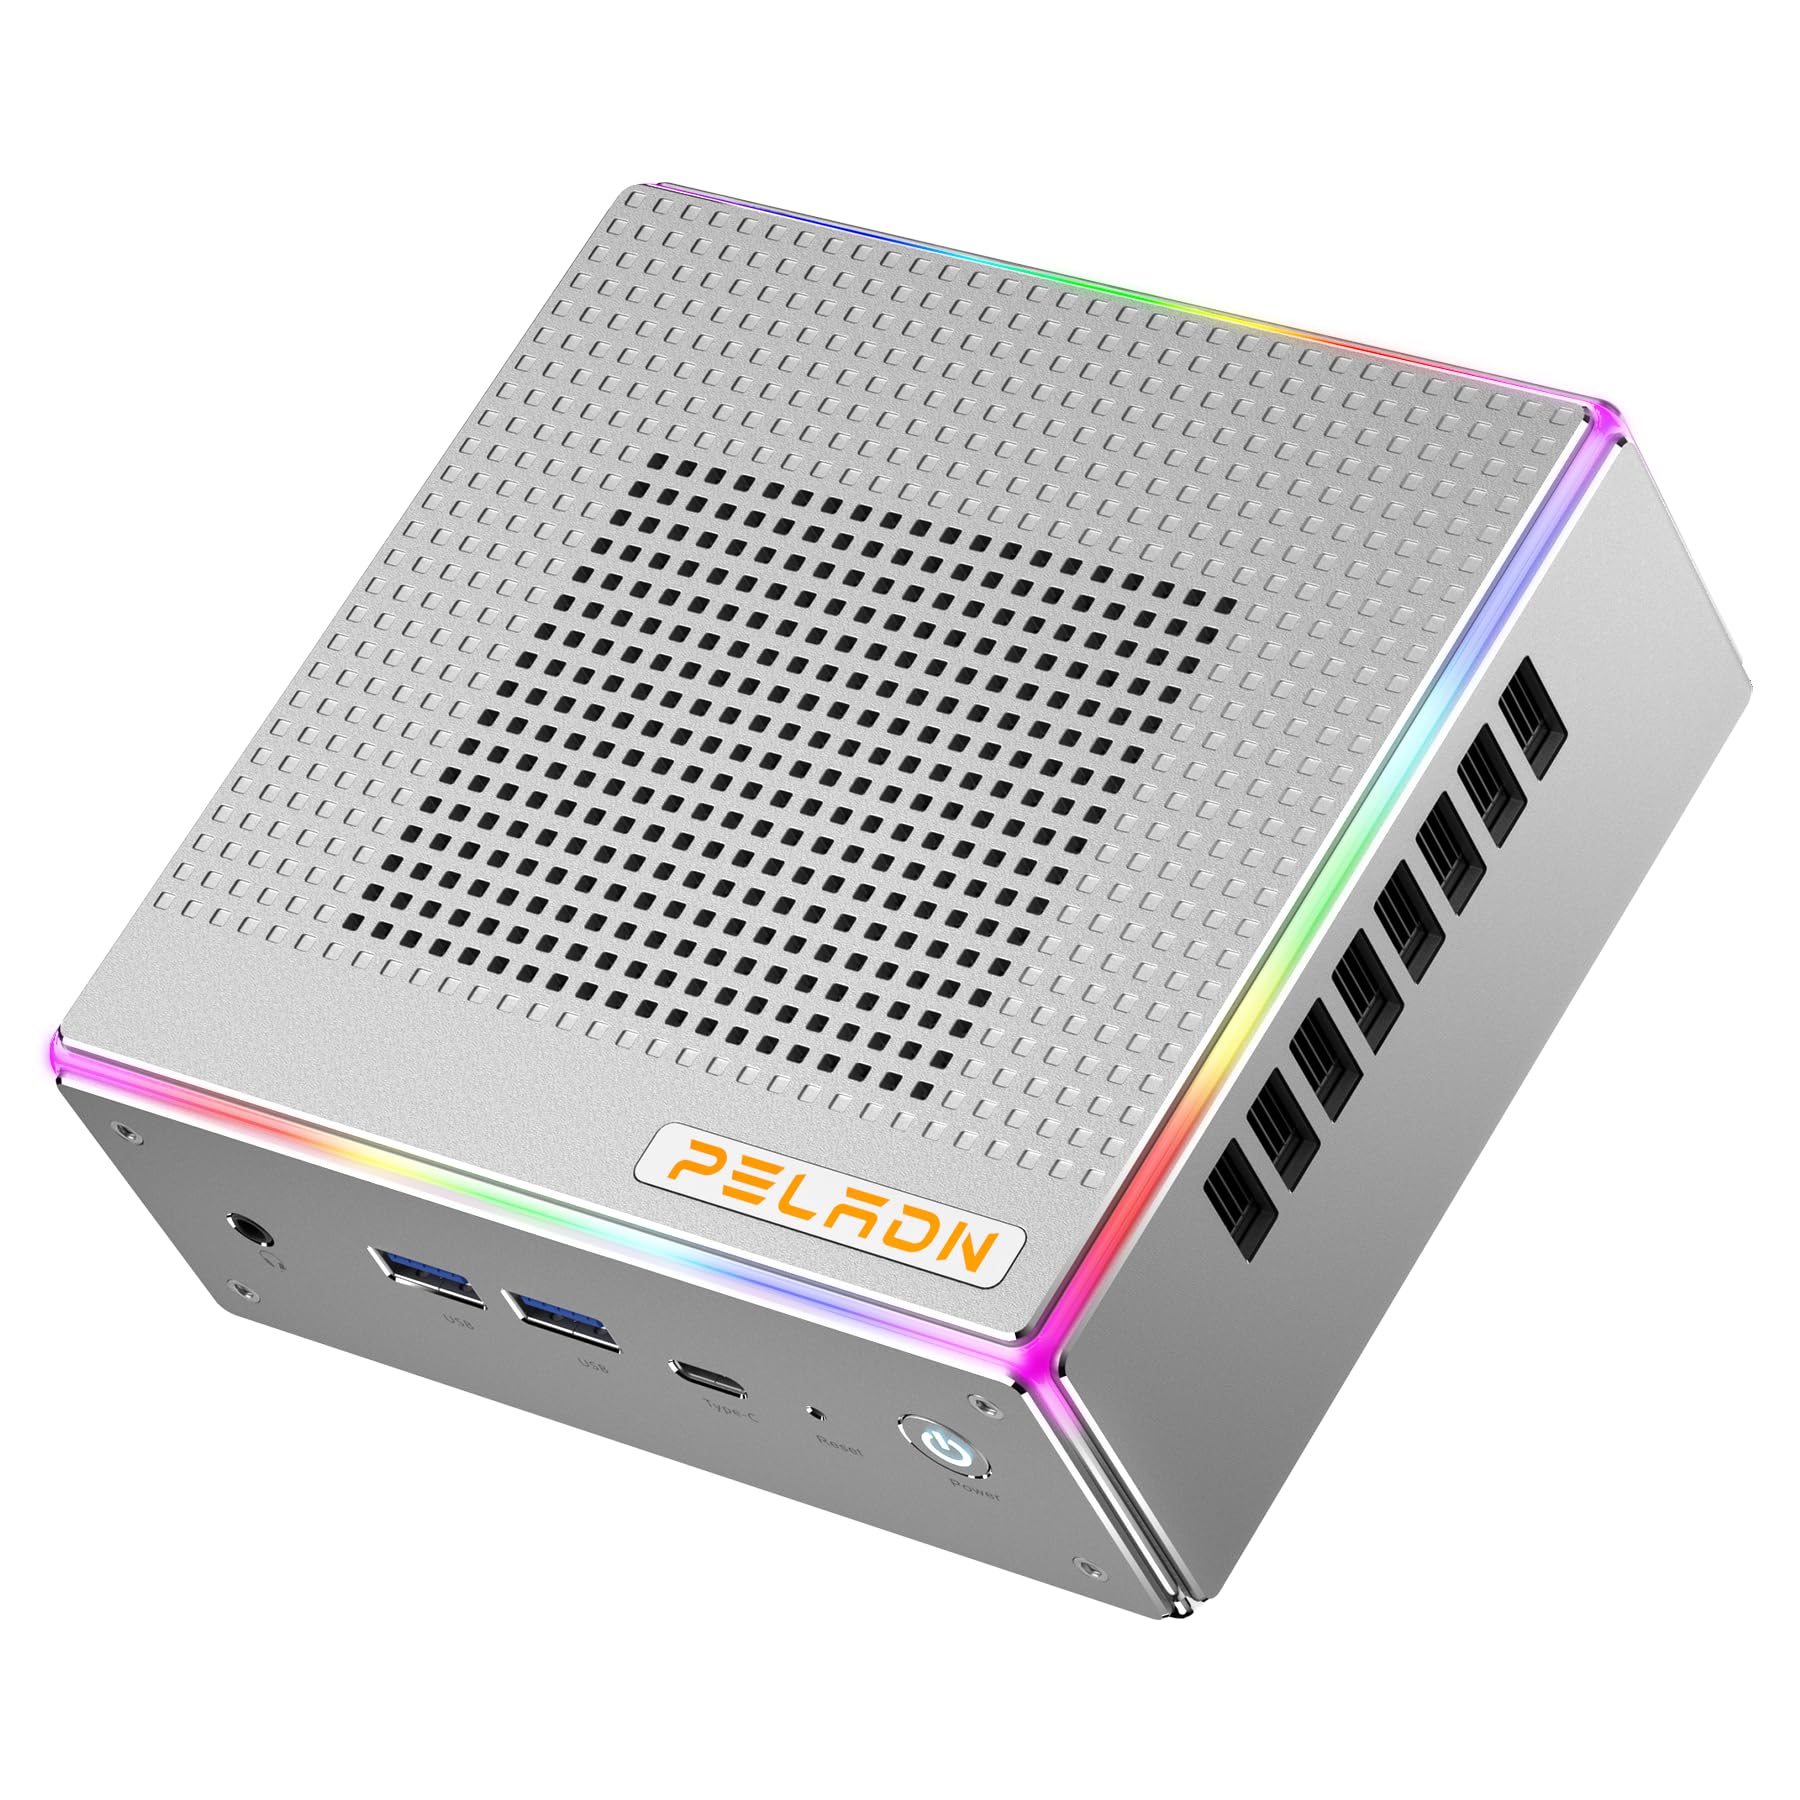
ചിത്രം: മുൻഭാഗം view of the PELADN HA-4 Mini PC, showcasing അതിന്റെ ഒതുക്കമുള്ള ഡിസൈൻ.
2 സുരക്ഷാ വിവരങ്ങൾ
- Ensure the device is placed on a stable, flat surface with adequate ventilation.
- Do not expose the Mini PC to water, moisture, or extreme temperatures.
- കേടുപാടുകൾ തടയാൻ നൽകിയിരിക്കുന്ന പവർ അഡാപ്റ്റർ മാത്രം ഉപയോഗിക്കുക.
- Avoid opening the casing unless performing authorized upgrades (e.g., RAM/SSD installation) as per instructions.
- കുട്ടികൾക്ക് ലഭ്യമാകാതെ സൂക്ഷിക്കുക.
3. പാക്കേജ് ഉള്ളടക്കം
പാക്കേജിൽ എല്ലാ ഇനങ്ങളും ഉണ്ടെന്ന് ഉറപ്പാക്കുക:
- PELADN HA-4 Mini PC
- പവർ അഡാപ്റ്റർ
- HDMI കേബിൾ
- ഉപയോക്തൃ മാനുവൽ (ഈ പ്രമാണം)
- VESA Mount (optional, may vary by package)
4. ഉൽപ്പന്നം കഴിഞ്ഞുview
4.1 ഫ്രണ്ട് പാനൽ പോർട്ടുകൾ

Image: Diagram illustrating the front and back ports of the PELADN HA-4 Mini PC.
- Audio Jack (HP&MIC): ഹെഡ്ഫോണുകൾക്കും മൈക്രോഫോണിനും.
- യുഎസ്ബി 3.2 x 2: High-speed data transfer for peripherals.
- Type-C (data & video): Versatile port for data, display, and power delivery.
- Reset (Clear CMOS): Button to clear CMOS settings.
- പവർ ബട്ടൺ: ഉപകരണം ഓണാക്കാനോ ഓഫാക്കാനോ.
4.2 പിൻ പാനൽ പോർട്ടുകൾ
- ഡിസി പോർട്ട്: പവർ അഡാപ്റ്റർ ബന്ധിപ്പിക്കുന്നതിന്.
- യുഎസ്ബി 2.0 പോർട്ട്: സാധാരണ USB ഉപകരണങ്ങൾ ബന്ധിപ്പിക്കുന്നതിന്.
- യുഎസ്ബി 3.2 പോർട്ട്: അതിവേഗ ഡാറ്റ കൈമാറ്റം.
- RJ45 LAN: 2.5G Ethernet port for wired network connection.
- HD Port x 2 (HDMI 2.0): For connecting displays.
- ലൈറ്റിംഗ് നിയന്ത്രണം: Button to adjust RGB lighting.
5. സജ്ജീകരണ നിർദ്ദേശങ്ങൾ
- പെരിഫറലുകൾ ബന്ധിപ്പിക്കുക: Connect your monitor(s) using HDMI or Type-C cables. Plug in your keyboard, mouse, and any other USB devices into the available USB ports.
- പവർ ബന്ധിപ്പിക്കുക: Insert the power adapter into the DC port on the rear panel, then plug the adapter into a power outlet.
- പവർ ഓൺ: Press the Power Button on the front panel. The system will boot up.
- പ്രാരംഭ സജ്ജീകരണം: Follow the on-screen instructions to complete the operating system setup (e.g., Windows 11 Pro).

Image: The PELADN HA-4 Mini PC connected to a monitor and peripherals, ready for use.
6. പ്രവർത്തന നിർദ്ദേശങ്ങൾ
6.1 പവർ ഓൺ/ഓഫ്
- പവർ ഓണാക്കാൻ: പവർ ബട്ടൺ ഒരിക്കൽ അമർത്തുക.
- പവർ ഓഫ് ചെയ്യാൻ: Click the Start menu in the operating system and select "Shut down." Alternatively, press and hold the Power Button for 5 seconds for a forced shutdown (not recommended for regular use).
6.2 നെറ്റ്വർക്ക് കണക്ഷൻ
- വയർഡ് കണക്ഷൻ: Connect an Ethernet cable to the RJ45 LAN port on the rear panel.
- വയർലെസ് കണക്ഷൻ (വൈ-ഫൈ 6): Access network settings in your operating system, select your Wi-Fi network, and enter the password.
6.3 Triple Display Output
The PELADN HA-4 supports up to three 4K@60Hz displays simultaneously using its two HDMI 2.0 ports and one Type-C port (which supports video output).
- Connect your primary monitor to one of the HDMI ports.
- Connect your second monitor to the other HDMI port.
- Connect your third monitor to the Type-C port using a compatible Type-C to DisplayPort/HDMI adapter or cable.
- Adjust display settings within your operating system to extend or duplicate your desktop across the connected monitors.

Image: The PELADN HA-4 Mini PC connected to three monitors, demonstrating its triple display output capability.
7. പരിപാലനവും നവീകരണങ്ങളും
7.1 വൃത്തിയാക്കൽ
- Regularly clean the exterior of the Mini PC with a soft, dry cloth.
- Use compressed air to clear dust from ventilation openings to maintain optimal airflow.
- വൃത്തിയാക്കുന്നതിന് മുമ്പ് ഉപകരണം ഓഫാണെന്നും അൺപ്ലഗ് ചെയ്തിട്ടുണ്ടെന്നും ഉറപ്പാക്കുക.
7.2 RAM, SSD അപ്ഗ്രേഡുകൾ
The PELADN HA-4 supports dual-channel DDR5-5600MHz RAM up to 64GB and a single M.2 2280 PCIe 4.0 SSD up to 2TB. Refer to the diagram below for component location.

ചിത്രം: ആന്തരികം view of the PELADN HA-4 Mini PC, highlighting the dual-channel RAM slots and the M.2 SSD slot for upgrades.
പ്രധാനപ്പെട്ടത്: Disconnect the power adapter before performing any internal upgrades. If you are unsure about the upgrade process, consult a qualified technician.
8. പ്രശ്നപരിഹാരം
| പ്രശ്നം | സാധ്യമായ കാരണം | പരിഹാരം |
|---|---|---|
| ശക്തിയില്ല | പവർ അഡാപ്റ്റർ ബന്ധിപ്പിച്ചിട്ടില്ല; പവർ ഔട്ട്ലെറ്റ് പ്രശ്നം. | Ensure power adapter is securely connected to both the Mini PC and a working power outlet. |
| ഡിസ്പ്ലേ ഔട്ട്പുട്ട് ഇല്ല | Monitor not connected; incorrect input source on monitor; faulty cable. | Check HDMI/Type-C cable connections. Ensure monitor is set to the correct input source. Try a different cable or monitor. |
| വൈഫൈ കണക്റ്റ് ചെയ്യുന്നില്ല | Incorrect password; router issue; driver problem. | Verify Wi-Fi password. Restart your router. Check device manager for Wi-Fi driver status. |
| System slow/unresponsive | Too many applications running; insufficient RAM/SSD space; overheating. | Close unnecessary applications. Check available storage. Ensure proper ventilation. Consider RAM/SSD upgrade if consistently slow. |
9 സ്പെസിഫിക്കേഷനുകൾ
| ഫീച്ചർ | വിശദാംശങ്ങൾ |
|---|---|
| മോഡൽ | PELADN HA-4 |
| പ്രോസസ്സർ | AMD Ryzen 7 7840HS (8C/16T, up to 5.1 GHz) |
| ഗ്രാഫിക്സ് | എഎംഡി റേഡിയൻ 780എം ഗ്രാഫിക്സ് |
| റാം | 32GB DDR5-5600MHz (Dual Channel, upgradeable to 64GB) |
| സംഭരണം | 1TB PCIe 4.0 SSD (M.2 2280, upgradeable to 2TB) |
| വീഡിയോ ഔട്ട്പുട്ട് | 2x HDMI 2.0, 1x Type-C (Triple 4K@60Hz output) |
| നെറ്റ്വർക്കിംഗ് | 2.5G LAN, Wi-Fi 6 (802.11ax), Bluetooth 5.2 |
| USB പോർട്ടുകൾ | 2x USB 3.2 (Front), 1x USB 3.2 (Rear), 1x USB 2.0 (Rear), 1x Type-C (Front) |
| ഓഡിയോ | 1x Audio Jack (HP&MIC) |
| ഓപ്പറേറ്റിംഗ് സിസ്റ്റം | Windows 11 Pro (Pre-installed) |
| അളവുകൾ | ഏകദേശം 7.56 x 7.56 x 3.82 ഇഞ്ച് (പാക്കേജ്) |
| ഭാരം | ഏകദേശം 3.76 പൗണ്ട് |

ചിത്രം: കഴിഞ്ഞുview of the PELADN HA-4 Mini PC's core features including CPU, GPU, RAM, SSD, connectivity, and cooling.
10. വാറൻ്റിയും പിന്തുണയും
For warranty information and technical support, please refer to the warranty card included with your product or visit the official PELADN webസൈറ്റ്. ഈ മാനുവലിൽ ഉൾപ്പെടുത്തിയിട്ടില്ലാത്ത ഏതെങ്കിലും പ്രശ്നങ്ങൾക്ക് സഹായത്തിനായി ഉപഭോക്തൃ സേവനവുമായി ബന്ധപ്പെടുക.


