1. ഉൽപ്പന്നം കഴിഞ്ഞുview
The iiyama Prolite XUB2495WSU-B7 is a 24.1-inch monitor featuring a 3-sided borderless IPS panel with a 16:10 aspect ratio and a native resolution of 1920 x 1200. Designed for professional use, it offers accurate and consistent color reproduction with wide viewing angles. The monitor includes a height-adjustable stand with swivel and pivot functions for enhanced ergonomic flexibility. Integrated speakers and a USB hub (3x USB 3.2, 1x USB-C 15W) provide additional convenience.
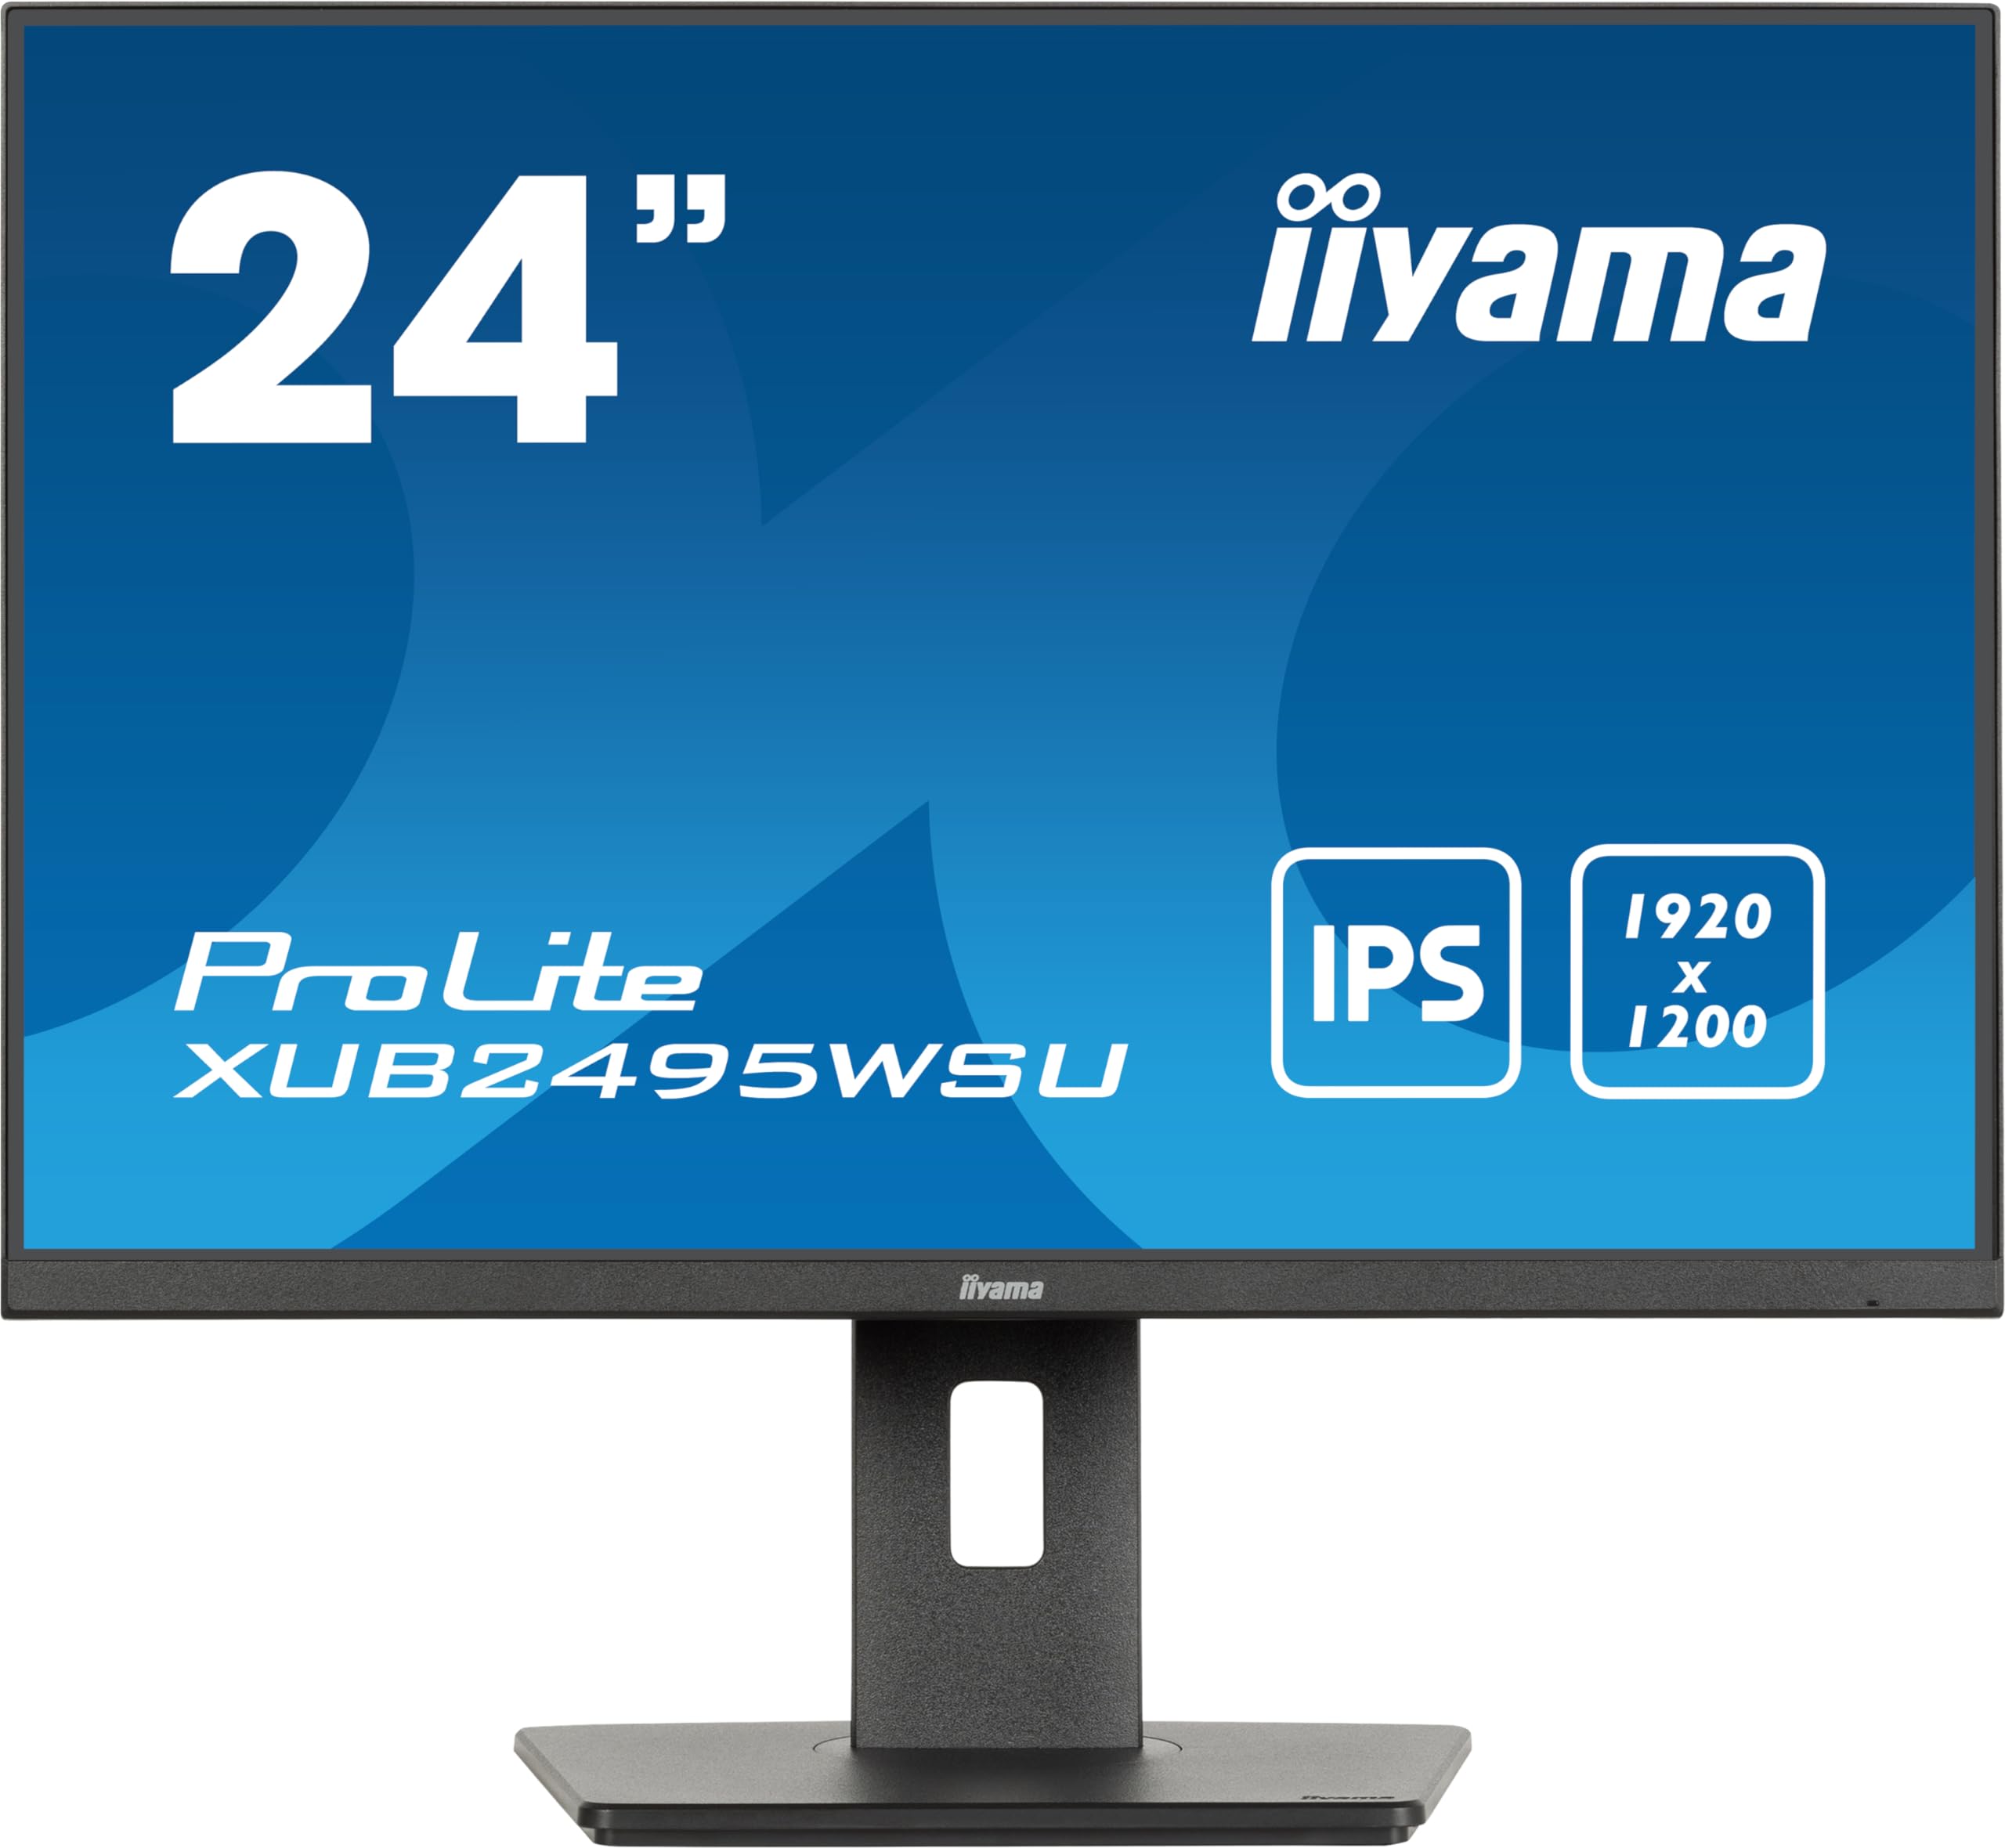
ചിത്രം 1: മുൻഭാഗം view of the iiyama Prolite XUB2495WSU-B7 monitor.
2. ബോക്സിൽ എന്താണുള്ളത്?
Please check that all the following items are included in your monitor package:
- iiyama Prolite XUB2495WSU-B7 Monitor
- പവർ കേബിൾ
- ഡിസ്പ്ലേ പോർട്ട് കേബിൾ
- യുഎസ്ബി അപ്സ്ട്രീം കേബിൾ
- Quick Start Guide (may be a separate document)
- Safety Guide (may be a separate document)

Figure 2: Included cables for the monitor.
3. പ്രാരംഭ സജ്ജീകരണം
3.1 സ്റ്റാൻഡ് കൂട്ടിച്ചേർക്കൽ
- മോണിറ്ററിന്റെയും സ്റ്റാൻഡിന്റെയും ഘടകങ്ങൾ പാക്കേജിംഗിൽ നിന്ന് ശ്രദ്ധാപൂർവ്വം നീക്കം ചെയ്യുക.
- Attach the stand base to the stand column, securing it with the provided screw.
- Align the stand assembly with the mounting holes on the back of the monitor panel.
- Secure the stand to the monitor panel. Ensure it clicks into place or is fastened securely.

ചിത്രം 3: പിൻഭാഗം view of the monitor with the stand.
3.2 ബന്ധിപ്പിക്കുന്ന കേബിളുകൾ
Before connecting, ensure the monitor and your computer are powered off.
- പവർ കണക്ഷൻ: Connect the power cable to the monitor's AC input and then to a power outlet.
- വീഡിയോ കണക്ഷൻ: Connect either an HDMI cable or a DisplayPort cable from your computer's video output to the corresponding input on the monitor.
- USB അപ്സ്ട്രീം കണക്ഷൻ: To enable the monitor's USB hub, connect the USB upstream cable from your computer's USB port to the USB upstream port on the monitor.
- USB Downstream (Hub) Connection: You can connect USB devices (e.g., keyboard, mouse, USB drives) to the USB downstream ports on the monitor.

Figure 4: Monitor rear ports.

Figure 5: Connection diagram for the monitor.
4. നിങ്ങളുടെ മോണിറ്റർ പ്രവർത്തിപ്പിക്കുക
4.1 പവർ ഓൺ/ഓഫ്
Press the power button, usually located on the bottom right or rear of the monitor, to turn the monitor on or off. The power indicator light will illuminate when the monitor is on.
4.2 ഓൺ-സ്ക്രീൻ ഡിസ്പ്ലേ (OSD) മെനു നാവിഗേഷൻ
The monitor features a joystick control for navigating the On-Screen Display (OSD) menu. This control is typically located on the rear or bottom edge of the monitor.
- അമർത്തുക: OSD മെനു നൽകുക അല്ലെങ്കിൽ ഒരു തിരഞ്ഞെടുപ്പ് സ്ഥിരീകരിക്കുക.
- മുകളിലേക്കും/താഴേക്കും നീക്കുക: മെനു ഓപ്ഷനുകളിലൂടെ നാവിഗേറ്റ് ചെയ്യുക.
- ഇടത്തേക്ക്/വലത്തേക്ക് നീക്കുക: മൂല്യങ്ങൾ ക്രമീകരിക്കുക അല്ലെങ്കിൽ ഉപമെനുകൾക്കിടയിൽ നീക്കുക.
4.3 ഡിസ്പ്ലേ സെറ്റിംഗ്സ് ക്രമീകരിക്കൽ
വിവിധ ഡിസ്പ്ലേ ക്രമീകരണങ്ങൾ ക്രമീകരിക്കുന്നതിന് OSD മെനു ആക്സസ് ചെയ്യുക:
- ചിത്ര ക്രമീകരണങ്ങൾ: Adjust Brightness, Contrast, Sharpness, and Gamma.
- വർണ്ണ ക്രമീകരണങ്ങൾ: Select color temperature, sRGB mode, or i-Style Colour presets.
- ഇൻപുട്ട് തിരഞ്ഞെടുക്കുക: HDMI, DisplayPort ഇൻപുട്ടുകൾക്കിടയിൽ സ്വമേധയാ മാറുക.
- ഓഡിയോ ക്രമീകരണങ്ങൾ: Adjust volume for the integrated speakers or connected headphones.
- OSD ക്രമീകരണങ്ങൾ: Configure OSD language, transparency, and timeout.
4.4 എർഗണോമിക് ക്രമീകരണങ്ങൾ
മോണിറ്റർ സ്റ്റാൻഡ് നിങ്ങളുടെ ഒപ്റ്റിമൈസ് ചെയ്യുന്നതിന് വിവിധ ക്രമീകരണങ്ങൾ അനുവദിക്കുന്നു viewആശ്വാസം:
- ഉയരം ക്രമീകരിക്കൽ: Raise or lower the monitor to eye level. The stand offers 150mm of height adjustment.
- സ്വിവൽ: മോണിറ്റർ തിരശ്ചീനമായി ഇടത്തോട്ടോ വലത്തോട്ടോ തിരിക്കുക.
- ടിൽറ്റ്: സ്ക്രീനിന്റെ ലംബ കോൺ (മുന്നോട്ടോ പിന്നോട്ടോ) ക്രമീകരിക്കുക.
- പിവറ്റ്: ലാൻഡ്സ്കേപ്പ്, പോർട്രെയ്റ്റ് ഓറിയന്റേഷൻ എന്നിവയ്ക്കിടയിൽ മാറാൻ സ്ക്രീൻ 90 ഡിഗ്രി തിരിക്കുക.
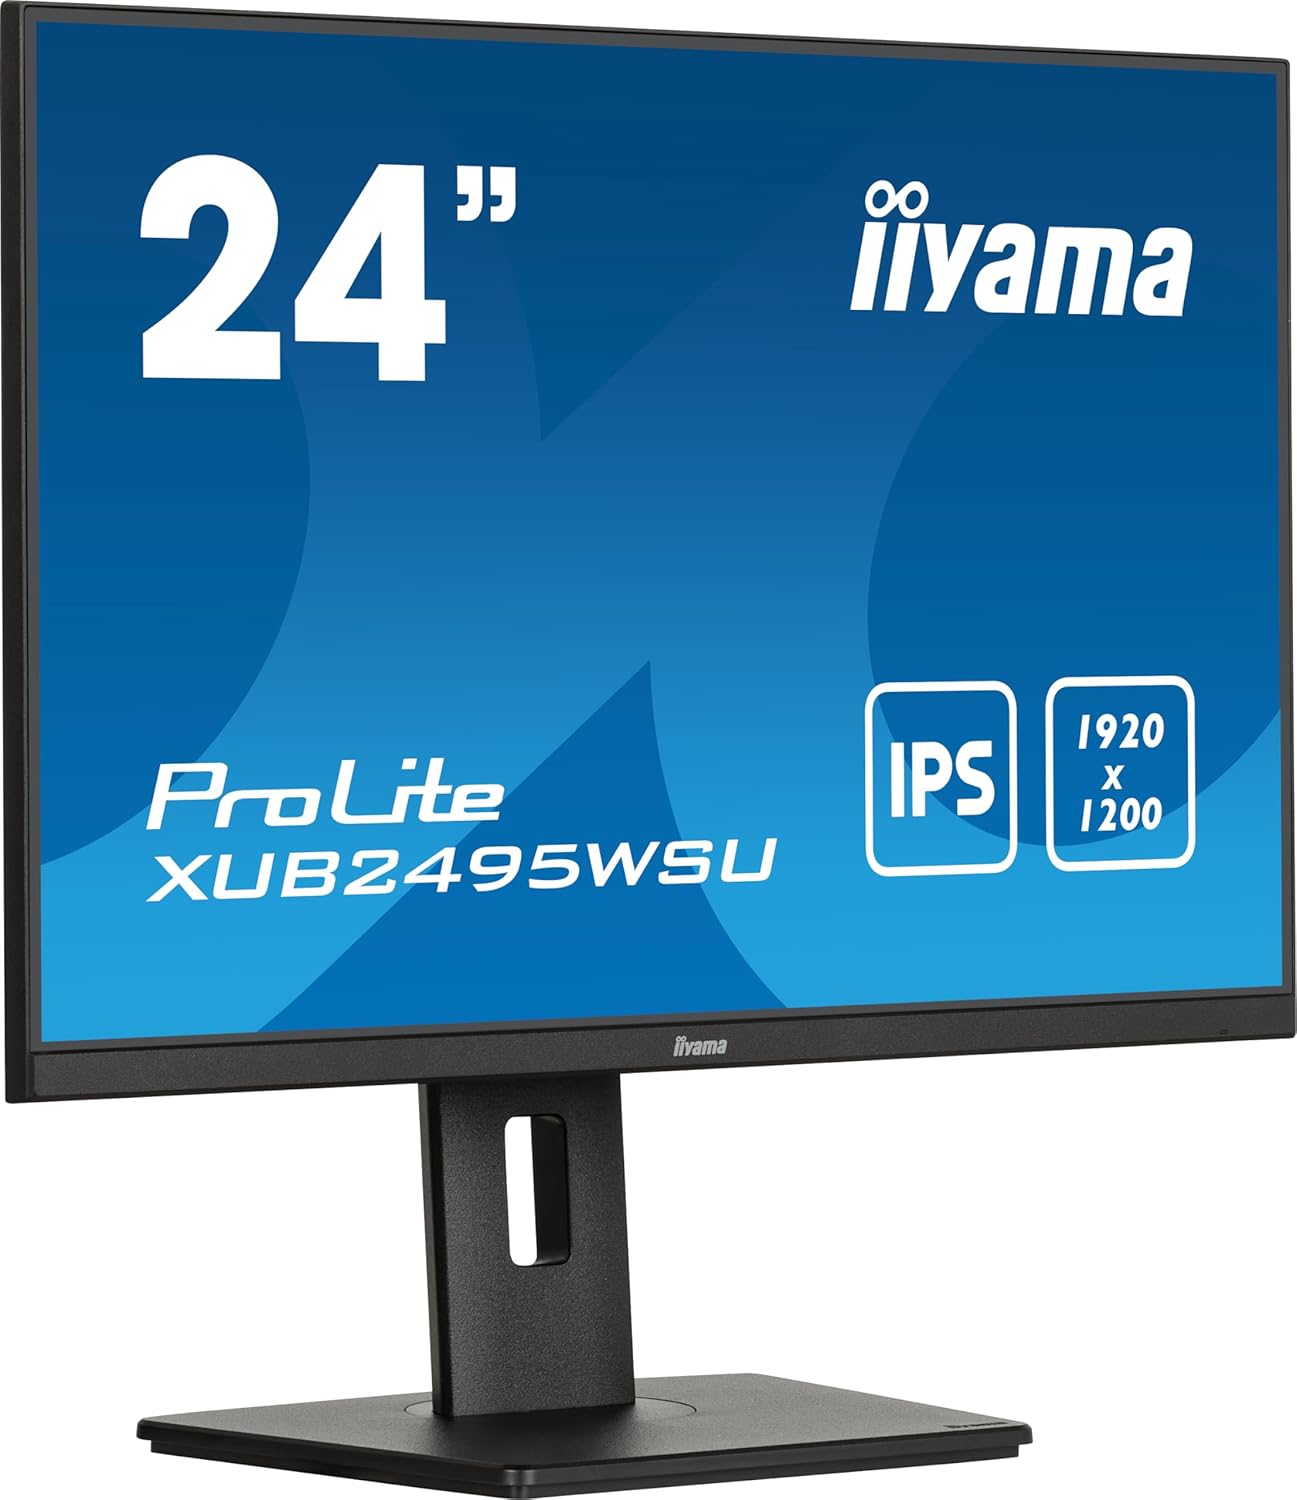
Figure 6: Monitor in landscape mode.

Figure 7: Monitor in portrait mode (pivot function).

Figure 8: Monitor side view (neutral tilt).

Figure 9: Monitor side view (tilted backward).
4.5 യുഎസ്ബി ഹബ് ഉപയോഗിക്കൽ
Once the USB upstream cable is connected to your computer, the USB downstream ports on the monitor become active. You can use these ports to connect peripherals such as keyboards, mice, webcams, or USB storage devices. The USB-C port also provides 15W power delivery for compatible devices.
5. പരിചരണവും പരിപാലനവും
നിങ്ങളുടെ മോണിറ്ററിന്റെ ദീർഘായുസ്സും ഒപ്റ്റിമൽ പ്രകടനവും ഉറപ്പാക്കാൻ, ഈ പരിപാലന മാർഗ്ഗനിർദ്ദേശങ്ങൾ പാലിക്കുക:
- സ്ക്രീൻ വൃത്തിയാക്കൽ: മൃദുവായ, ലിന്റ് രഹിത തുണി ഉപയോഗിച്ച് സ്ക്രീൻ സൌമ്യമായി തുടയ്ക്കുക. കഠിനമായ പാടുകൾക്ക്, dampen the cloth slightly with water or a specialized screen cleaner. Avoid using harsh chemicals, alcohol, or abrasive materials.
- സി വൃത്തിയാക്കൽasing: മോണിറ്റർ വൃത്തിയാക്കാൻ മൃദുവായതും ഉണങ്ങിയതുമായ തുണി ഉപയോഗിക്കുക c.asing.
- വെൻ്റിലേഷൻ: അമിതമായി ചൂടാകുന്നത് തടയാൻ മോണിറ്ററിലെ വെന്റിലേഷൻ ദ്വാരങ്ങൾ അടഞ്ഞിട്ടില്ലെന്ന് ഉറപ്പാക്കുക.
- പവർ ഓഫ്: മോണിറ്റർ വൃത്തിയാക്കുന്നതിന് മുമ്പ് അല്ലെങ്കിൽ അത് ദീർഘനേരം ഉപയോഗിക്കാതിരുന്നാൽ, എല്ലായ്പ്പോഴും അത് ഓഫ് ചെയ്ത് പവർ ഔട്ട്ലെറ്റിൽ നിന്ന് അൺപ്ലഗ് ചെയ്യുക.
- നേരിട്ടുള്ള സൂര്യപ്രകാശം ഒഴിവാക്കുക: മോണിറ്ററിൽ നേരിട്ടുള്ള സൂര്യപ്രകാശമോ അമിതമായ ചൂടോ ഏൽക്കരുത്.
6. പൊതുവായ പ്രശ്നങ്ങൾ പരിഹരിക്കുന്നു
If you encounter problems with your monitor, refer to the following table for potential solutions:
| പ്രശ്നം | സാധ്യമായ കാരണം | പരിഹാരം |
|---|---|---|
| സ്ക്രീനിൽ ചിത്രമൊന്നുമില്ല | പവർ കേബിൾ വിച്ഛേദിച്ചു Video cable disconnected തെറ്റായ ഇൻപുട്ട് ഉറവിടം തിരഞ്ഞെടുത്തു | പവർ കേബിൾ കണക്ഷൻ പരിശോധിക്കുക Ensure video cable is securely connected to both monitor and computer Select the correct input source via the OSD menu |
| ചിത്രം മങ്ങിയതോ വളച്ചൊടിച്ചതോ ആണ് | തെറ്റായ റെസല്യൂഷൻ Video cable issue | Set display resolution to 1920 x 1200 Try a different video cable |
| സ്പീക്കറുകളിൽ നിന്ന് ശബ്ദമില്ല | വോളിയം വളരെ കുറവാണ് Audio cable not connected (if applicable) Incorrect audio output selected on computer | Adjust monitor volume via OSD Ensure audio is routed to the monitor on your computer's sound settings |
| USB പോർട്ടുകൾ പ്രവർത്തിക്കുന്നില്ല | USB upstream cable not connected | Connect the USB upstream cable from the monitor to your computer |
ഈ പരിഹാരങ്ങൾ പരീക്ഷിച്ചതിന് ശേഷവും പ്രശ്നം നിലനിൽക്കുകയാണെങ്കിൽ, ദയവായി iiyama ഉപഭോക്തൃ പിന്തുണയുമായി ബന്ധപ്പെടുക.
7 സാങ്കേതിക സവിശേഷതകൾ
| ഫീച്ചർ | സ്പെസിഫിക്കേഷൻ |
|---|---|
| മോഡൽ നമ്പർ | XUB2495WSU-B7 |
| സ്ക്രീൻ വലിപ്പം | 24.1 ഇഞ്ച് (24.5 ഇഞ്ച് സ്റ്റാൻഡിംഗ് സ്ക്രീൻ ഡിസ്പ്ലേ വലുപ്പം) |
| പാനൽ തരം | ഐ.പി.എസ് |
| റെസലൂഷൻ | 1920 x 1200 (WUXGA) |
| വീക്ഷണാനുപാതം | 16:10 |
| പ്രതികരണ സമയം | 4ms (GtG) |
| തെളിച്ചം | 300 cd/m² |
| കോൺട്രാസ്റ്റ് റേഷ്യോ | 1000:1 (സാധാരണ) |
| വീഡിയോ ഇൻപുട്ടുകൾ | HDMI, ഡിസ്പ്ലേ പോർട്ട് |
| USB ഹബ് | 3x USB 3.2, 1x USB-C (15W Power Delivery) |
| സ്പീക്കറുകൾ | സംയോജിപ്പിച്ചത് |
| എർഗണോമിക്സ് | Height Adjustable (150mm), Swivel, Tilt, Pivot |
| വൈദ്യുതി ഉപഭോഗം | 15 kWh/1000h (Energy Class D) |
| ഉൽപ്പന്ന അളവുകൾ (WxHxD) | 8.23 x 20.98 x 14.61 ഇഞ്ച് (സ്റ്റാൻഡോടുകൂടി) |
| ഇനത്തിൻ്റെ ഭാരം | 11.22 പൗണ്ട് |
7.1 ഊർജ്ജ വിവരങ്ങൾ

Figure 10: Energy Label for XUB2495WSU-B7.
For more detailed energy information, please visit the EPREL ഡാറ്റാബേസ്.
8. വാറണ്ടിയും ഉപഭോക്തൃ പിന്തുണയും
Information regarding the product warranty and customer support services is typically provided in a separate warranty card included with your purchase or can be found on the official iiyama website. Please refer to these resources for details on warranty coverage, service procedures, and contact information for technical assistance.


