1. ആമുഖം
This instruction manual provides essential information for the safe and effective operation of your Mastech MS2000G Digital Clamp Meter. Please read this manual thoroughly before use and retain it for future reference. This device is designed for measuring AC current, AC/DC voltage, resistance, continuity, diode, frequency, and temperature in various electrical applications.
2 സുരക്ഷാ വിവരങ്ങൾ
WARNING: To avoid electric shock or personal injury, always follow these safety precautions.
- Always disconnect measuring leads before removing the battery cover.
- വോളിയം പ്രയോഗിക്കരുത്tage അല്ലെങ്കിൽ മീറ്ററിന് പരമാവധി നിർദ്ദിഷ്ട പരിധികൾ കവിയുന്ന കറന്റ്.
- സർക്യൂട്ടിലേക്ക് ബന്ധിപ്പിക്കുന്നതിന് മുമ്പ്, ആവശ്യമുള്ള അളവെടുപ്പിനായി റോട്ടറി സ്വിച്ച് ശരിയായ സ്ഥാനത്താണെന്ന് ഉറപ്പാക്കുക.
- Inspect test leads for damaged insulation or exposed metal before each use. Replace if damaged.
- മീറ്റർ കേടായതായി തോന്നുകയോ കേസ് തുറന്നിരിക്കുകയോ ചെയ്താൽ അത് ഉപയോഗിക്കരുത്.
- The Mastech MS2000G is rated for CAT II 1000V and CAT III 600V. Adhere to these category ratings for safe operation.
- ലൈവ് സർക്യൂട്ടുകളിൽ പ്രവർത്തിക്കുമ്പോൾ അതീവ ജാഗ്രത പാലിക്കുക.
For detailed safety guidelines, refer to relevant electrical safety standards.
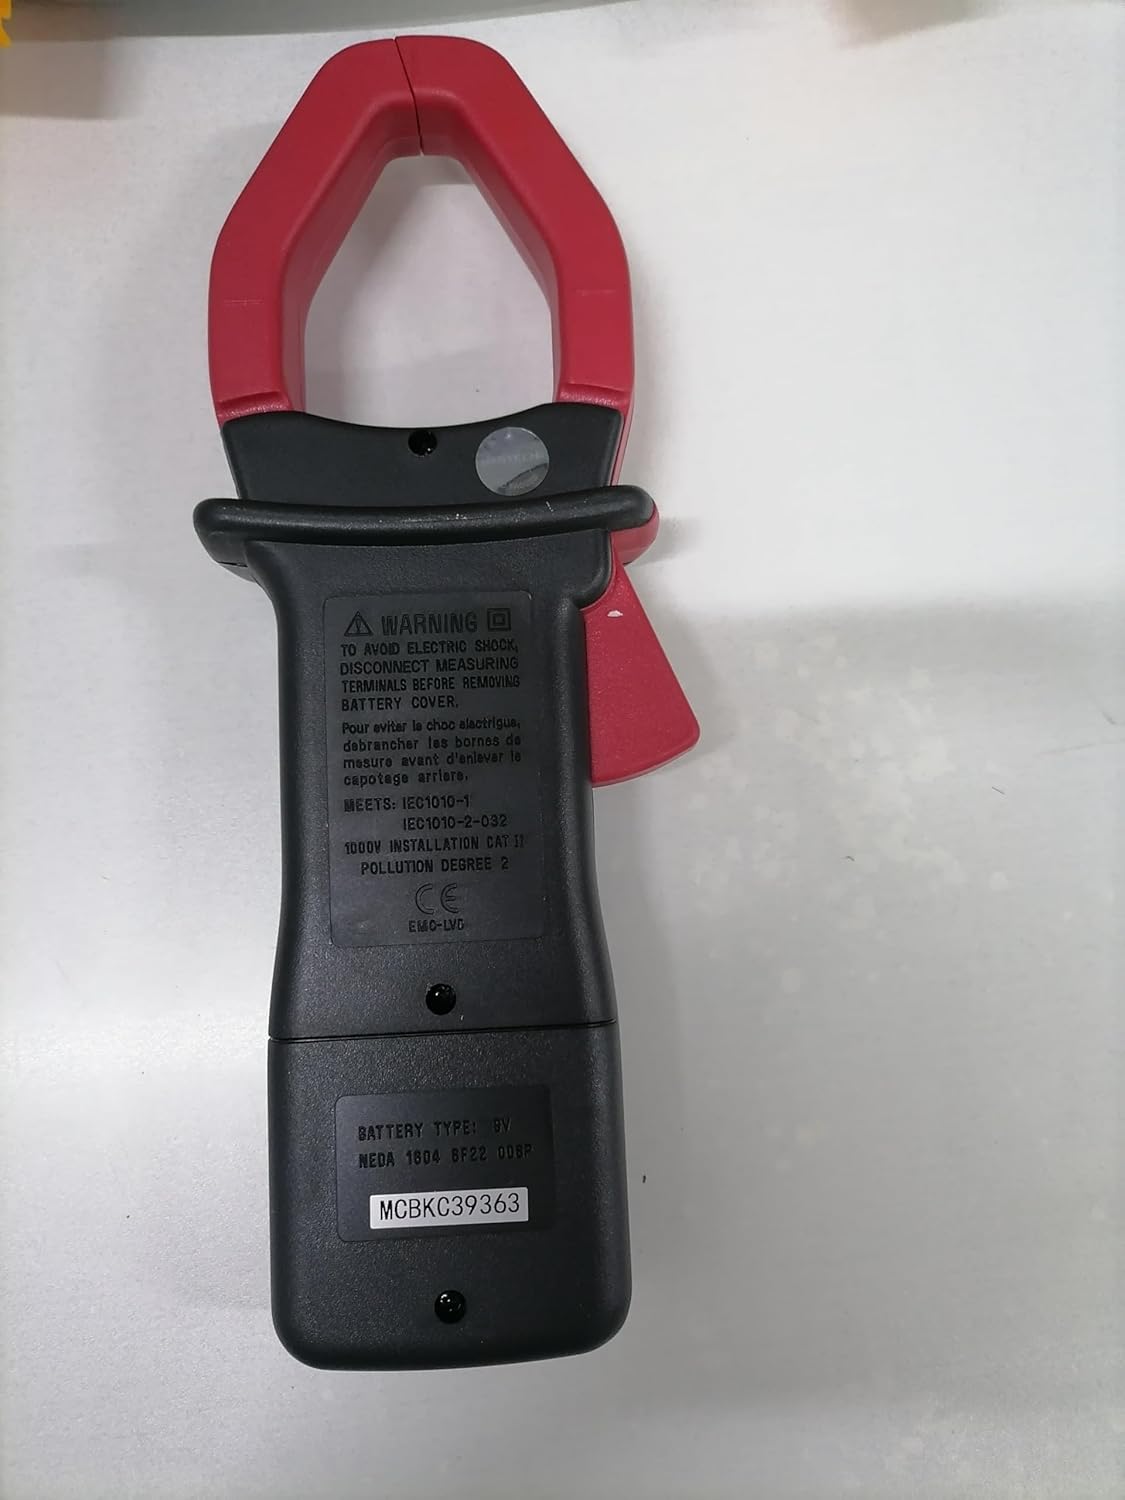
പിൻഭാഗം view of the Mastech MS2000G Digital Clamp Meter, showing the battery compartment and safety warnings, including instructions to disconnect leads before opening.
3. ഉൽപ്പന്ന സവിശേഷതകൾ
- 2000 കൗണ്ട്സ് ഡിജിറ്റൽ ഡിസ്പ്ലേ
- Jaw Opening: 55mm (2.2 inches)
- ഡയോഡ് ഓപ്പൺ വോളിയംtagഇ: 3.0V
- Continuity Buzzer: Activates below 30Ω
- ഡാറ്റ ഹോൾഡ് പ്രവർത്തനം
- കുറഞ്ഞ വെളിച്ചമുള്ള സാഹചര്യങ്ങൾക്കായി ബാക്ക്ലൈറ്റ് പ്രദർശിപ്പിക്കുക
- Low Battery Display Indicator
4. ഉൽപ്പന്നം കഴിഞ്ഞുview
The Mastech MS2000G features a robust design for professional and home use. Key components include:
- Clamp താടിയെല്ല്: നോൺ-കോൺടാക്റ്റ് എസി കറന്റ് അളക്കാൻ ഉപയോഗിക്കുന്നു.
- റോട്ടറി സ്വിച്ച്: Selects measurement functions (AC Current, Voltage, Resistance, etc.).
- LCD ഡിസ്പ്ലേ: അളക്കൽ റീഡിംഗുകൾ, യൂണിറ്റുകൾ, സൂചകങ്ങൾ എന്നിവ കാണിക്കുന്നു.
- ഇൻപുട്ട് ജാക്കുകൾ: വോള്യത്തിനായുള്ള ടെസ്റ്റ് ലീഡുകൾ ബന്ധിപ്പിക്കുന്നതിന്tage, resistance, continuity, diode, frequency, and temperature measurements.
- ഡാറ്റ ഹോൾഡ് ബട്ടൺ: ഡിസ്പ്ലേയിലെ നിലവിലെ റീഡിംഗ് മരവിപ്പിക്കുന്നു.
- ബാക്ക്ലൈറ്റ് ബട്ടൺ: മികച്ച ദൃശ്യപരതയ്ക്കായി ഡിസ്പ്ലേ പ്രകാശിപ്പിക്കുന്നു.

ഫ്രണ്ട് view of the Mastech MS2000G Digital Clamp Meter, highlighting the display, rotary switch, and clamp താടിയെല്ല്.
5. സജ്ജീകരണം
5.1 ബാറ്ററി ഇൻസ്റ്റാളേഷൻ
- മീറ്റർ ഓഫാക്കിയിട്ടുണ്ടെന്നും എല്ലാ ടെസ്റ്റ് ലീഡുകളും വിച്ഛേദിച്ചിട്ടുണ്ടെന്നും ഉറപ്പാക്കുക.
- മീറ്ററിന്റെ പിൻഭാഗത്ത് ബാറ്ററി കമ്പാർട്ട്മെന്റ് കവർ കണ്ടെത്തുക.
- ബാറ്ററി കവർ ഉറപ്പിക്കുന്ന സ്ക്രൂ(കൾ) അഴിക്കാൻ ഒരു സ്ക്രൂഡ്രൈവർ ഉപയോഗിക്കുക.
- കവർ നീക്കം ചെയ്യുക.
- Insert a new 9V battery, observing the correct polarity (+ and -).
- ബാറ്ററി കവർ മാറ്റി സ്ക്രൂ(കൾ) ഉപയോഗിച്ച് ഉറപ്പിക്കുക.
5.2 ടെസ്റ്റ് ലീഡുകൾ ബന്ധിപ്പിക്കുന്നു
For measurements requiring test leads (voltage, resistance, continuity, diode, frequency, temperature):
- Insert the red test lead into the VHzΩ input jack.
- COM ഇൻപുട്ട് ജാക്കിലേക്ക് ബ്ലാക്ക് ടെസ്റ്റ് ലീഡ് ചേർക്കുക.
- For temperature measurements, connect the K-type thermocouple to the designated input terminals, observing polarity.
6. പ്രവർത്തന നിർദ്ദേശങ്ങൾ
To operate the Mastech MS2000G, turn the rotary switch to the desired function. The display will show the measurement reading.
6.1 എസി കറന്റ് അളക്കൽ
- Turn the rotary switch to the 'A' (AC Current) range.
- cl തുറക്കുകamp ട്രിഗർ അമർത്തി താടിയെല്ല്.
- സർക്യൂട്ടിലെ ഒരു കണ്ടക്ടറെ മാത്രം cl ഉപയോഗിച്ച് വലയം ചെയ്യുക.amp താടിയെല്ല് പൂർണ്ണമായും അടച്ചിട്ടുണ്ടെന്ന് ഉറപ്പാക്കുക.
- ഡിസ്പ്ലേയിൽ എസി കറന്റ് മൂല്യം വായിക്കുക.
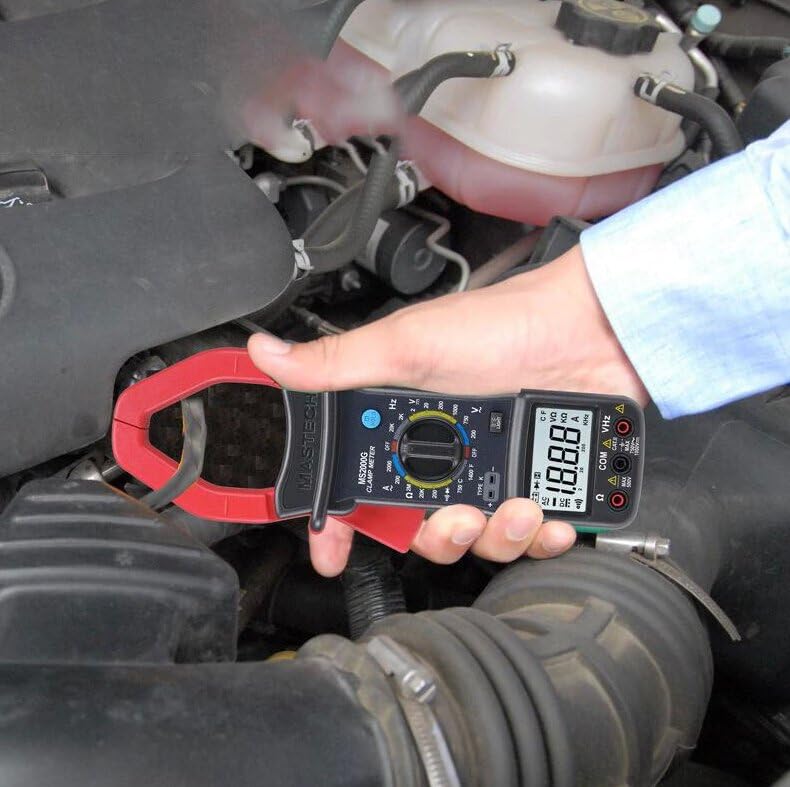
Demonstration of the Mastech MS2000G measuring AC current around a single conductor.
6.2 എസി/ഡിസി വോളിയംtagഇ അളവ്
- സെക്ഷൻ 5.2 ൽ വിവരിച്ചിരിക്കുന്നതുപോലെ ടെസ്റ്റ് ലീഡുകൾ ബന്ധിപ്പിക്കുക.
- Turn the rotary switch to the 'V~' (AC Voltage) അല്ലെങ്കിൽ 'V=' (DC Voltagഇ) പരിധി.
- ടെസ്റ്റ് പ്രോബുകൾ പരിശോധനയിലുള്ള സർക്യൂട്ടിനോ ഘടകത്തിനോ സമാന്തരമായി ബന്ധിപ്പിക്കുക.
- വാല്യം വായിക്കുകtagഡിസ്പ്ലേയിലെ ഇ മൂല്യം.
6.3 പ്രതിരോധം അളക്കൽ
- Connect the test leads.
- Turn the rotary switch to the 'Ω' (Resistance) range.
- Ensure the circuit or component is de-energized before connecting the probes.
- ഘടകത്തിലുടനീളം ടെസ്റ്റ് പ്രോബുകൾ ബന്ധിപ്പിക്കുക.
- ഡിസ്പ്ലേയിലെ പ്രതിരോധ മൂല്യം വായിക്കുക.
6.4 തുടർച്ച പരിശോധന
- Connect the test leads.
- Turn the rotary switch to the 'Ω' (Resistance) range and press the 'SELECT' button if necessary to choose continuity mode (indicated by a buzzer symbol).
- സർക്യൂട്ടിലോ ഘടകത്തിലോ ഉടനീളം ടെസ്റ്റ് പ്രോബുകൾ ബന്ധിപ്പിക്കുക.
- പ്രതിരോധം ഏകദേശം 30Ω ൽ താഴെയാണെങ്കിൽ, തുടർച്ചയെ സൂചിപ്പിക്കുന്ന ഒരു ബസർ മുഴങ്ങും.
6.5 ഡയോഡ് ടെസ്റ്റ്
- Connect the test leads.
- Turn the rotary switch to the 'Ω' (Resistance) range and press 'SELECT' to choose diode mode (indicated by a diode symbol).
- ചുവന്ന പ്രോബ് ഡയോഡിന്റെ ആനോഡിലേക്കും കറുത്ത പ്രോബ് കാഥോഡിലേക്കും ബന്ധിപ്പിക്കുക.
- ഡിസ്പ്ലേ ഫോർവേഡ് വോളിയം കാണിക്കുംtage drop. Reverse the probes; the display should show 'OL' (Open Loop) for a good diode.
6.6 ഫ്രീക്വൻസി മെഷർമെന്റ്
- Connect the test leads.
- Turn the rotary switch to the 'Hz' (Frequency) range.
- Connect the test probes to the circuit where frequency is to be measured.
- ഡിസ്പ്ലേയിലെ ഫ്രീക്വൻസി മൂല്യം വായിക്കുക.
6.7 താപനില അളക്കൽ
- Connect the K-type thermocouple to the designated input terminals, observing polarity.
- Turn the rotary switch to the '°C' or '°F' (Temperature) range.
- താപനില അളക്കേണ്ട വസ്തുവിന് മുകളിലോ അതിനടുത്തോ തെർമോകപ്പിൾ പ്രോബ് സ്ഥാപിക്കുക.
- ഡിസ്പ്ലേയിലെ താപനില മൂല്യം വായിക്കുക.
6.8 ഡാറ്റ ഹോൾഡ് പ്രവർത്തനം
Press the 'HOLD' button to freeze the current reading on the display. Press it again to release and resume live measurements.
6.9 ബാക്ക്ലൈറ്റ് പ്രദർശിപ്പിക്കുക
Press the 'LIGHT' button to turn on the display backlight for improved visibility in dimly lit environments. Press it again to turn off the backlight.
7. പരിപാലനം
7.1 വൃത്തിയാക്കൽ
പരസ്യം ഉപയോഗിച്ച് മീറ്ററിന്റെ കേസ് തുടയ്ക്കുകamp തുണിയും നേരിയ ഡിറ്റർജന്റും ഉപയോഗിക്കുക. അബ്രാസീവ് വസ്തുക്കളോ ലായകങ്ങളോ ഉപയോഗിക്കരുത്. ഉപയോഗിക്കുന്നതിന് മുമ്പ് മീറ്റർ ഉണങ്ങിയെന്ന് ഉറപ്പാക്കുക.
7.2 ബാറ്ററി മാറ്റിസ്ഥാപിക്കൽ
When the 'Low Battery' indicator appears on the display, replace the 9V battery as described in Section 5.1. Prompt battery replacement ensures accurate readings.
7.3 സംഭരണം
If the meter is not used for an extended period, remove the battery to prevent leakage and damage. Store the meter in a cool, dry place, away from direct sunlight and extreme temperatures.
8. പ്രശ്നപരിഹാരം
- ഡിസ്പ്ലേ ഇല്ല/മങ്ങിയ ഡിസ്പ്ലേ: Check battery installation and replace the 9V battery if necessary.
- തെറ്റായ വായനകൾ: Ensure the rotary switch is set to the correct function and range. Verify test lead connections. Check for damaged test leads.
- ഡിസ്പ്ലേയിൽ 'OL': Indicates an over-range condition or an open circuit. Select a higher range or check the circuit connection.
- Buzzer Not Sounding in Continuity Mode: The resistance may be above the continuity threshold (30Ω), or the circuit is open.
9 സ്പെസിഫിക്കേഷനുകൾ
| പരാമീറ്റർ | സ്പെസിഫിക്കേഷൻ |
|---|---|
| പ്രദർശിപ്പിക്കുക | 2000 എണ്ണം |
| താടിയെല്ല് തുറക്കൽ | 55 മിമി (2.2") |
| എസി വോളിയംtage | 750V |
| ഡിസി വോളിയംtage | 1000V |
| എസി കറന്റ് | 1000എ |
| പ്രതിരോധം | 2MΩ |
| ആവൃത്തി | 20kHz |
| തുടർച്ച | <30Ω (Buzzer) |
| ഡയോഡ് ഓപ്പൺ വോളിയംtage | 3.0V |
| താപനില (തരം കെ) | -0°C മുതൽ 750°C വരെ (32°F മുതൽ 1382°F വരെ) |
| സുരക്ഷാ റേറ്റിംഗ് | CAT II 1000V, CAT III 600V |
| പവർ ഉറവിടം | 9V ബാറ്ററി (ഉൾപ്പെട്ടിരിക്കുന്നു) |
| ഉൽപ്പന്ന അളവുകൾ | 7.87 x 5.91 x 9.84 ഇഞ്ച് |
| ഇനത്തിൻ്റെ ഭാരം | 1 കിലോഗ്രാം (2.2 പൗണ്ട്) |

Detailed specifications and features for the Mastech MS2000G and other models.
10. ബോക്സിൽ എന്താണുള്ളത്?
The Mastech MS2000G package typically includes:
- മാസ്റ്റെക് MS2000G ഡിജിറ്റൽ Clamp മീറ്റർ
- ടെസ്റ്റ് ലീഡുകൾ (ഒരു ജോഡി)
- Wrapping Case
- കെ-ടൈപ്പ് തെർമോകോൾ
- 9V ബാറ്ററി
- കാലിബ്രേഷൻ സർട്ടിഫിക്കറ്റ്
- ക്വിക്ക് സ്റ്റാർട്ട് ഗൈഡ് / യൂസർ മാനുവൽ

Contents of the Mastech MS2000G package, including the clamp meter and accessories.
11. വാറൻ്റിയും പിന്തുണയും
For warranty information and technical support, please refer to the documentation included with your product or contact the seller/manufacturer directly. Keep your purchase receipt as proof of purchase.


