ആമുഖം
This manual provides detailed instructions for the installation, operation, and maintenance of your SEGOTEP KL-360 II AIO Liquid CPU Cooler. Please read this manual thoroughly before installation and use to ensure proper function and longevity of your product. This cooler is designed to provide efficient thermal management for high-performance desktop CPUs, featuring a 360mm radiator, ARGB fans, and an integrated LCD display on the pump head.
ഉൽപ്പന്നം കഴിഞ്ഞുview ഘടകങ്ങളും
The SEGOTEP KL-360 II is an all-in-one liquid CPU cooler engineered for superior thermal performance and aesthetic customization. Key components include:
- 360 എംഎം റേഡിയേറ്റർ: High-surface area radiator for effective heat dissipation.
- 3x 120mm ARGB Fans: Provides strong airflow and customizable lighting effects.
- Pump Head with 2.1-inch LCD Screen: Features a 480x480 resolution display (323 PPI) for real-time monitoring and custom content. Includes a 70mm PWM fan for VRM cooling.
- Integrated 4-core ARM Processing Chip: Manages LCD display and cooler functions.
- FDB (Fluid Dynamic Bearing) Fans: Ensures quiet operation and extended lifespan.
- Hidden Temperature-Controlled Water Pump: Designed for efficient and quiet coolant circulation.
- 3-in-1 Lock-free Fan Design: Simplifies fan installation.
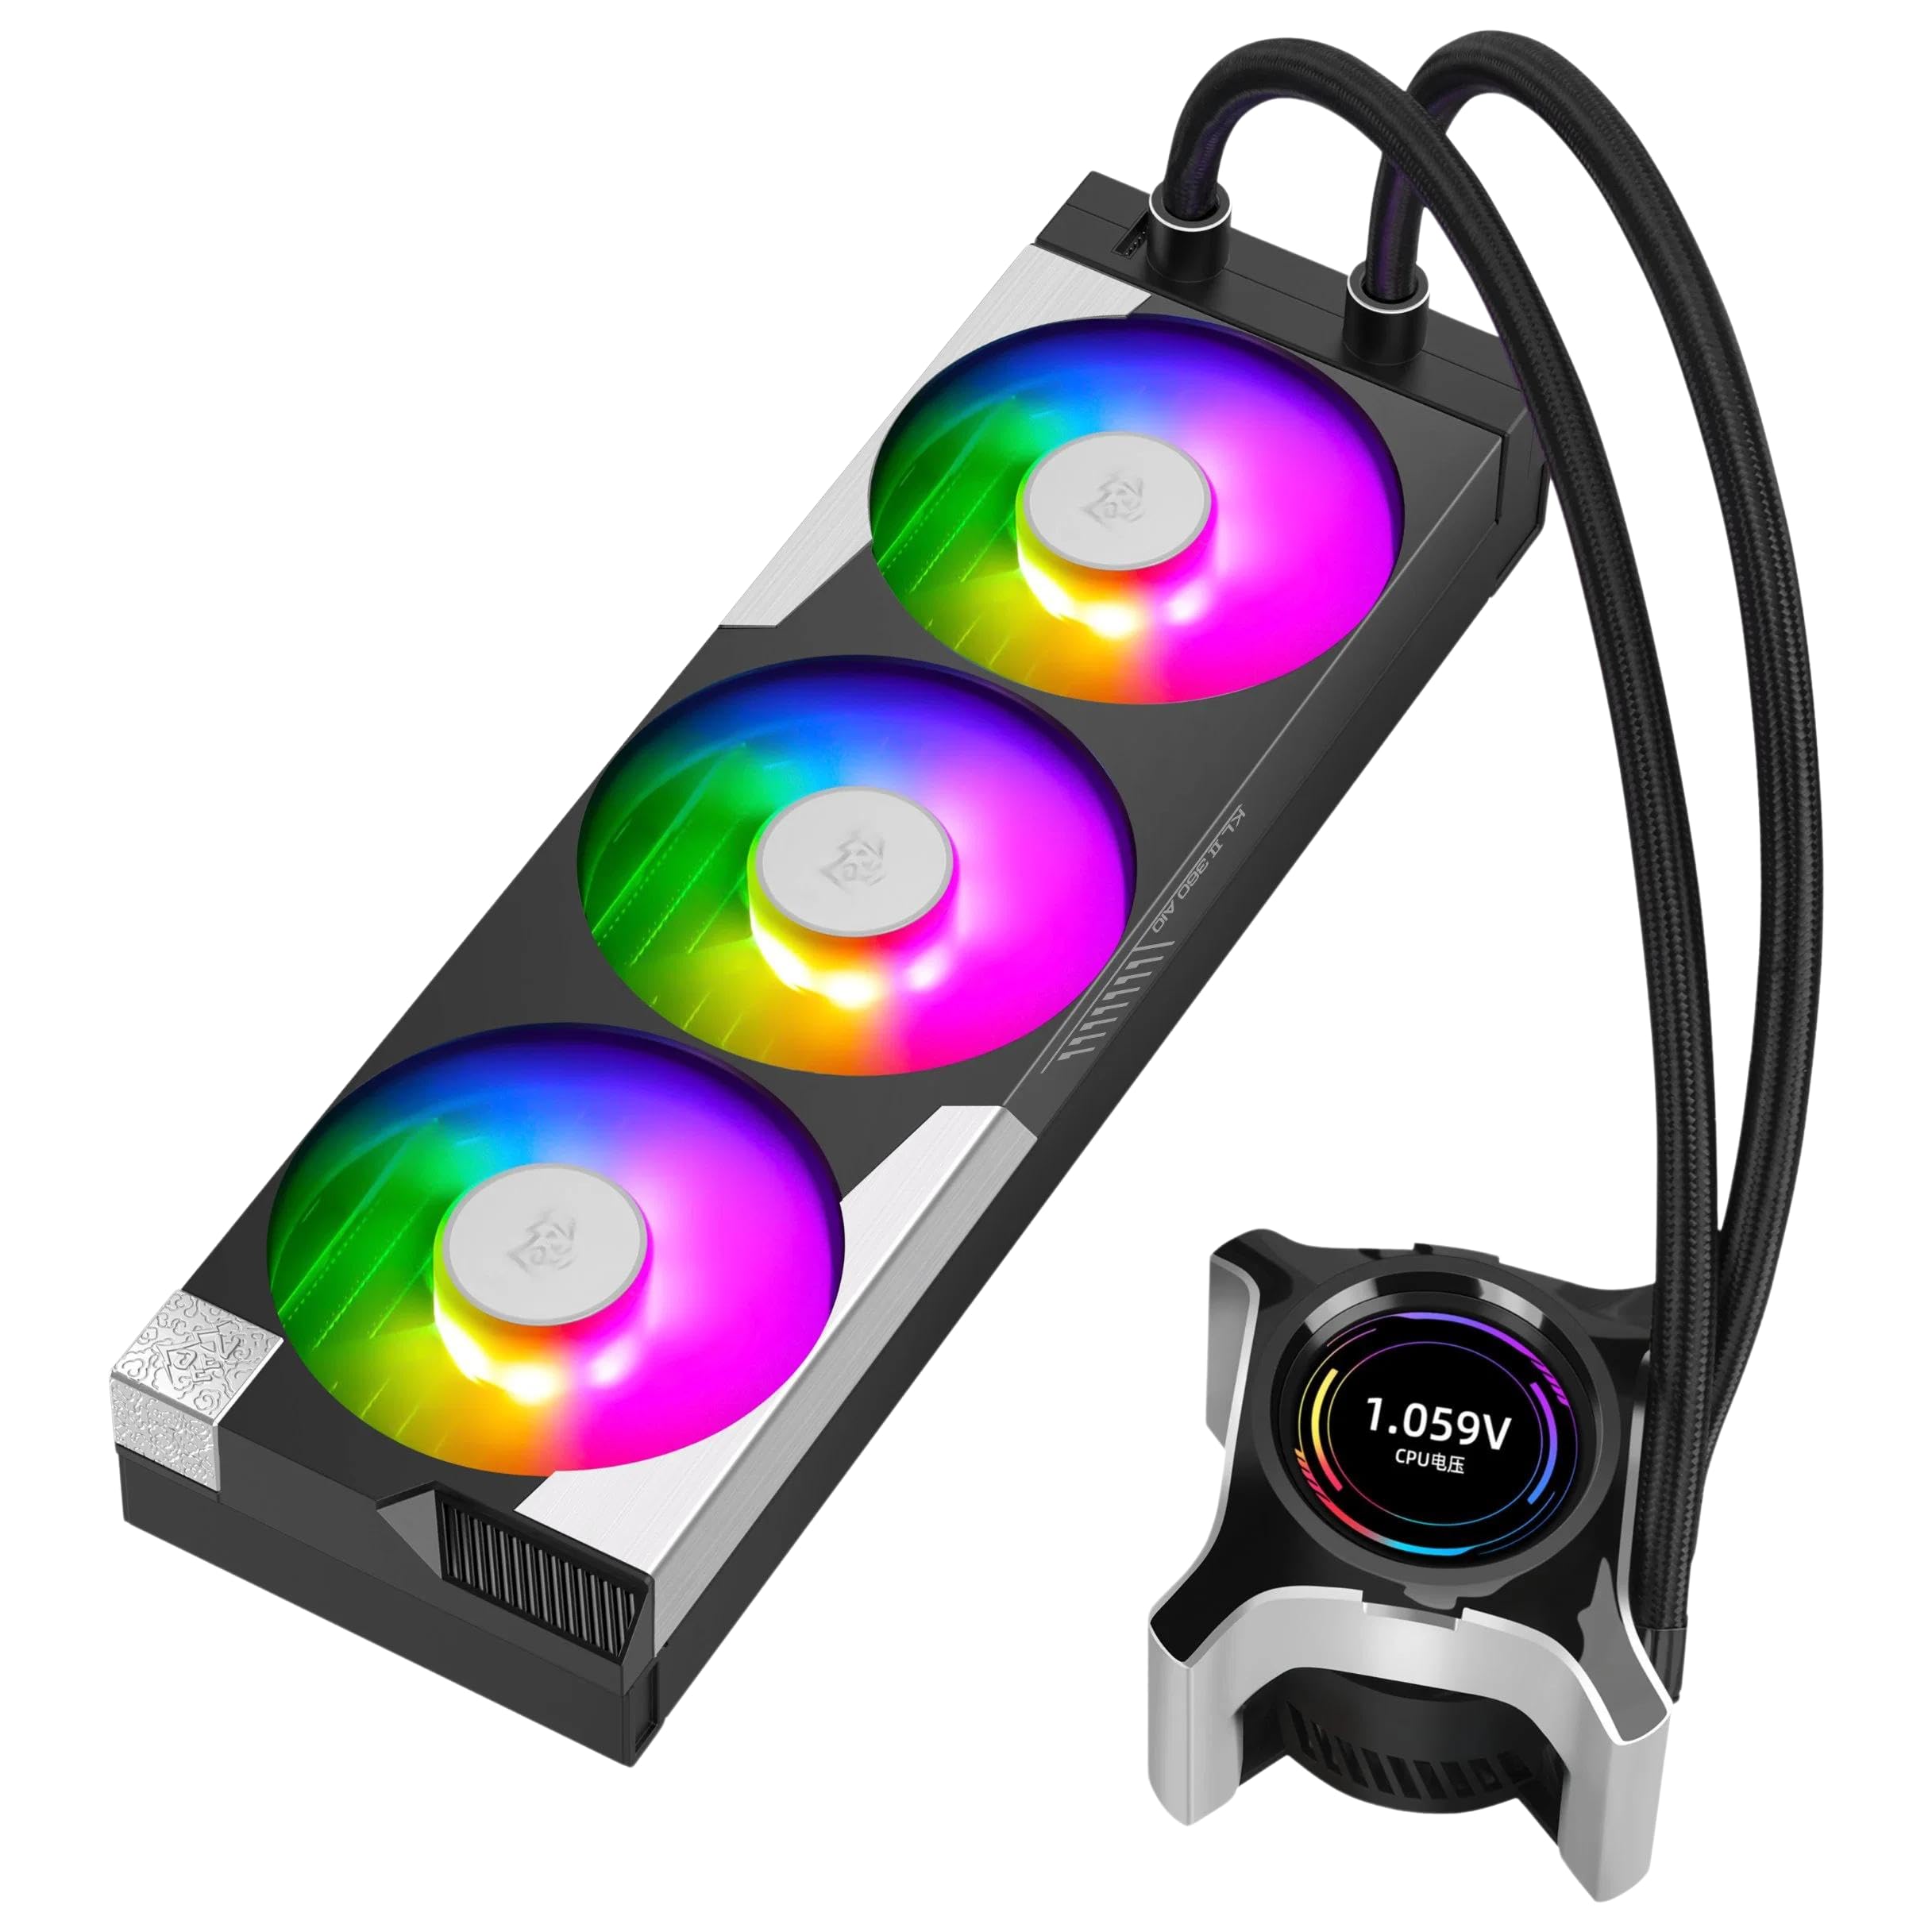
Figure 1: SEGOTEP KL-360 II AIO Liquid CPU Cooler. This image shows the complete cooler assembly, including the radiator with three ARGB fans and the pump head featuring an integrated LCD screen.
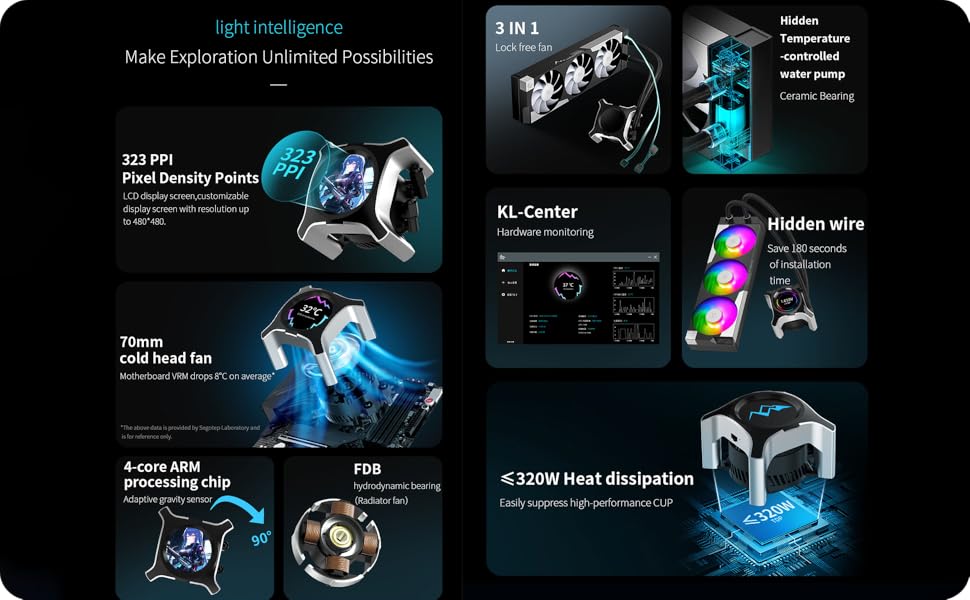
Figure 2: Feature Breakdown. This diagram highlights the 323 PPI LCD, 70mm cold head fan, 4-core ARM chip, FDB bearing, 3-in-1 lock-free fan design, hidden water pump, KL-Center software, and heat dissipation capabilities.
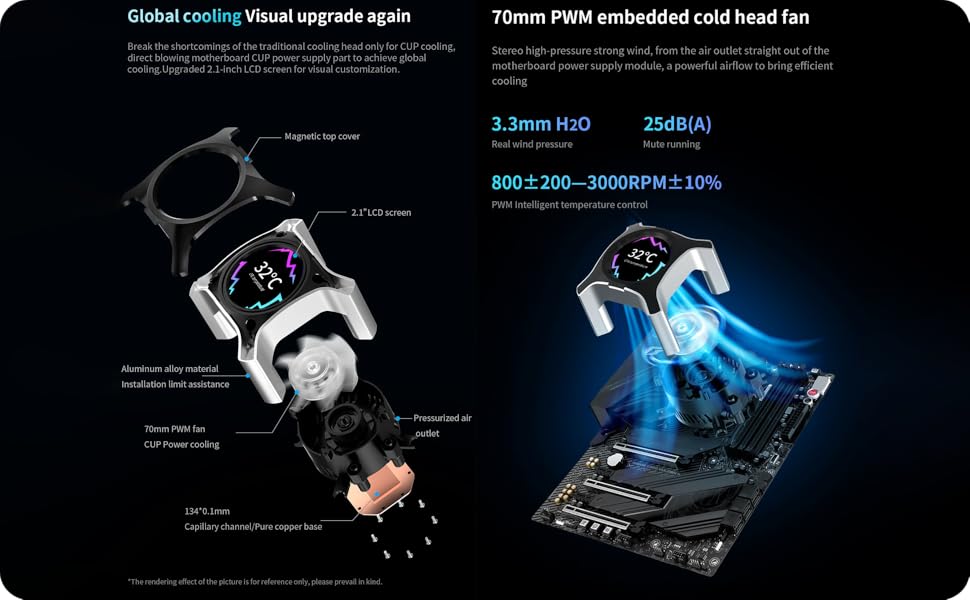
Figure 3: Pump Head Design and Global Cooling. An exploded view of the pump head details its components, including the magnetic top cover, 2.1-inch LCD screen, aluminum alloy material, 70mm PWM fan, pressurized air outlet, and pure copper base. It also illustrates the concept of global cooling for motherboard VRMs.
സജ്ജീകരണവും ഇൻസ്റ്റാളേഷനും
ഇൻസ്റ്റാളേഷൻ ആരംഭിക്കുന്നതിന് മുമ്പ്, നിങ്ങളുടെ സിസ്റ്റം ഓഫ് ചെയ്തിട്ടുണ്ടെന്നും പവർ സ്രോതസ്സിൽ നിന്ന് വിച്ഛേദിക്കപ്പെട്ടിട്ടുണ്ടെന്നും ഉറപ്പാക്കുക. നിർദ്ദിഷ്ട CPU സോക്കറ്റ് വിവരങ്ങൾക്ക് നിങ്ങളുടെ മദർബോർഡ് മാനുവൽ പരിശോധിക്കുക.
പാക്കേജ് ഉള്ളടക്കം:

Figure 4: Package Contents. This image displays the radiator with fans, pump head, various mounting brackets for different CPU sockets (LGA 1700/1200, AM5/AM4), screws, and cables included in the box.
പൊതു ഇൻസ്റ്റാളേഷൻ ഘട്ടങ്ങൾ:
- സിപിയു സോക്കറ്റ് തയ്യാറാക്കുക: Install the appropriate backplate and mounting standoffs for your CPU socket (LGA 1700/1200 or AM5/AM4).
- റേഡിയേറ്റർ മൗണ്ട് ചെയ്യുക: Secure the 360mm radiator to an available fan mounting location in your PC case (typically top or front). Ensure adequate airflow. The 3-in-1 lock-free fan design simplifies fan attachment to the radiator.
- പമ്പ് ഹെഡ് ഇൻസ്റ്റാൾ ചെയ്യുക: Apply thermal paste to the CPU IHS (Integrated Heat Spreader) if not pre-applied on the cooler's cold plate. Position the pump head over the CPU and secure it with the provided mounting screws and brackets. Ensure even pressure.
- കേബിളുകൾ ബന്ധിപ്പിക്കുക:
- Connect the pump's PWM cable to the CPU_FAN or AIO_PUMP header on your motherboard.
- Connect the fan cables to available fan headers on your motherboard or a fan controller.
- Connect the ARGB cables from the fans and pump head to a compatible 5V ARGB header on your motherboard or an ARGB controller.
- Connect the USB cable from the pump head to an internal USB 2.0 header on your motherboard for LCD screen functionality and software control.
- കേബിൾ മാനേജുമെന്റ്: ശരിയായ വായുസഞ്ചാരവും വൃത്തിയുള്ള നിർമ്മാണവും ഉറപ്പാക്കാൻ എല്ലാ കേബിളുകളും വൃത്തിയായി റൂട്ട് ചെയ്യുക.
For detailed, step-by-step visual guides, refer to the manufacturer's official installation video (if available) or the comprehensive guide on the SEGOTEP webസൈറ്റ്.
പ്രവർത്തന നിർദ്ദേശങ്ങൾ
പ്രാരംഭ പവർ-ഓൺ:
After installation, power on your system. The fans and pump should begin operating, and the ARGB lighting should illuminate. The LCD screen on the pump head will display default information or a boot animation.
KL-Center Software:
To unlock the full potential of your KL-360 II cooler, including LCD customization and hardware monitoring, download and install the KL-Center software from the official SEGOTEP webസൈറ്റ് (www.segotep.com/Service-Support-Download). The software allows you to:
- Monitor CPU temperature, frequency, voltagഇ, വൈദ്യുതി ഉപഭോഗം.
- Monitor fan and pump speeds.
- Customize the content displayed on the 2.1-inch LCD screen (supports JPG, PNG, GIF, and MP4 video files up to 4GB, 480x480 resolution).
- Adjust ARGB lighting effects for fans and pump head.
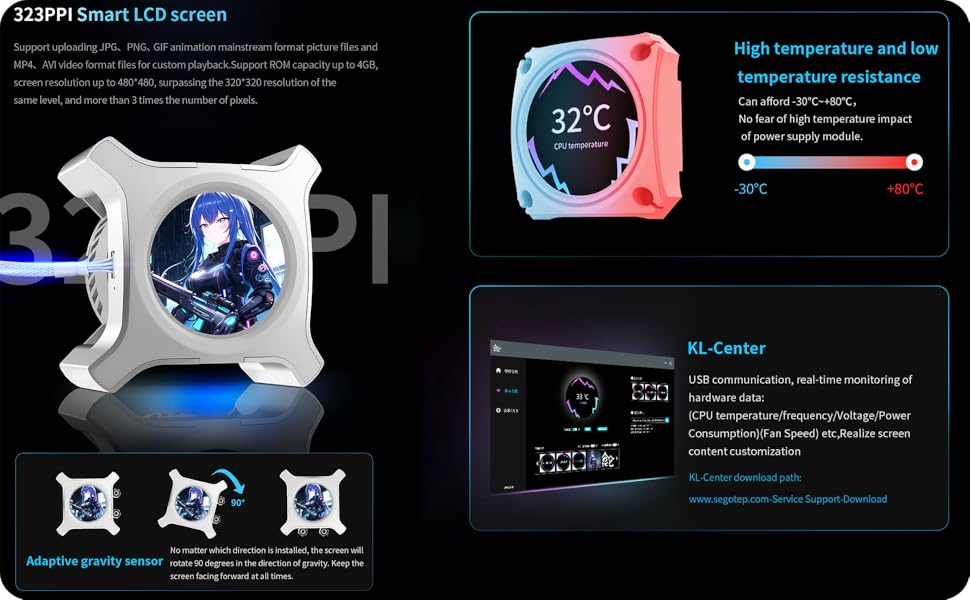
Figure 5: LCD Screen and KL-Center. This image details the 323 PPI LCD screen's capabilities, including support for various media formats and an adaptive gravity sensor. It also shows a screenshot of the KL-Center software interface for hardware monitoring and customization.
Adaptive Gravity Sensor:
The pump head features an adaptive gravity sensor that automatically rotates the LCD screen display by 90 degrees to ensure the content is always oriented correctly, regardless of the pump head's installation direction.
മെയിൻ്റനൻസ്
Regular maintenance helps ensure optimal performance and extends the lifespan of your AIO cooler.
- പൊടി നീക്കം: കംപ്രസ് ചെയ്ത വായു അല്ലെങ്കിൽ മൃദുവായ ബ്രഷ് ഉപയോഗിച്ച് റേഡിയേറ്റർ ഫിനുകളിൽ നിന്നും ഫാൻ ബ്ലേഡുകളിൽ നിന്നും ഇടയ്ക്കിടെ പൊടി വൃത്തിയാക്കുക. വൃത്തിയാക്കുന്ന സമയത്ത് ഫാനുകൾ കറങ്ങുന്നില്ലെന്ന് ഉറപ്പാക്കുക.
- ട്യൂബിംഗ് പരിശോധിക്കുക: Inspect the coolant tubes for any signs of kinks, leaks, or damage.
- പമ്പ് ഹെഡ് ക്ലീനിംഗ്: Gently wipe the pump head and LCD screen with a soft, dry cloth.
- സോഫ്റ്റ്വെയർ അപ്ഡേറ്റുകൾ: Keep the KL-Center software updated to the latest version for improved features and bug fixes.
ജാഗ്രത: Do not attempt to open the pump or radiator, as this will void the warranty and may cause damage or coolant leaks. The liquid cooling system is sealed and does not require refilling.
ട്രബിൾഷൂട്ടിംഗ്
| ഇഷ്യൂ | സാധ്യമായ കാരണം | പരിഹാരം |
|---|---|---|
| സിപിയു അമിതമായി ചൂടാക്കൽ |
|
|
| LCD Screen Not Displaying / Blank |
|
|
| ARGB ലൈറ്റിംഗ് പ്രവർത്തിക്കുന്നില്ല |
|
|
| കൂളറിൽ നിന്നുള്ള അസാധാരണമായ ശബ്ദം |
|
|
സ്പെസിഫിക്കേഷനുകൾ
| ഫീച്ചർ | വിശദാംശങ്ങൾ |
|---|---|
| മോഡൽ | KL-360 II |
| തണുപ്പിക്കൽ രീതി | ലിക്വിഡ് (ഓൾ-ഇൻ-വൺ) |
| റേഡിയേറ്റർ വലുപ്പം | 360 മി.മീ |
| ഫാൻ വലിപ്പം | 3x 120mm ARGB ഫാനുകൾ |
| Pump Head Fan | 70mm PWM ഫാൻ |
| എൽസിഡി സ്ക്രീൻ | 2.1-inch, 480x480 resolution, 323 PPI |
| സിപിയു സോക്കറ്റ് പിന്തുണ | ഇന്റൽ എൽജിഎ 1700/1200, എഎംഡി എഎം5/എഎം4 |
| ടിഡിപി (തെർമൽ ഡിസൈൻ പവർ) | 320W വരെ |
| ശബ്ദ നില | 32 ഡെസിബെൽ (പരമാവധി) |
| പരമാവധി ഭ്രമണ വേഗത (പമ്പ്) | 6000 ആർപിഎം |
| Air Flow Capacity (Fans) | മിനിറ്റിന് 78 ക്യുബിക് അടി (CFM) |
| പവർ കണക്റ്റർ തരം | 3-പിൻ (പമ്പ്), PWM (ഫാൻ) |
| മെറ്റീരിയൽ | Plastic, Copper (Cold Plate) |
| ഉൽപ്പന്ന അളവുകൾ | 9"L x 17"W x 18.3"H |
| ഇനത്തിൻ്റെ ഭാരം | 6.25 പൗണ്ട് |
വാറൻ്റിയും പിന്തുണയും
The SEGOTEP KL-360 II AIO Liquid CPU Cooler is manufactured by NextGenOEM. For warranty claims, technical support, or further assistance, please contact NextGenOEM directly through their official webഉൽപ്പന്നം വാങ്ങിയ സൈറ്റ് അല്ലെങ്കിൽ റീട്ടെയിലർ.
Please retain your proof of purchase for warranty validation. Warranty terms and conditions may vary by region and retailer.
നിർമ്മാതാവ്: NextGenOEM
ഉദ്യോഗസ്ഥൻ Webസൈറ്റ്: www.segotep.com (for software downloads and product information)


