ആമുഖം
The Parkside PMSHM2 A3 Multifunction Detector is a versatile tool designed for precise detection of various hidden elements within walls, ceilings, and floors. It can accurately locate live electrical wires, metallic components (such as pipes or rebar), wooden beams (studs), and cavities. This manual provides essential information for the safe and effective operation, maintenance, and troubleshooting of your device.

ചിത്രം 1: മുൻഭാഗം view of the Parkside PMSHM2 A3 Multifunction Detector, showing its display and control buttons.
സുരക്ഷാ നിർദ്ദേശങ്ങൾ
- Always read the entire manual before operating the device.
- വെറ്റ് അല്ലെങ്കിൽ ഡിയിൽ ഉപകരണം ഉപയോഗിക്കരുത്amp വ്യവസ്ഥകൾ.
- Ensure the device is clean and free from debris before use.
- ഉപകരണം സ്വയം തുറക്കാനോ നന്നാക്കാനോ ശ്രമിക്കരുത്. യോഗ്യതയുള്ള ഉദ്യോഗസ്ഥരെ സമീപിക്കുക.
- വോള്യം ശ്രദ്ധിക്കുകtage alert indicator when detecting live wires. Exercise extreme caution.
ഉൽപ്പന്നം കഴിഞ്ഞുview
The PMSHM2 A3 features an intuitive LCD display and simple controls for ease of use. It is designed for quick and reliable detection in various construction materials.
പ്രധാന സവിശേഷതകൾ:
- Detects live wires, metal components, wooden beams, and cavities.
- Precise location indicated by an intensity graph on the LCD display.
- Acoustic signal provides additional feedback during detection.
- Three adjustable sensitivity levels for live wire detection.
- സംയോജിത വോളിയംtage alert indicator for enhanced safety.

ചിത്രം 2: ക്ലോസപ്പ് view of the detector's LCD display, showing detection indicators and sensitivity settings.
സജ്ജമാക്കുക
ബാറ്ററി ഇൻസ്റ്റാളേഷൻ:
- ഉപകരണത്തിന്റെ പിൻഭാഗത്ത് ബാറ്ററി കമ്പാർട്ട്മെന്റ് കണ്ടെത്തുക.
- ബാറ്ററി കമ്പാർട്ട്മെൻ്റ് കവർ തുറക്കുക.
- Insert the required batteries (e.g., 9V battery, as per device markings) ensuring correct polarity (+/-).
- ബാറ്ററി കമ്പാർട്ട്മെൻ്റ് കവർ സുരക്ഷിതമായി അടയ്ക്കുക.
പ്രാരംഭ പവർ ഓൺ:
അമർത്തുക ഓൺ/ഓഫ് button to power on the device. The LCD display will illuminate, and a brief self-test may occur.
പ്രവർത്തന നിർദ്ദേശങ്ങൾ
The detector offers different modes for various detection tasks. Ensure the surface is clean and dry before scanning.
Selecting Detection Mode:
Use the mode selection button (AC Sens) to switch between sensitivity levels for AC wire detection (I, II, III). Other detection modes (Stud, Metal, Cavity) are typically automatic or selected by specific buttons on the device, as indicated on the display.
Scanning for Studs (Wooden Beams):
- Select the appropriate mode for stud detection.
- Place the detector flat against the wall surface.
- ഡിറ്റക്ടർ പതുക്കെ ഉപരിതലത്തിലൂടെ തിരശ്ചീനമായി സ്ലൈഡ് ചെയ്യുക.
- ഡിസ്പ്ലേ ഒരു ഇഞ്ച് കാണിക്കുംasing signal strength as it approaches a stud. An acoustic signal may also sound.
- Mark the edges of the stud as indicated by the device.

Figure 3: A user operating the detector on a wall, demonstrating typical usage for locating hidden elements.
Scanning for Metal:
- Select the appropriate mode for metal detection.
- Place the detector flat against the surface.
- Slowly move the detector across the area.
- The device will indicate the presence of metal objects (e.g., pipes, rebar) with a visual and/or acoustic signal.
- The intensity graph will help pinpoint the exact location.
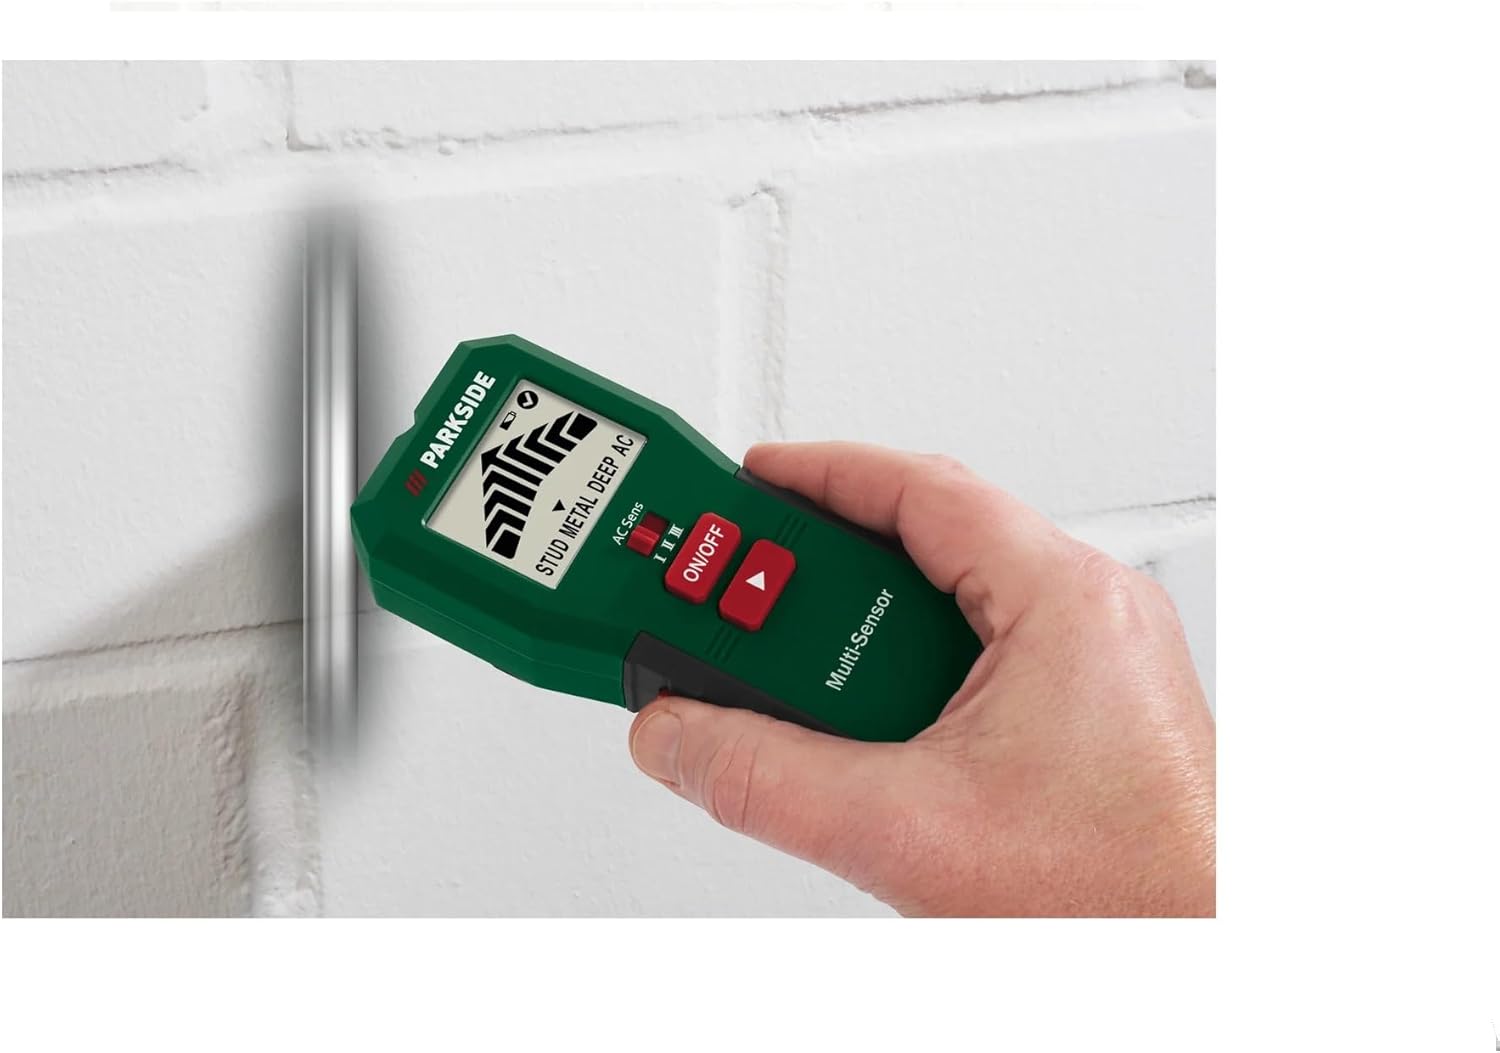
Figure 4: The detector being used to identify the location of a metal pipe embedded within a wall.
Scanning for Live AC Wires:
- Select the AC wire detection mode.
- Adjust the sensitivity level (I, II, III) using the dedicated button (AC Sens) to suit the depth of the wires. Start with lower sensitivity and increase if needed.
- Move the detector slowly across the surface.
- The device will indicate the presence of live AC wires with a distinct visual alert (e.g., flashing icon, voltage alert indicator) and an acoustic signal.
- ജാഗ്രത: Always verify the absence of live wires with a non-contact voltage tester before drilling or cutting.
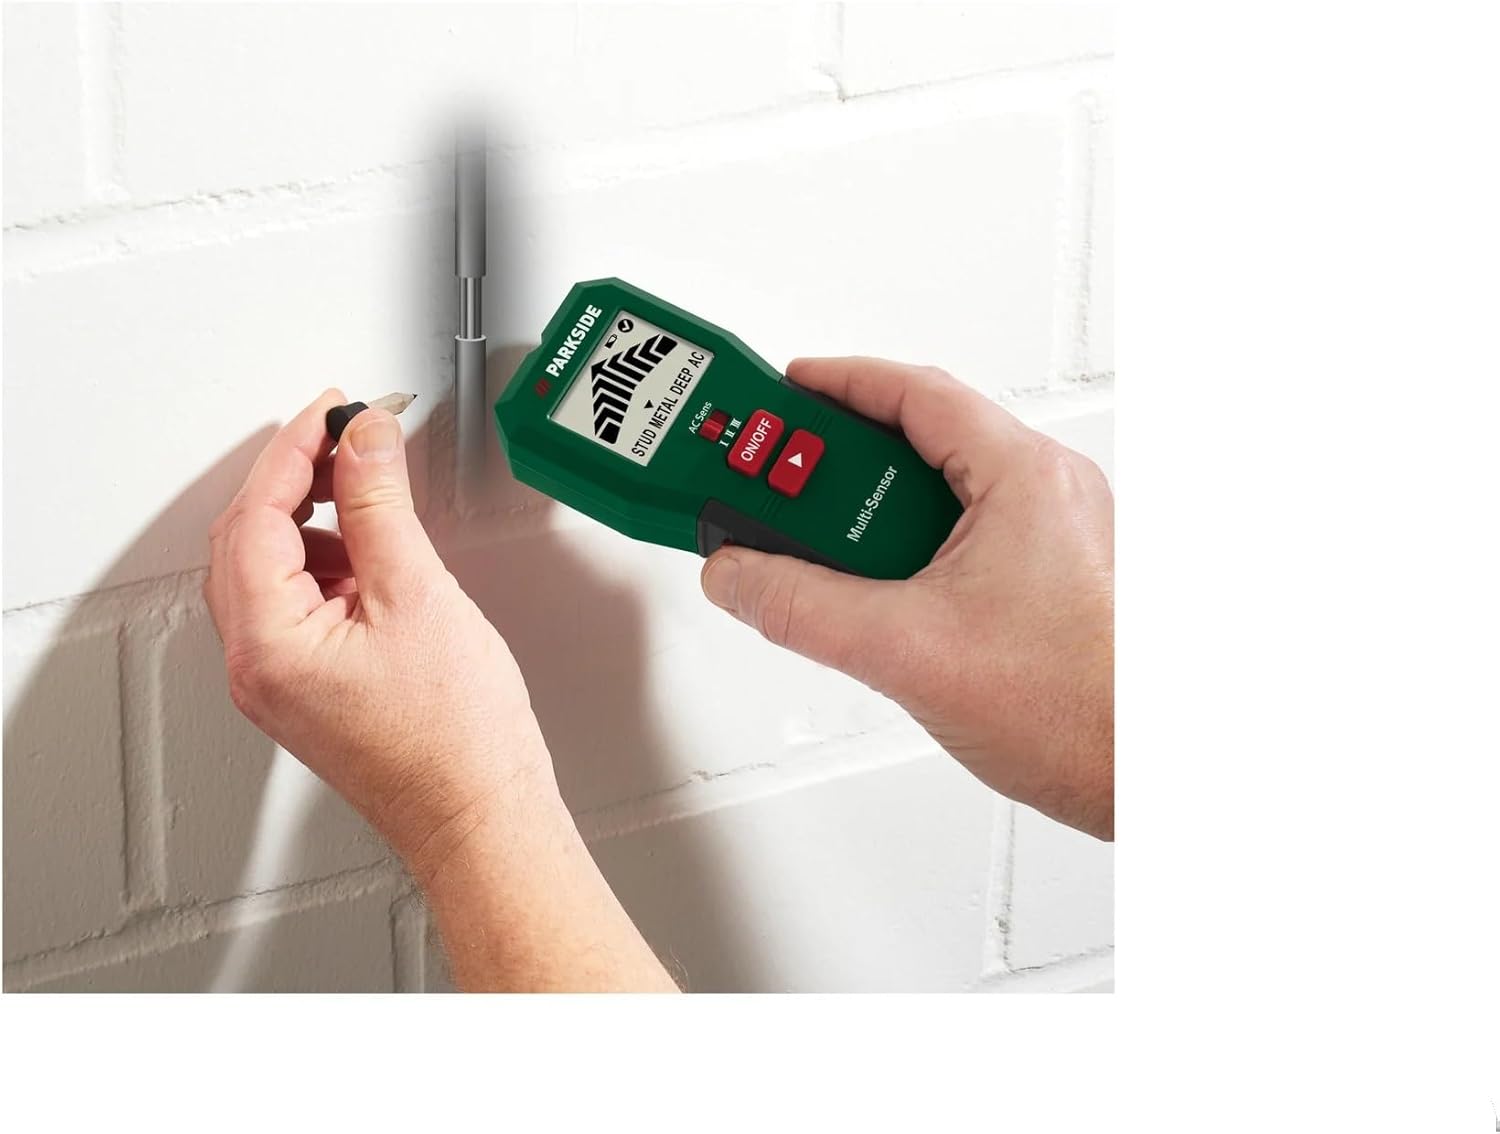
Figure 5: The detector indicating a detected point on a wall, likely after locating a stud or wire, with a pencil marking the spot.
Detecting Cavities:
The detector can also identify hollow spaces or cavities behind surfaces. This mode typically works by detecting changes in material density. Follow the general scanning procedure, and the device will indicate areas of lower density.
മെയിൻ്റനൻസ്
- വൃത്തിയാക്കൽ: ഓരോ ഉപയോഗത്തിനു ശേഷവും മൃദുവായതും ഉണങ്ങിയതുമായ തുണി ഉപയോഗിച്ച് ഉപകരണം തുടയ്ക്കുക. അബ്രാസീവ് ക്ലീനറുകളോ ലായകങ്ങളോ ഉപയോഗിക്കരുത്.
- സംഭരണം: Store the detector in a cool, dry place, away from direct sunlight and extreme temperatures. Remove batteries if the device will not be used for an extended period to prevent leakage.
- ബാറ്ററി മാറ്റിസ്ഥാപിക്കൽ: കൃത്യമായ റീഡിംഗുകൾ ഉറപ്പാക്കാൻ ഡിസ്പ്ലേയിൽ ബാറ്ററി കുറവാണെന്ന് കാണിക്കുമ്പോൾ ബാറ്ററികൾ മാറ്റിസ്ഥാപിക്കുക.
ട്രബിൾഷൂട്ടിംഗ്
| പ്രശ്നം | സാധ്യമായ കാരണം | പരിഹാരം |
|---|---|---|
| ഉപകരണം പവർ ഓണാക്കുന്നില്ല. | ഡെഡ് അല്ലെങ്കിൽ തെറ്റായി ഇൻസ്റ്റാൾ ചെയ്ത ബാറ്ററികൾ. | ബാറ്ററി പോളാരിറ്റി പരിശോധിക്കുക; ബാറ്ററികൾ മാറ്റിസ്ഥാപിക്കുക. |
| കൃത്യമല്ലാത്ത വായനകൾ. | Low battery, improper calibration, or interference. | Replace batteries. Ensure proper calibration (if applicable, refer to device instructions). Avoid scanning near strong electromagnetic fields. |
| No detection in AC mode. | Sensitivity too low, or wires are too deep. | Increase sensitivity level. Ensure the device is flat against the surface. |
| False positives/negatives. | Surface conditions (e.g., dampness), or user technique. | Ensure surface is dry. Scan slowly and consistently. |
സ്പെസിഫിക്കേഷനുകൾ
| ആട്രിബ്യൂട്ട് | വിശദാംശങ്ങൾ |
|---|---|
| മോഡൽ നമ്പർ | PMSHM2 A3 |
| അളവുകൾ (L x W x H) | 6.5 x 3.3 x 14.5 സെ.മീ |
| ഭാരം | 128 ഗ്രാം |
| മെറ്റീരിയൽ | പ്ലാസ്റ്റിക് |
| പവർ ഉറവിടം | Battery powered (Batteries required: Yes) |
| ഡിസ്പ്ലേ തരം | എൽസിഡി |
| നിറം | പച്ച |
| ശുപാർശ ചെയ്യുന്ന ഉപയോഗം | General detection (live wires, metal, wood, cavities) |
| വിപുലീകരിച്ച ദൈർഘ്യം | 50 Millimeters (Note: This specification might refer to a specific probe or measurement capability not explicitly detailed in the product description.) |
വാറൻ്റിയും പിന്തുണയും
For warranty information and customer support, please refer to the documentation included with your purchase or visit the official Crivit webസൈറ്റ്. വാറന്റി ക്ലെയിമുകൾക്കായി നിങ്ങളുടെ വാങ്ങലിന്റെ തെളിവ് സൂക്ഷിക്കുക.
For technical assistance or service, contact Crivit customer service. Do not attempt to repair the device yourself, as this may void the warranty.


