1. ആമുഖം
This manual provides detailed instructions for the installation, operation, and maintenance of your Eonon Android 14 Car Stereo Navigation system, model DGRMX7. Please read this manual thoroughly before use to ensure proper functionality and to maximize your user experience. This unit is designed to enhance your vehicle's infotainment capabilities with advanced navigation, multimedia, and connectivity features.

Figure 1.1: Eonon Android 14 Car Stereo Navigation DGRMX7 unit with included accessories.
2. അനുയോജ്യമായ വാഹനങ്ങൾ
The Eonon DGRMX7 car stereo is specifically designed for the following vehicle models:
- Dodge RAM 1500/2500/3500 (2013-2018) with Manual AC
- Dodge RAM 1500 Classic (2019-2024) with Manual AC
Important Note: This car stereo is only suitable for installation in vehicles equipped with manual air conditioning. It is not compatible with models that have automatic air conditioning.

Figure 2.1: Compatible vehicle dashboards with manual AC controls.
Figure 2.2: Incompatible vehicle dashboards with automatic AC controls.
3. ബോക്സിൽ എന്താണുള്ളത്?
The following components are included with your Eonon DGRMX7 unit:

Figure 3.1: Contents of the Eonon DGRMX7 package.
- Eonon DGRMX7 Head Unit
- Audio Video Adapter Cables (x2)
- CarPlay & Android Auto USB Adapter Cable (x1)
- USB Adapter Cable (x1)
- Backup Camera Video Input Cable (x1)
- Radio Antenna Adapter Cable (x1)
- പവർ കേബിൾ (x1)
- ജിപിഎസ് ആന്റിന (x1)
- ബാഹ്യ മൈക്രോഫോൺ (x1)
- സ്പീക്കർ (x1)
- USB Adapter Cable (x1)
- CAN Bus (x1)
- Spare Fuse (x1)
- Adhesive Pad (x1)
- ഉപയോക്തൃ മാനുവൽ (x1)
- ബാക്കപ്പ് ക്യാമറ (A0125)
4. സജ്ജീകരണവും ഇൻസ്റ്റാളേഷനും
Installation of the Eonon DGRMX7 unit requires careful attention to wiring and vehicle disassembly. It is recommended to consult a professional if you are unfamiliar with car stereo installations.
4.1. പൊതുവായ ഇൻസ്റ്റലേഷൻ ഘട്ടങ്ങൾ
- ബാറ്ററി വിച്ഛേദിക്കുക: Before starting, disconnect both positive and negative terminals of your vehicle's battery to prevent electrical shorts.
- ഫാക്ടറി റേഡിയോ നീക്കം ചെയ്യുക: Carefully remove the dashboard trim and the existing factory radio unit. Refer to your vehicle's service manual for specific instructions on trim removal.
- വയറിംഗ് ഹാർനെസ് ബന്ധിപ്പിക്കുക: നൽകിയിരിക്കുന്ന വയറിംഗ് ഹാർനെസ് വാഹനത്തിന്റെ ഫാക്ടറി ഹാർനെസുമായി ബന്ധിപ്പിക്കുക. എല്ലാ കണക്ഷനുകളും സുരക്ഷിതമാണെന്ന് ഉറപ്പാക്കുക.
- ഹെഡ് യൂണിറ്റ് ഇൻസ്റ്റാൾ ചെയ്യുക: Mount the Eonon DGRMX7 head unit into the dashboard opening. Secure it with screws.
- ബാറ്ററി വീണ്ടും ബന്ധിപ്പിക്കുക: എല്ലാ കണക്ഷനുകളും ഉണ്ടാക്കി യൂണിറ്റ് സുരക്ഷിതമാക്കിക്കഴിഞ്ഞാൽ, വാഹനത്തിന്റെ ബാറ്ററി വീണ്ടും ബന്ധിപ്പിക്കുക.
- ടെസ്റ്റ് പ്രവർത്തനം: Power on the unit and test all functions, including audio, navigation, Bluetooth, and steering wheel controls.
4.2. വയറിംഗ് ഡയഗ്രം

Figure 4.1: Eonon DGRMX7 Wiring Diagram.
4.3. ഇൻസ്റ്റലേഷൻ വീഡിയോ ഗൈഡ്
For a visual guide on the installation process, please refer to the following video:
വീഡിയോ 4.1: ഇൻസ്റ്റലേഷൻ കഴിഞ്ഞുview for the Eonon car stereo in a Dodge RAM 1500. This video demonstrates the removal of the stock radio, installation of the new head unit, wiring connections, and testing of features like the backup camera and audio equalizer.
5. പ്രവർത്തന നിർദ്ദേശങ്ങൾ
5.1. അടിസ്ഥാന പ്രവർത്തനം
- പവർ ഓൺ/ഓഫ്: യൂണിറ്റിലെ പവർ ബട്ടൺ അമർത്തിപ്പിടിക്കുക അല്ലെങ്കിൽ വാഹനത്തിന്റെ ഇഗ്നിഷൻ ഉപയോഗിക്കുക.
- ടച്ച്സ്ക്രീൻ ഇന്റർഫേസ്: The 9-inch IPS HD touchscreen (1280x720 resolution) provides a responsive and clear interface for all functions.
- വോളിയം നിയന്ത്രണം: Use the physical buttons or on-screen controls to adjust volume.

Figure 5.1: 9-inch IPS HD Touchscreen display.
5.2. Smartphone Integration (CarPlay & Android Auto)
The DGRMX7 supports both wireless and wired Apple CarPlay and Android Auto.
5.2.1. Wireless Apple CarPlay Connection
- കാർ സ്റ്റീരിയോയിലെ Zlink5 ആപ്പിൽ ക്ലിക്ക് ചെയ്യുക.
- നിങ്ങളുടെ iPhone-ൽ Wi-Fi, Bluetooth എന്നിവ ഓണാക്കുക.
- നിങ്ങളുടെ ഫോണിന്റെ ബ്ലൂടൂത്ത് ഉപകരണ ലിസ്റ്റിൽ 'EONON' കണ്ടെത്തി അത് ജോടിയാക്കുക.
- Once connected, tap 'Use CarPlay' and wait a few seconds for the connection to complete.

Figure 5.2: Wireless Apple CarPlay connection steps.
5.2.2. വയർലെസ് ആൻഡ്രോയിഡ് ഓട്ടോ കണക്ഷൻ
- കാർ സ്റ്റീരിയോയിലെ Zlink5 ആപ്പിൽ ക്ലിക്ക് ചെയ്യുക.
- നിങ്ങളുടെ ആൻഡ്രോയിഡ് ഫോണിൽ വൈഫൈയും ബ്ലൂടൂത്തും ഓണാക്കുക.
- നിങ്ങളുടെ ഫോണിന്റെ ബ്ലൂടൂത്ത് ഉപകരണ ലിസ്റ്റിൽ 'EONON' കണ്ടെത്തി അത് ജോടിയാക്കുക.
- കണക്ഷൻ പൂർത്തിയാകാൻ കുറച്ച് നിമിഷങ്ങൾ കാത്തിരിക്കുക.

Figure 5.3: Wireless Android Auto connection steps.
5.3. സ്ക്രീൻ മിററിംഗ്
Project your phone's screen onto the car stereo display.
5.3.1. Screen Mirroring for iOS
- കാർ സ്റ്റീരിയോയിലെ Zlink5 ആപ്പിൽ ക്ലിക്ക് ചെയ്യുക. കാർ സ്റ്റീരിയോ ഐഫോൺ വയർലെസ് സ്ക്രീൻ മിററിംഗ് മോഡിലേക്ക് സജ്ജമാക്കുക.
- ഐഫോൺ ഹോട്ട്സ്പോട്ട് ഓണാക്കി കാർ സ്റ്റീരിയോയുമായി ബന്ധിപ്പിക്കുക.
- ഐഫോൺ സ്ക്രീൻ മിററിംഗ് ഫംഗ്ഷൻ ഓണാക്കി "zj-airplay" തിരഞ്ഞെടുക്കുക.
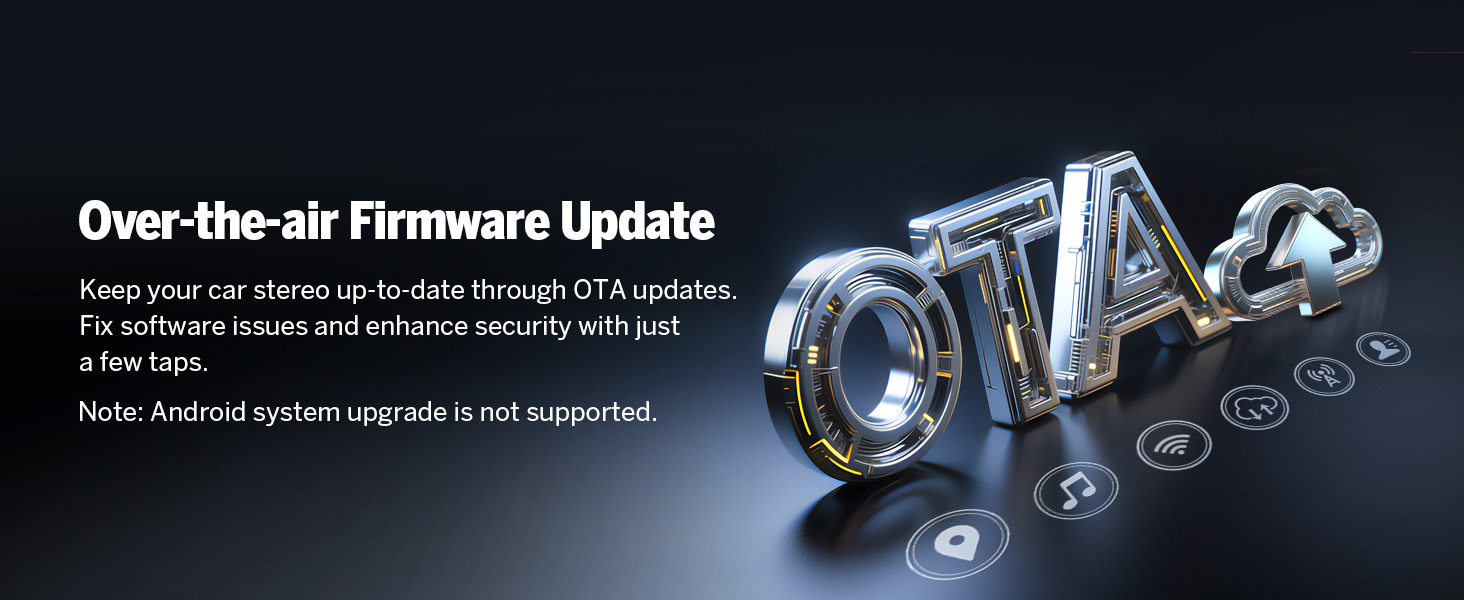
Figure 5.4: iOS Screen Mirroring steps.
5.3.2. Screen Mirroring for Android
- കാർ സ്റ്റീരിയോയിലെ Zlink5 ആപ്പിൽ ക്ലിക്ക് ചെയ്യുക. കാർ സ്റ്റീരിയോ ആൻഡ്രോയിഡ് വയർലെസ് സ്ക്രീൻ മിററിംഗ് മോഡിലേക്ക് സജ്ജമാക്കുക.
- Turn on your phone's hotspot and connect to the car stereo.
- നിങ്ങളുടെ ഫോണിൽ Zplus ആപ്പ് ഇൻസ്റ്റാൾ ചെയ്യുക. ആപ്പ് ഓണാക്കി "വയർലെസ് കണക്ഷൻ" തിരഞ്ഞെടുക്കുക.

Figure 5.5: Android Screen Mirroring steps.
5.4. ഓഡിയോ ക്രമീകരണങ്ങളും സമനിലയും
The unit features a professional 32-bit DSP with FFT Acceleration and a 48-band EQ with 3D Surround & Virtual Bass for optimized sound. You can customize audio profileനിങ്ങളുടെ ഇഷ്ടത്തിനനുസരിച്ച്.

Figure 5.6: Audio Equalizer interface with preset modes.
5.5. നാവിഗേഷൻ
The unit supports both online and offline GPS navigation. You can use pre-installed maps or download your preferred navigation apps from the Google Play Store.
5.6. ബ്ലൂടൂത്ത് കണക്റ്റിവിറ്റി
Equipped with an independent Bluetooth module and an extra Bluetooth antenna, the DGRMX7 offers quick and stable connections, noise reduction, crystal-clear call quality, and high-quality music streaming via Bluetooth 5.4.
- ഹാൻഡ്സ് ഫ്രീ കോളുകൾ: Make and receive calls directly from the stereo.
- കോൺടാക്റ്റ് സിൻക്രൊണൈസേഷൻ: Sync your phone's contacts for easy access.
- സംഗീത പ്ലേബാക്ക്: നിങ്ങളുടെ ബ്ലൂടൂത്ത് പ്രാപ്തമാക്കിയ ഉപകരണത്തിൽ നിന്ന് ഓഡിയോ സ്ട്രീം ചെയ്യുക.

Figure 5.7: Bluetooth connectivity features.
5.7. റേഡിയോ
The unit includes a high-quality FM/AM radio with RDS support.
5.8. ഇഷ്ടാനുസൃതമാക്കൽ
Personalize your stereo's appearance and functionality:
- UI തീമുകൾ: Choose from 3 customizable UI themes.
- ബൂട്ട് ലോഗോ: Customize the startup logo.
- ബട്ടൺ നിറം: ഫിസിക്കൽ ബട്ടണുകളുടെ നിറം ക്രമീകരിക്കുക.
- വാൾപേപ്പർ: Set custom wallpapers.

Figure 5.8: Customization options for the user interface.
5.9. Retained OEM Features
The DGRMX7 is designed for plug-and-play installation, retaining several factory features of your Dodge RAM:
- സ്റ്റിയറിംഗ് വീൽ നിയന്ത്രണങ്ങൾ
- Door Information Display
- ഡ്രൈവിംഗ് ഡാറ്റ ഡിസ്പ്ലേ
- എസി ഇൻഫർമേഷൻ ഡിസ്പ്ലേ

Figure 5.9: Retained factory features.
6. പരിപാലനം
6.1. Software Updates (OTA)
The Eonon DGRMX7 supports Over-The-Air (OTA) firmware updates. These updates help fix software issues and enhance security, ensuring your head unit remains up-to-date. Updates are for software improvements and do not upgrade the Android system version.

Figure 6.1: Over-The-Air (OTA) Firmware Update process.
7. പ്രശ്നപരിഹാരം
- ശക്തിയില്ല: Ensure all power cables are securely connected and the vehicle's battery is properly reconnected. Check the fuse.
- ശബ്ദമില്ല: Verify speaker connections and audio settings. Check the equalizer settings.
- Backup Camera 'No Signal': If your vehicle has a factory backup camera and you see 'no signal' when in reverse, you may need to sync it with the new unit. While in reverse and the 'no signal' message is displayed, press and hold your finger on the screen until a new smaller screen appears. This interface allows you to pair the rear camera. Remember to save any changes.
- ബ്ലൂടൂത്ത് കണക്റ്റിവിറ്റി പ്രശ്നങ്ങൾ: Ensure Bluetooth is enabled on both the stereo and your phone. Try unpairing and re-pairing the devices.
- ജിപിഎസ് സിഗ്നൽ നഷ്ടം: Ensure the GPS antenna is properly installed and has a clear line of sight to the sky.
8 സ്പെസിഫിക്കേഷനുകൾ
| ഫീച്ചർ | സ്പെസിഫിക്കേഷൻ |
|---|---|
| ഓപ്പറേറ്റിംഗ് സിസ്റ്റം | ആൻഡ്രോയിഡ് 14 |
| പ്രോസസ്സർ | റോക്ക്ചിപ്പ് (ഉയർന്ന പ്രകടനം, കുറഞ്ഞ വൈദ്യുതി ഉപഭോഗം) |
| റാം | 3 ജിബി |
| റോം (ആന്തരിക സംഭരണം) | 32 ജിബി |
| ഡിസ്പ്ലേ വലിപ്പം | 9 ഇഞ്ച് |
| ഡിസ്പ്ലേ തരം | ഐപിഎസ് എച്ച്ഡി ടച്ച്സ്ക്രീൻ |
| റെസലൂഷൻ | 1280x720 |
| CarPlay & Android Auto | വയർലെസ്/വയർഡ് |
| ബ്ലൂടൂത്ത് പതിപ്പ് | 5.4 |
| Wi-Fi കണക്റ്റിവിറ്റി | Yes (5GHz support) |
| ജിപിഎസ് | Online/Offline Navigation (Worldwide map type) |
| റേഡിയോ | FM/AM with RDS |
| ഓഡിയോ ഔട്ട്പുട്ട് പവർ | ST 4 x 45W Amp |
| ഡി.എസ്.പി | Professional 32-bit with FFT Acceleration |
| ഇക്വലൈസർ | 48-Band EQ with 3D Surround & Virtual Bass |
| USB പോർട്ടുകൾ | 3 |
| ബാക്കപ്പ് ക്യാമറ പിന്തുണ | 720P AHD (A0125 included) |
| Dashcam Support | Eonon A100 (not included) |
| OBD2 പിന്തുണ | V0056 (not included) |
| ഇനത്തിൻ്റെ ഭാരം | 5.1 പൗണ്ട് (2.32 കിലോഗ്രാം) |
| പാക്കേജ് അളവുകൾ | 13.62 x 12.52 x 6.65 ഇഞ്ച് |
9. വാറൻ്റിയും പിന്തുണയും
The Eonon DGRMX7 comes with a 2 വർഷത്തെ നിർമ്മാതാവിൻ്റെ വാറൻ്റി. For technical support, troubleshooting assistance, or warranty claims, please contact Eonon customer service through their official webഉൽപ്പന്നം വാങ്ങിയ സൈറ്റ് അല്ലെങ്കിൽ റീട്ടെയിലർ.
കൂടുതൽ സംരക്ഷണ പ്ലാനുകൾ വാങ്ങാൻ ലഭ്യമാണ്:
- 2-വർഷ സംരക്ഷണ പദ്ധതി
- 3-വർഷ സംരക്ഷണ പദ്ധതി
- കംപ്ലീറ്റ് പ്രൊട്ടക്റ്റ് (പ്രതിമാസ സബ്സ്ക്രിപ്ഷൻ)


