1. ആമുഖം
The Fieldpiece DRX3 is a professional-grade refrigerant and combustible gas leak detector designed for HVACR technicians. This device is engineered to accurately detect a wide range of gases, including A3, A2L, and A1 refrigerants, as well as various combustible gases. Its robust design and advanced sensor technology provide reliable performance in diverse field conditions. This manual provides essential information for the proper setup, operation, maintenance, and troubleshooting of your DRX3 unit.
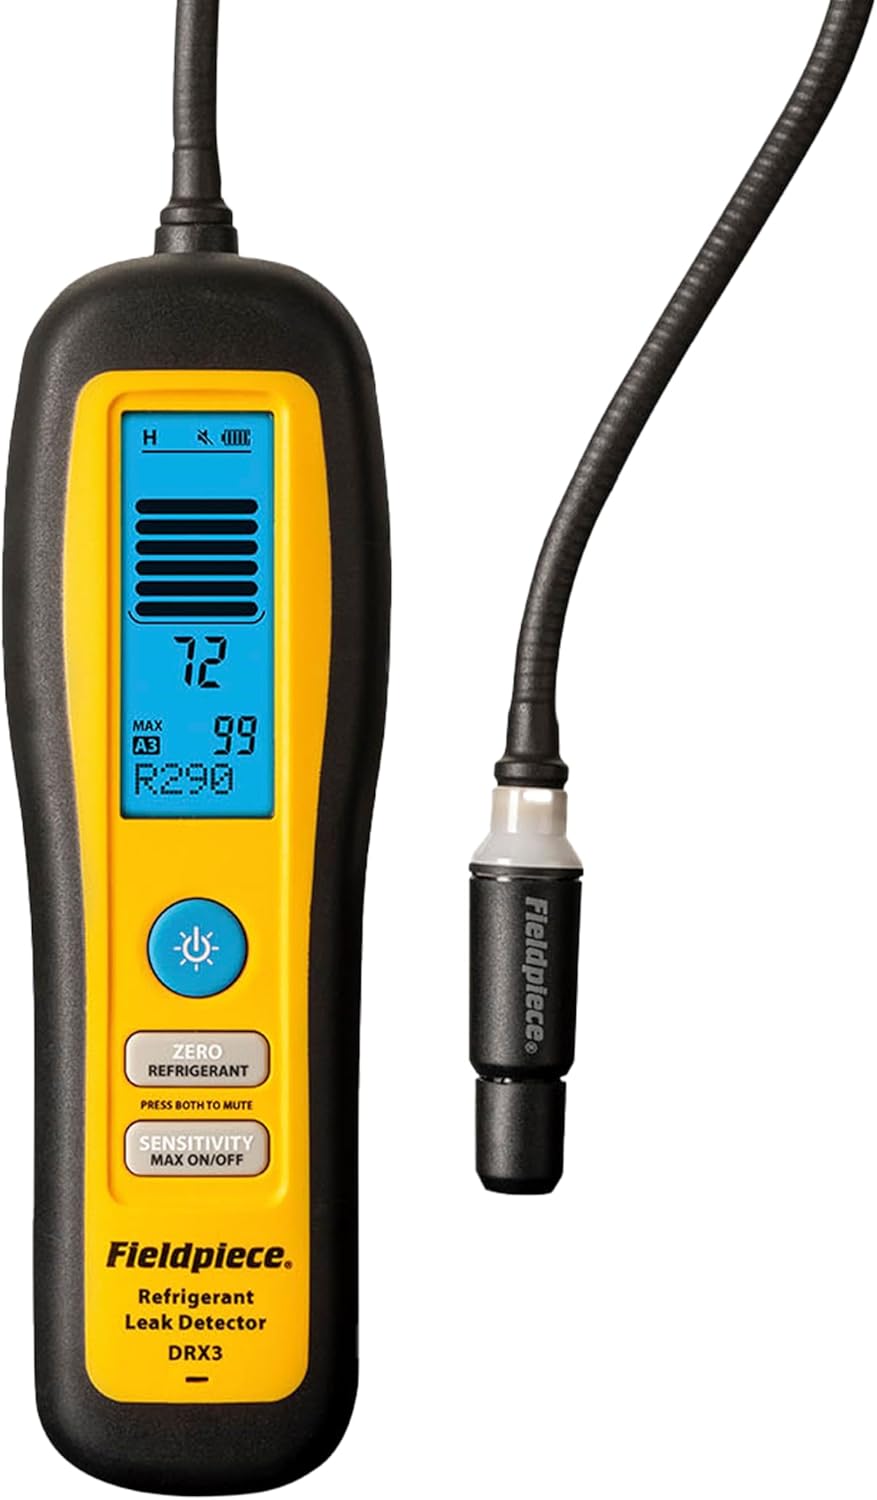
Image 1: The Fieldpiece DRX3 Refrigerant & Combustible Gas Leak Detector. This image displays the main unit with its flexible probe, digital display, and control buttons.
2. സവിശേഷതകൾ
The DRX3 leak detector incorporates several key features to enhance its functionality and user experience:
- Versatile Detection: Detects A3, A2L, A1 refrigerants, and combustible gases using an accurate, field-replaceable heated diode sensor.
- Broad Gas Compatibility: Suitable for use with HC, HFC, HCFC, CFC, HFO, H2/N2 (Tracer Gas), and blend refrigerants, as well as heating gases.
- മോടിയുള്ളതും ഭാരം കുറഞ്ഞതും: Constructed for durability with a lightweight design, featuring long-life, field-replaceable batteries.
- ക്രമീകരിക്കാവുന്ന സംവേദനക്ഷമത: Offers auto and manual zero modes, along with high, medium, and low sensitivity settings for precise leak identification.
- Clear Feedback: Provides multiple visual and audio feedback indicators that adjust with leak intensity, facilitating quick leak location.
- Job Link System App Connectivity: Integrates with the Job Link System app for enhanced data management and reporting.

Image 2: A graphic illustrating the key features and benefits of the Fieldpiece DRX3, including its detection capabilities for various refrigerants and gases, backlit LCD screen, and Job Link System app integration.
3. പാക്കേജ് ഉള്ളടക്കം
Upon unpacking your Fieldpiece DRX3, please verify that all the following items are included:
- One (1) Heated Diode Refrigerant Leak Detector - DRX3
- One (1) Blow-Molded Case
- One (1) Heated Diode Sensor - RXA3
- Four (4) AA batteries (pre-installed or included separately)

Image 3: A visual representation of the Fieldpiece DRX3 leak detector, its blow-molded carrying case, and the included heated diode sensor.
4. സജ്ജീകരണം
Follow these steps to prepare your DRX3 for operation:
- ബാറ്ററി ഇൻസ്റ്റാളേഷൻ: Ensure four (4) AA batteries are correctly installed in the battery compartment. The DRX3 typically comes with batteries included.
- പവർ ഓൺ: Press and hold the power button until the unit powers on and the display illuminates.
- വാം-അപ്പ് കാലയളവ്: Allow the DRX3 to complete its warm-up cycle, which is indicated on the display. This ensures the sensor reaches optimal operating temperature for accurate detection.
- Zeroing the Unit: In a clean, fresh air environment (free from any potential gas or refrigerant leaks), press the 'ZERO' button. This calibrates the sensor to the ambient air, establishing a baseline for leak detection. Repeat zeroing if moving to an area with different ambient conditions.
- സംവേദനക്ഷമത തിരഞ്ഞെടുക്കുക: Choose the appropriate sensitivity level (High, Medium, or Low) using the 'SENSITIVITY' button based on the expected leak size or the environment. Start with high sensitivity for general scanning and reduce it to pinpoint larger leaks.
5. പ്രവർത്തന നിർദ്ദേശങ്ങൾ
To effectively use your DRX3 leak detector:
- സ്കാൻ ഏരിയ: Slowly move the probe tip around suspected leak points. Maintain a consistent speed of approximately 1-2 inches per second.
- Observe Indicators: Pay attention to both the visual display and the audible alarm. The display will show a numerical reading and a bar graph indicating leak intensity. The audible alarm will increase in frequency and pitch as a leak is detected.
- കൃത്യമായ ചോർച്ചകൾ: Once a leak is indicated, move the probe away from the area, re-zero the unit, and then slowly approach the suspected leak point again. This helps to isolate the exact source of the leak. Reduce sensitivity if the alarm is constant and overwhelming.
- Using Auto/Manual Zero: The auto-zero feature continuously adjusts to background gas levels. For more precise pinpointing, switch to manual zero mode after detecting a general leak area.
- Job Link System App: Connect the DRX3 to the Job Link System app via Bluetooth for real-time data logging, reporting, and integration with other Fieldpiece tools. Refer to the Job Link app's specific instructions for pairing and usage.

Image 4: A technician using the Fieldpiece DRX3 to detect leaks on an HVAC unit, demonstrating the device's practical application in the field.
6. പരിപാലനം
Regular maintenance ensures the longevity and accuracy of your DRX3:
- സെൻസർ മാറ്റിസ്ഥാപിക്കൽ: The heated diode sensor (RXA3) is field-replaceable and has a typical life of 300 hours. Replace the sensor when its performance degrades or when prompted by the unit. Refer to the sensor replacement guide for detailed steps.
- വൃത്തിയാക്കൽ: പരസ്യം ഉപയോഗിച്ച് യൂണിറ്റ് തുടയ്ക്കുകamp cloth. Do not use abrasive cleaners or solvents. Ensure the probe tip is free from debris.
- ബാറ്ററി കെയർ: Replace batteries when the low battery indicator appears. Remove batteries if the unit will not be used for an extended period to prevent leakage.
- സംഭരണം: Store the DRX3 in its blow-molded case in a cool, dry place, away from extreme temperatures and direct sunlight.
7. പ്രശ്നപരിഹാരം
If you encounter issues with your DRX3, consider the following:
- യൂണിറ്റ് പവർ ചെയ്യുന്നില്ല:
- ബാറ്ററി ഇൻസ്റ്റാളേഷൻ പരിശോധിച്ച് ബാറ്ററികൾ പുതിയതാണെന്ന് ഉറപ്പാക്കുക.
- Verify battery compartment contacts are clean and free of corrosion.
- Inaccurate Readings or Constant Alarm:
- Re-zero the unit in a known clean air environment.
- Check the sensor tip for obstructions or damage.
- Consider replacing the heated diode sensor if it has exceeded its typical lifespan or shows signs of wear.
- Adjust sensitivity settings; high sensitivity in a contaminated area can lead to constant alarms.
- കണ്ടെത്തൽ ഇല്ല:
- Ensure the unit is powered on and has completed its warm-up cycle.
- Verify the sensitivity setting is appropriate for the expected leak size.
- Confirm the sensor is properly installed and functional.
- Connectivity Issues with Job Link App:
- Ensure Bluetooth is enabled on your mobile device and the DRX3.
- Restart both the DRX3 and the Job Link app.
- Check the app for updates.
8 സ്പെസിഫിക്കേഷനുകൾ
Detailed technical specifications for the Fieldpiece DRX3:
| സെൻസർ തരം | ചൂടായ ഡയോഡ് |
| സെൻസർ ലൈഫ് | 300 മണിക്കൂർ സാധാരണ |
| സെൻസിറ്റിവിറ്റി ലെവലുകൾ | High, Medium, Low (selectable) |
| പരമാവധി സെൻസിറ്റിവിറ്റി | 1g/yr (0.03 oz/yr) stationary; 3g/yr (0.1 oz/yr) in motion |
| Detection Feedback | Flashing LED, LCD bar graph and digits, audible beep, Job Link app |
| റഫ്രിജറന്റുകൾ | HC, HFC, HCFC, CFC, HFO, H2/N2 (Tracer Gas: 5% Hydrogen, 95% Nitrogen), and blends |
| Heating Gases | Natural Gas, Propane, Butane, Methane |
| കൂടെ ഉപയോഗിക്കുന്നതിന് | A3 (R-290, R-600A, R-600), R-50, R-1270), A2L (Including R-32, R-454B, R-1234yf), and A1 refrigerants |
| Not For Use With | R-702, R-717, R-744 |
| സുരക്ഷാ പാലിക്കൽ | ATEX Zone 2 (II 3 G Ex ic IIA T2 Gc); Class I, Division 2, Group D, T2 Hazardous Locations |
| പ്രവർത്തന പരിസ്ഥിതി | -20°C to 50°C (-4°F to 122°F); < 95% RH (non-condensing) |
| ബാറ്ററി തരം | 4x Replaceable AA Lithium Iron Disulfide (To maintain ATEX and CID2 compliance, use 4x Energizer L91 AA batteries.) |
| ബാറ്ററി ശേഷി | 1.5 VDC (nominal) 3500 mAh |
| ബാറ്ററി ലൈഫ് | 60 മണിക്കൂർ സാധാരണ |
| ഓട്ടോ പവർ ഓഫ് | തിരിച്ചറിയാതെയും ബട്ടൺ അമർത്താതെയും 10 മിനിറ്റ് |
| റേഡിയോ ആവൃത്തി | 2.4 GHz |
| വയർലെസ് ശ്രേണി | 200 മീറ്റർ (656 അടി) വരെ കാഴ്ച രേഖ |
| സംഭരണ താപനില | -20°C to 60°C (-4°F to 140°F); < 95% RH |
| ഭാരം | 442g (15.6 oz) with Batteries Installed |
| ജല പ്രതിരോധം | IP54 Main Body |

Image 5: A detailed table outlining the technical specifications of the Fieldpiece DRX3, including sensor type, sensitivity, gas compatibility, battery life, and environmental ratings.
9. വാറൻ്റിയും പിന്തുണയും
For warranty information and technical support, please refer to the official Fieldpiece website or contact their customer service. Specific warranty terms and conditions may vary by region and purchase date. Keep your proof of purchase for warranty claims.
For additional resources, including FAQs and product registration, visit the Fieldpiece Store on Amazon.