ആമുഖം
The ProtoArc EM03 NL Wireless Bluetooth Trackball Mouse is designed to provide an ergonomic and efficient computing experience. This manual will guide you through the setup, operation, maintenance, and troubleshooting of your new trackball mouse, ensuring optimal performance and comfort.
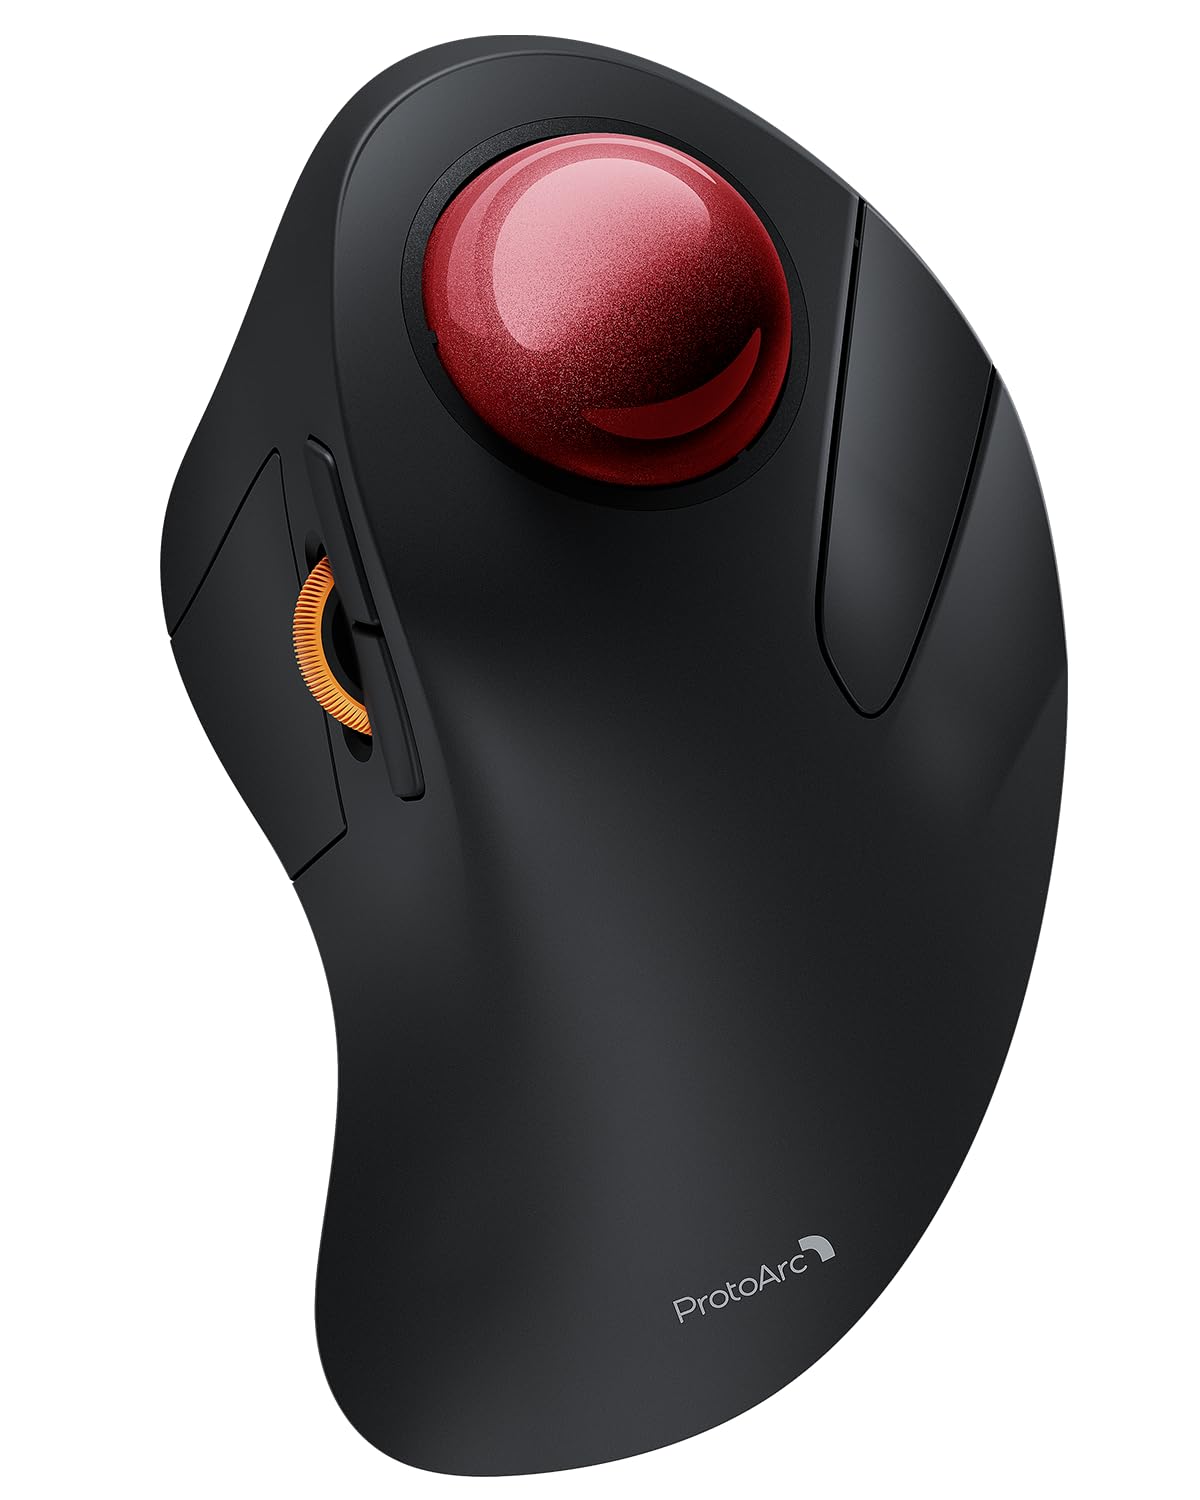
Image: The ProtoArc EM03 NL Wireless Bluetooth Trackball Mouse, showcasing its ergonomic design and red trackball.
ബോക്സിൽ എന്താണുള്ളത്
- ട്രാക്ക്ബോൾ മൗസ്
- ഉപയോക്തൃ മാനുവൽ
- USB റിസീവർ
- ചാർജിംഗ് കേബിൾ
ഉൽപ്പന്നം കഴിഞ്ഞുview
Familiarize yourself with the components and controls of your ProtoArc EM03 NL trackball mouse.

Image: A detailed diagram labeling the trackball, left/right buttons, scroll wheel, forward/backward buttons, DPI button, channel switch, power switch, and USB receiver slot.
- ട്രാക്ക്ബോൾ: For precise cursor control using your index finger.
- ഇടത്/വലത് ബട്ടണുകൾ: സ്റ്റാൻഡേർഡ് മൗസ് ക്ലിക്ക് ഫംഗ്ഷനുകൾ.
- സ്ക്രോൾ വീൽ: ലംബ സ്ക്രോളിംഗിനായി.
- ഫോർവേഡ്/ബാക്ക്വേർഡ് ബട്ടണുകൾ: നാവിഗേറ്റ് ചെയ്യുക web പേജുകൾ അല്ലെങ്കിൽ പ്രമാണങ്ങൾ.
- DPI ബട്ടൺ: Adjust cursor sensitivity (200/400/800/1200/1600 DPI). Located on the bottom.
- ചാനൽ സ്വിച്ച്: Toggle between 2.4G wireless and two Bluetooth connections (BT1, BT2). Located on the bottom.
- വൈദ്യുതി സ്വിച്ച്: Turns the mouse On/Off. Located on the bottom.
- USB Receiver Slot: Stores the 2.4G USB receiver. Located on the bottom.
സജ്ജീകരണവും കണക്ഷനും
Your ProtoArc EM03 NL trackball mouse offers versatile connectivity options.
2.4G വയർലെസ് കണക്ഷൻ
- Locate the USB receiver stored in the slot on the bottom of the mouse.
- നിങ്ങളുടെ കമ്പ്യൂട്ടറിൽ ലഭ്യമായ USB പോർട്ടിലേക്ക് USB റിസീവർ പ്ലഗ് ചെയ്യുക.
- Slide the power switch on the bottom of the mouse to the "ON" position.
- Set the channel switch to the "2.4G" position. The indicator light will illuminate.
- Your mouse should now be connected and ready to use.
Bluetooth Connection (BT1 / BT2)
- Slide the power switch on the bottom of the mouse to the "ON" position.
- Slide the channel switch to either "BT1" or "BT2" position.
- Press and hold the channel switch button for 3 seconds until the corresponding indicator light flashes quickly. This indicates the mouse is in pairing mode.
- On your device (PC, iPad, Mac, etc.), go to Bluetooth settings and search for "ProtoArc EM03 NL".
- Select the mouse to pair. Once connected, the indicator light will stop flashing and remain solid.
- To connect a second Bluetooth device, repeat steps 2-5, selecting the other Bluetooth channel (BT1 or BT2).

Image: The underside of the mouse, highlighting the power switch, channel selection, and USB receiver storage for multi-device connectivity.
Video: An official ProtoArc video demonstrating the features and connectivity of the Wireless Bluetooth Trackball Mouse.
ഓപ്പറേഷൻ
DPI ക്രമീകരണം
The mouse features 5 adjustable DPI levels (200/400/800/1200/1600 DPI) to customize cursor sensitivity. To change the DPI, press the DPI button located on the bottom of the mouse. Each press cycles through the available settings.

Image: Illustration of the DPI adjustment button on the mouse's underside and the USB-C charging port.
Trackball Usage
Control the cursor by rolling the 44mm trackball with your index finger. This allows for precise navigation without moving your wrist or arm, reducing strain.

Image: Close-up of the ProtoArc EM03 NL trackball mouse, highlighting its large 44mm trackball for precise control.
ഫോർവേഡ്/ബാക്ക്വേർഡ് ബട്ടണുകൾ
Use the dedicated forward and backward buttons, conveniently located near the scroll wheel, to quickly navigate through web പേജുകൾ അല്ലെങ്കിൽ ഫോൾഡറുകൾ.
Ergonomics & Comfort
The EM03 NL is designed to fit the natural curves of your hand, promoting a comfortable, neutral wrist posture. This ergonomic design helps prevent strain and fatigue during extended use.

Image: A hand resting naturally on the ergonomic ProtoArc EM03 NL trackball mouse, demonstrating comfortable usage.

Image: A graph illustrating the typical 1-2 week adaptation period for users to achieve maximum comfort and reduced muscle tension with the ergonomic design.
ബാറ്ററിയും ചാർജിംഗും
The EM03 NL features a built-in 930mAh lithium battery. A single full charge provides up to 60 days of power. The mouse enters an auto-sleep mode after a few minutes of inactivity to conserve battery. Click any button to wake it up.
- ചാർജിംഗ് സമയം: ഫുൾ ചാർജിനായി ഏകദേശം 3.5 മണിക്കൂർ.
- ചാർജിംഗ് പോർട്ട്: USB-C.

Image: The ProtoArc EM03 NL trackball mouse being charged via its USB-C port.
മെയിൻ്റനൻസ്
To ensure smooth and precise tracking, regular cleaning of the trackball is recommended.
ട്രാക്ക്ബോൾ വൃത്തിയാക്കുന്നു
- Turn off the mouse using the power switch on the bottom.
- Gently push the trackball from the bottom opening to remove it.
- Use a soft, lint-free cloth or cotton swab to clean the trackball and the inside of the trackball cavity, removing any dust or debris.
- Reinsert the trackball into its socket.

Image: Visual guide on how to remove and clean the trackball for optimal performance.
സ്പെസിഫിക്കേഷനുകൾ
| മോഡൽ | EM03 NL |
| കണക്റ്റിവിറ്റി ടെക്നോളജി | 2.4G വയർലെസ്, ബ്ലൂടൂത്ത് (BT1, BT2) |
| ഡിപിഐ ലെവലുകൾ | 200/400/800/1200/1600 |
| ബാറ്ററി ശേഷി | 930mAh ലിഥിയം ബാറ്ററി |
| ബാറ്ററി ലൈഫ് | 60 ദിവസം വരെ (ഒറ്റ ചാർജിൽ) |
| ചാർജിംഗ് സമയം | ഏകദേശം 3.5 മണിക്കൂർ |
| ചലനം കണ്ടെത്തൽ | ട്രാക്ക്ബോൾ |
| ഇനത്തിൻ്റെ ഭാരം | 13.1 ഔൺസ് |
| പാക്കേജ് അളവുകൾ | 6.93 x 4.96 x 3.27 ഇഞ്ച് |
ട്രബിൾഷൂട്ടിംഗ്
- മൗസ് പ്രതികരിക്കുന്നില്ല: Ensure the mouse is powered on and correctly connected via 2.4G or Bluetooth. Check battery level.
- കഴ്സർ ചലനം ക്രമരഹിതമാണ്: Clean the trackball and its cavity as described in the Maintenance section. Adjust DPI settings if cursor is too fast or slow.
- ബ്ലൂടൂത്ത് വഴി ജോടിയാക്കാൻ കഴിയില്ല: Ensure the mouse is in pairing mode (flashing indicator light). Check your device's Bluetooth settings and try re-pairing.
- കണക്ഷൻ ഇടയ്ക്കിടെ കുറയുന്നു: Ensure the mouse is within range of your device. Avoid interference from other wireless devices.
വാറൻ്റി & പിന്തുണ
ProtoArc products come with a standard manufacturer's warranty. For detailed warranty information, product support, or technical assistance, please visit the official ProtoArc website or contact their customer service. Contact information can typically be found in the included user manual or on the product packaging.
Webസൈറ്റ്: www.protoarc.com