1. ആമുഖം
Thank you for choosing the Garvee Electric Cordless Snow Blower. This manual provides essential information for the safe assembly, operation, and maintenance of your new snow blower. Please read it thoroughly before use and keep it for future reference.
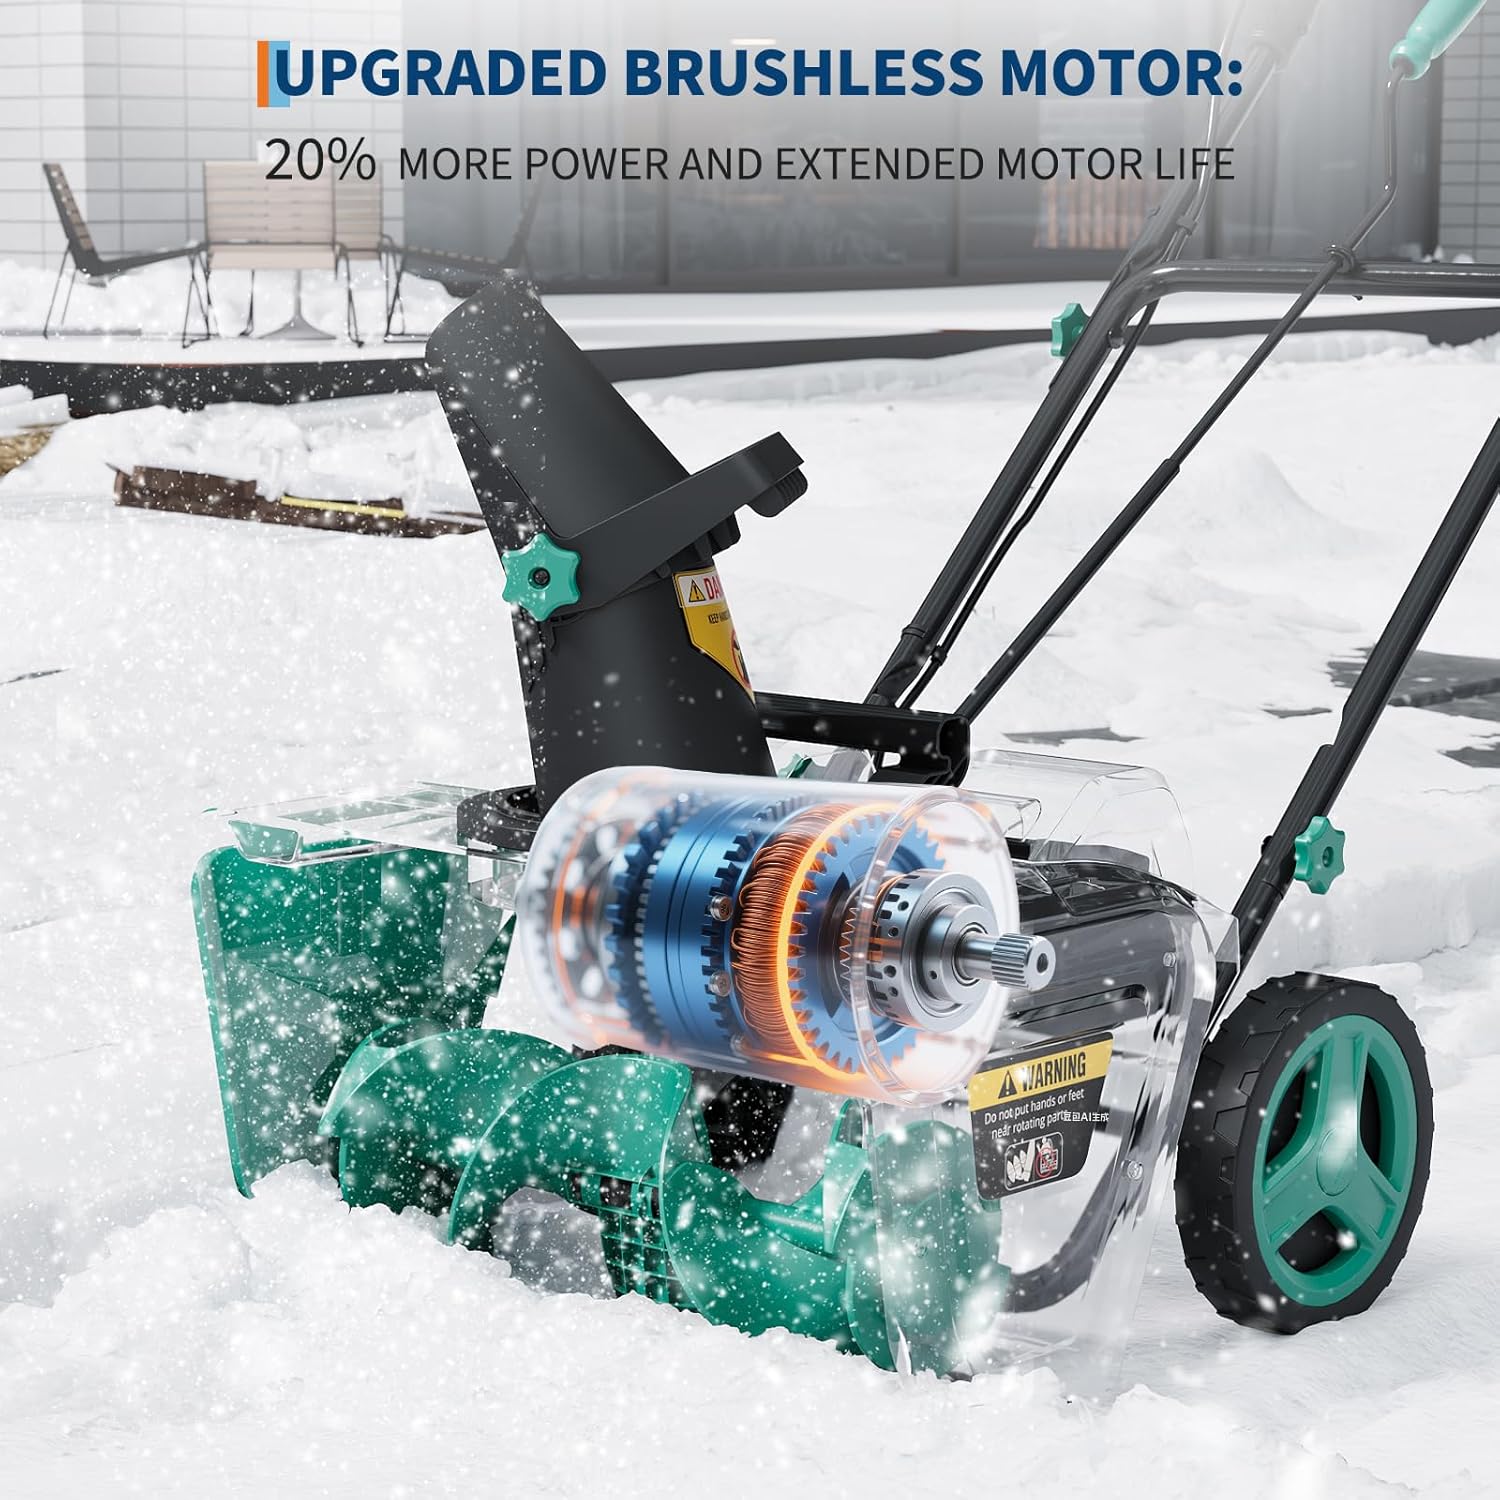
This powerful cordless snow blower features a brushless motor, a 20-inch clearing width, 10-inch clearing depth, and a 180-degree rotating chute for efficient snow removal from walkways and driveways. Dual LED lights ensure visibility during low-light conditions.
2 പ്രധാനപ്പെട്ട സുരക്ഷാ വിവരങ്ങൾ
മുന്നറിയിപ്പ്: Always keep hands and other body parts away from the rotating chute. Do not operate the snow blower if you are tired or under the influence of drugs or alcohol. Store the snow blower in a dry place when not in use.
- Read all instructions carefully before operating the machine.
- Wear appropriate safety gear, including eye protection and non-slip footwear.
- Ensure the work area is clear of debris, rocks, or other objects that could be thrown by the machine.
- Never direct the discharge chute towards people, pets, or property.
- കുത്തനെയുള്ള ചരിവുകളിൽ സ്നോ ബ്ലോവർ പ്രവർത്തിപ്പിക്കരുത്.
- Always disconnect the battery pack before cleaning, servicing, or when the machine is unattended.
- കുട്ടികളെയും കാഴ്ചക്കാരെയും ഓപ്പറേഷൻ ഏരിയയിൽ നിന്ന് അകറ്റി നിർത്തുക.
- നിർമ്മാതാവ് അംഗീകരിച്ച മാറ്റിസ്ഥാപിക്കൽ ഭാഗങ്ങളും അനുബന്ധ ഉപകരണങ്ങളും മാത്രം ഉപയോഗിക്കുക.
3. പാക്കേജ് ഉള്ളടക്കം
പായ്ക്ക് അഴിക്കുമ്പോൾ എല്ലാ ഇനങ്ങളും ഉണ്ടെന്നും കേടുപാടുകൾ സംഭവിച്ചിട്ടില്ലെന്നും ഉറപ്പാക്കുക:
- Garvee Electric Cordless Snow Blower Unit
- അസംബ്ലി കൈകാര്യം ചെയ്യുക
- ഡിസ്ചാർജ് ച്യൂട്ട് അസംബ്ലി
- 2 x 20V 4.0Ah ലിഥിയം-അയൺ ബാറ്ററികൾ
- ഡ്യുവൽ പോർട്ട് ബാറ്ററി ചാർജർ
- ഉപയോക്തൃ മാനുവൽ (ഈ പ്രമാണം)
- Assembly Hardware (screws, knobs)
4. അസംബ്ലി നിർദ്ദേശങ്ങൾ
Follow these steps to assemble your Garvee Electric Cordless Snow Blower:
4.1. അസംബ്ലി കൈകാര്യം ചെയ്യുക
- Attach the lower handle frame to the main unit using the provided knobs. Ensure the frame is securely fastened.
- Connect the upper handle frame to the lower handle frame, securing it with the remaining knobs.
- Route the control cables along the handle frame and secure them with the provided clips to prevent snagging.


4.2. Discharge Chute Installation
- Place the discharge chute base onto the snow blower's discharge opening.
- Secure the chute base with the provided screws, ensuring a tight fit.
- Attach the chute deflector to the chute base, using the adjustment knob to allow for 180-degree rotation.

5. പ്രവർത്തന നിർദ്ദേശങ്ങൾ
5.1. ബാറ്ററി ഇൻസ്റ്റാളേഷനും ചാർജിംഗും
Your Garvee snow blower is powered by two 20V lithium-ion batteries. Ensure batteries are fully charged before each use.
- Open the battery compartment covers on the snow blower.
- Insert the two fully charged 20V batteries into their respective slots until they click into place.
- ബാറ്ററി കമ്പാർട്ട്മെൻ്റ് കവറുകൾ സുരക്ഷിതമായി അടയ്ക്കുക.
- To charge, remove batteries from the snow blower and place them on the dual port charger. The charger indicates charging status and completion. Fast charging takes approximately 1.5 hours.

Video: Battery Installation and Operation
This video demonstrates how to install the batteries and start the snow blower. It shows the process of inserting the batteries into their compartments and activating the machine. The video also highlights the dual LED lights.
5.2. Starting and Stopping the Snow Blower
- Ensure batteries are installed and compartment covers are closed.
- Press and hold the safety lock button on the handle.
- While holding the safety button, pull the handle bar towards you to engage the motor.
- To stop, release the handle bar.

5.3. Snow Clearing Operation
The Garvee snow blower is designed to clear snow up to 20 inches wide and 10 inches deep.
- Push the snow blower forward at a comfortable pace. Avoid forcing the machine through heavy snow.
- Adjust the 180-degree rotating chute to direct snow up to 23 feet away, preventing it from accumulating in unwanted areas.
- For optimal performance, clear snow as soon as possible after snowfall.
- Dual LED headlights provide clear visibility for early morning or late evening operation.
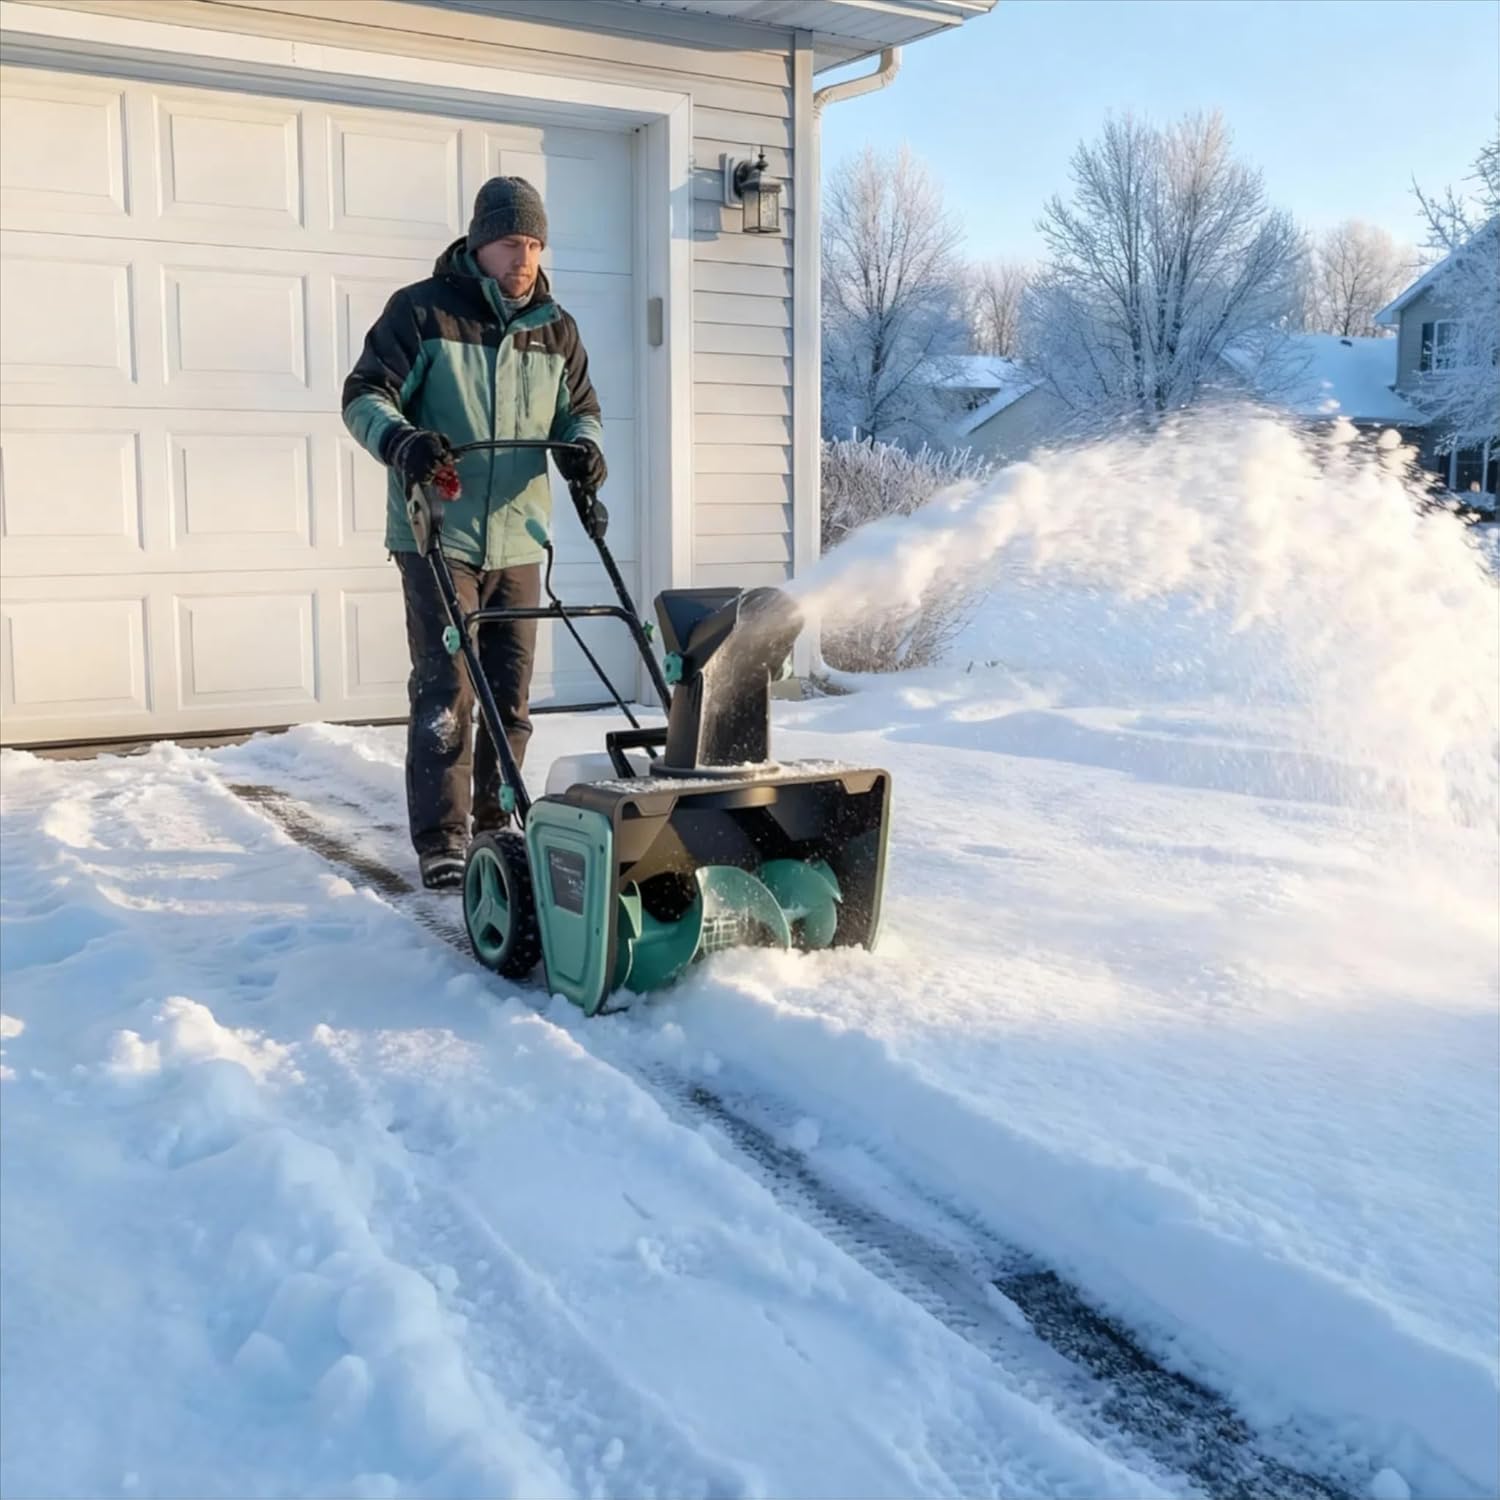

Video: Garvee Snow Blower in Action
This video shows the Garvee Electric Snow Blower being used to clear snow from a driveway. It highlights the ease of use and the effectiveness of the snow-throwing mechanism.
6. പരിപാലനം
Regular maintenance ensures the longevity and optimal performance of your snow blower.
- വൃത്തിയാക്കൽ: After each use, remove any snow, ice, or debris from the auger housing, chute, and exterior surfaces. Use a damp cloth for cleaning. Do not use high-pressure water.
- ബാറ്ററി കെയർ: Store batteries in a cool, dry place. Charge them fully before long-term storage and recharge every 3-6 months to maintain battery health.
- സംഭരണം: Store the snow blower in a dry, protected area. The handle can be folded for compact storage.
- പരിശോധന: Periodically check all fasteners for tightness. Inspect the auger and scraper blade for wear or damage. Replace worn parts as needed.

7. പ്രശ്നപരിഹാരം
| പ്രശ്നം | സാധ്യമായ കാരണം | പരിഹാരം |
|---|---|---|
| Snow blower does not start. |
|
|
| Reduced snow throwing distance. |
|
|
| Snow blower stops during operation. |
|
|
8 സ്പെസിഫിക്കേഷനുകൾ
| ഫീച്ചർ | വിശദാംശങ്ങൾ |
|---|---|
| ബ്രാൻഡ് | ഗാർവീ |
| മോഡൽ നമ്പർ | dMfkcrGUZVjZaik42sqCYQ6G |
| പവർ ഉറവിടം | Battery Powered (2 x 20V Lithium Ion) |
| എഞ്ചിൻ തരം | ബ്രഷ്ലെസ് ഇലക്ട്രിക് മോട്ടോർ |
| ക്ലിയറിംഗ് വീതി | 20 ഇഞ്ച് |
| അനുയോജ്യമായ മഞ്ഞു ആഴം | 10 ഇഞ്ച് |
| എറിയുന്ന ദൂരം | 23 അടി വരെ |
| ച്യൂട്ട് റൊട്ടേഷൻ | 180 ഡിഗ്രി |
| വിളക്കുകൾ | ഡ്യുവൽ എൽഇഡി ഹെഡ്ലൈറ്റുകൾ |
| ഇനത്തിൻ്റെ ഭാരം | 29 പൗണ്ട് |
| ഉൽപ്പന്ന അളവുകൾ | 40.5"D x 17.5"W x 19.5"H |
| യു.പി.സി | 199641565068 |
9. വാറൻ്റിയും പിന്തുണയും
For warranty information, technical support, or to order replacement parts, please visit the official Garvee webസൈറ്റിൽ ബന്ധപ്പെടുക അല്ലെങ്കിൽ അവരുടെ ഉപഭോക്തൃ സേവനവുമായി ബന്ധപ്പെടുക. വേഗതയേറിയ സേവനത്തിനായി നിങ്ങളുടെ വാങ്ങൽ രസീതും മോഡൽ നമ്പറും കൈവശം വയ്ക്കുക.
Official Garvee Store: Visit the Garvee Store on Amazon


