1. ആമുഖം
This manual provides detailed instructions for the setup, operation, maintenance, and troubleshooting of your SOLAKAKA A99 Pro Mechanical Keyboard. Please read this manual thoroughly to ensure proper use and to maximize your keyboard's features.
2. പാക്കേജ് ഉള്ളടക്കം
- SOLAKAKA A99 Pro Mechanical Keyboard
- കീക്യാപ് പുള്ളർ
- USB കേബിൾ (USB-C മുതൽ USB-A വരെ)
- ഉപയോക്തൃ മാനുവൽ
3. ഉൽപ്പന്നം കഴിഞ്ഞുview
The SOLAKAKA A99 Pro is a 96% layout mechanical keyboard featuring 97 keys, an LCD screen, and a multifunctional metal knob. It supports tri-mode connectivity (Bluetooth 5.0, 2.4GHz wireless, and USB-C wired) and is compatible with Windows, iOS, Mac, and Android systems. The keyboard includes RGB backlighting, hot-swappable switches, and PBT keycaps.
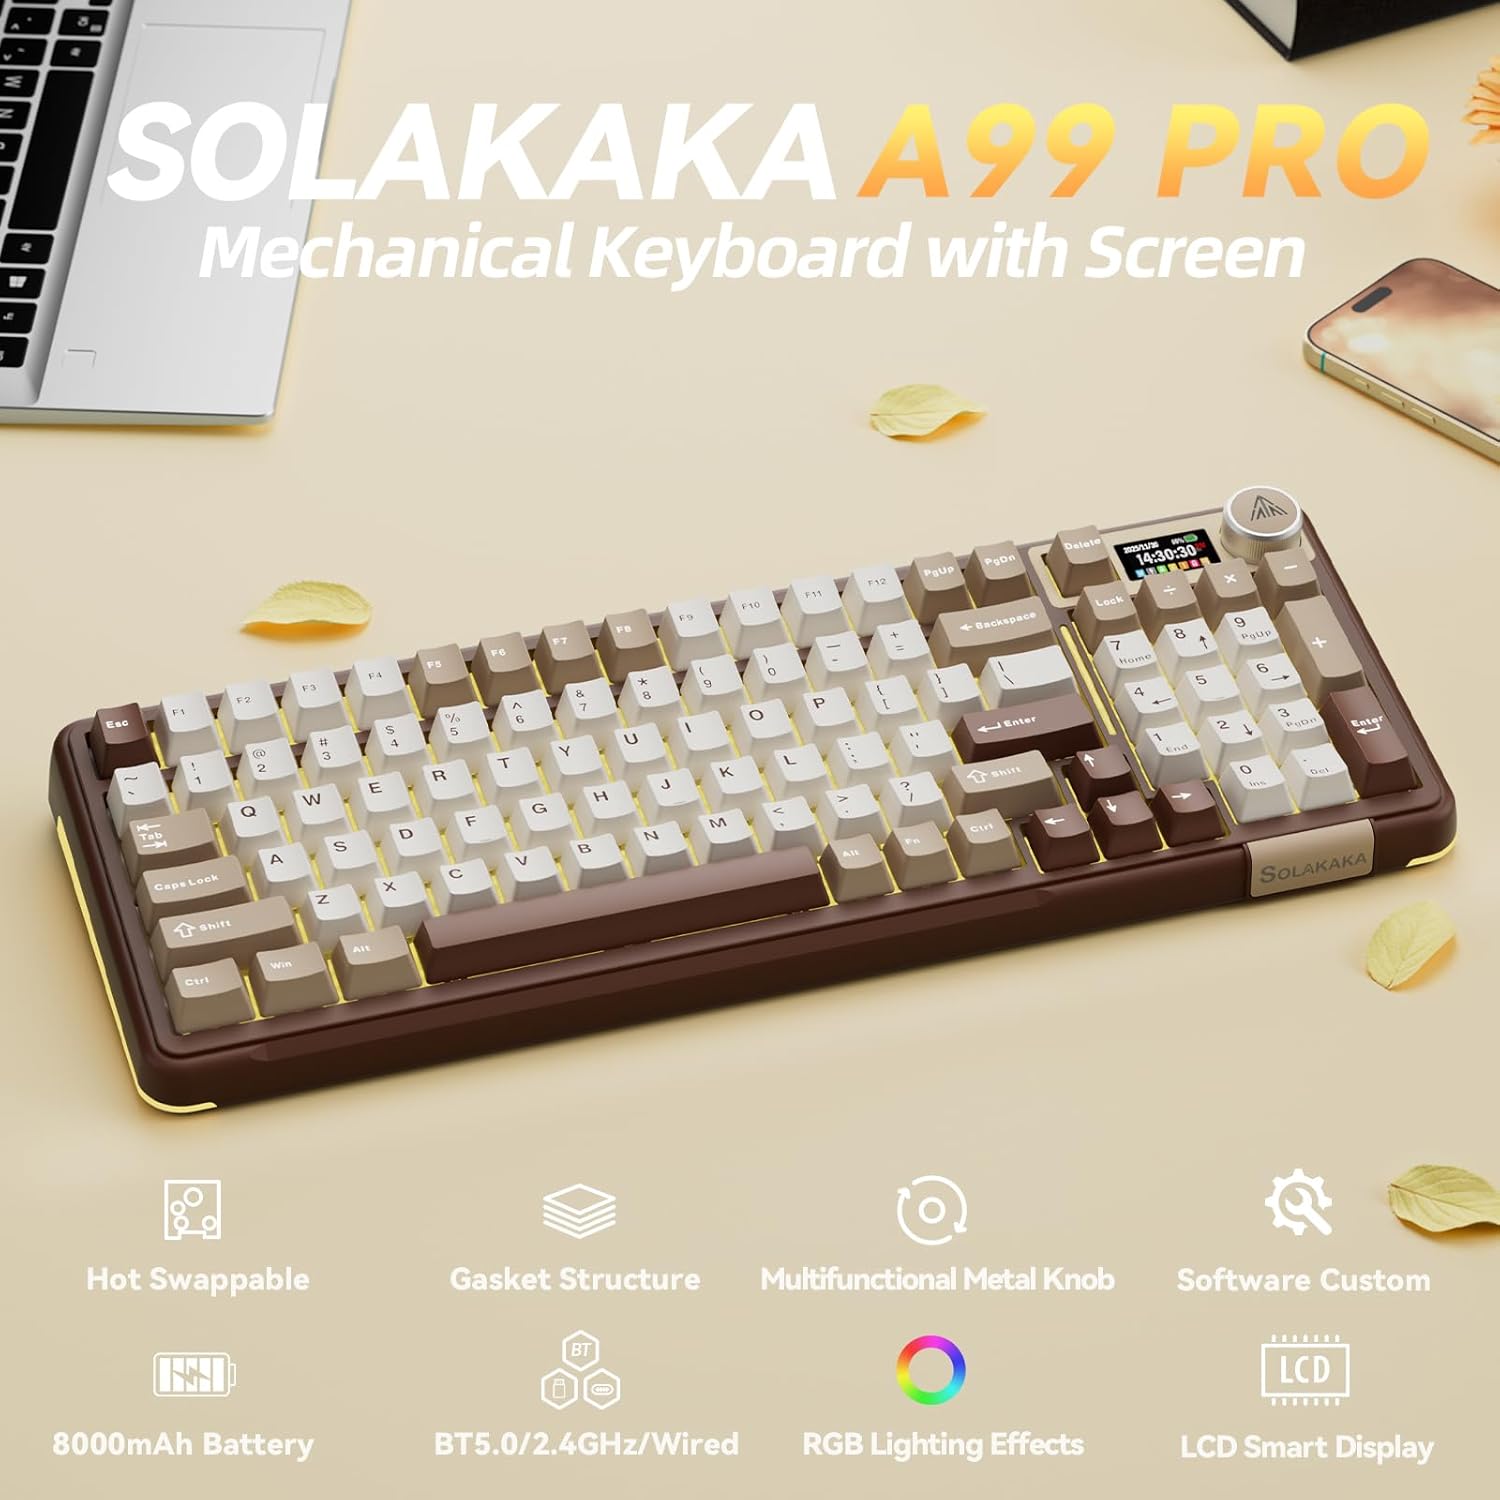
Image: SOLAKAKA A99 Pro Mechanical Keyboard, showcasing its layout, LCD screen, and metal knob.
4. സജ്ജീകരണവും കണക്ഷനും
4.1. പവർ ഓൺ/ഓഫ്
Locate the power switch on the side or back of the keyboard to turn it on or off.
4.2. ട്രൈ-മോഡ് കണക്റ്റിവിറ്റി
The keyboard supports three connection modes: USB-C wired, 2.4GHz wireless, and Bluetooth 5.0. A switch on the keyboard allows selection between these modes.
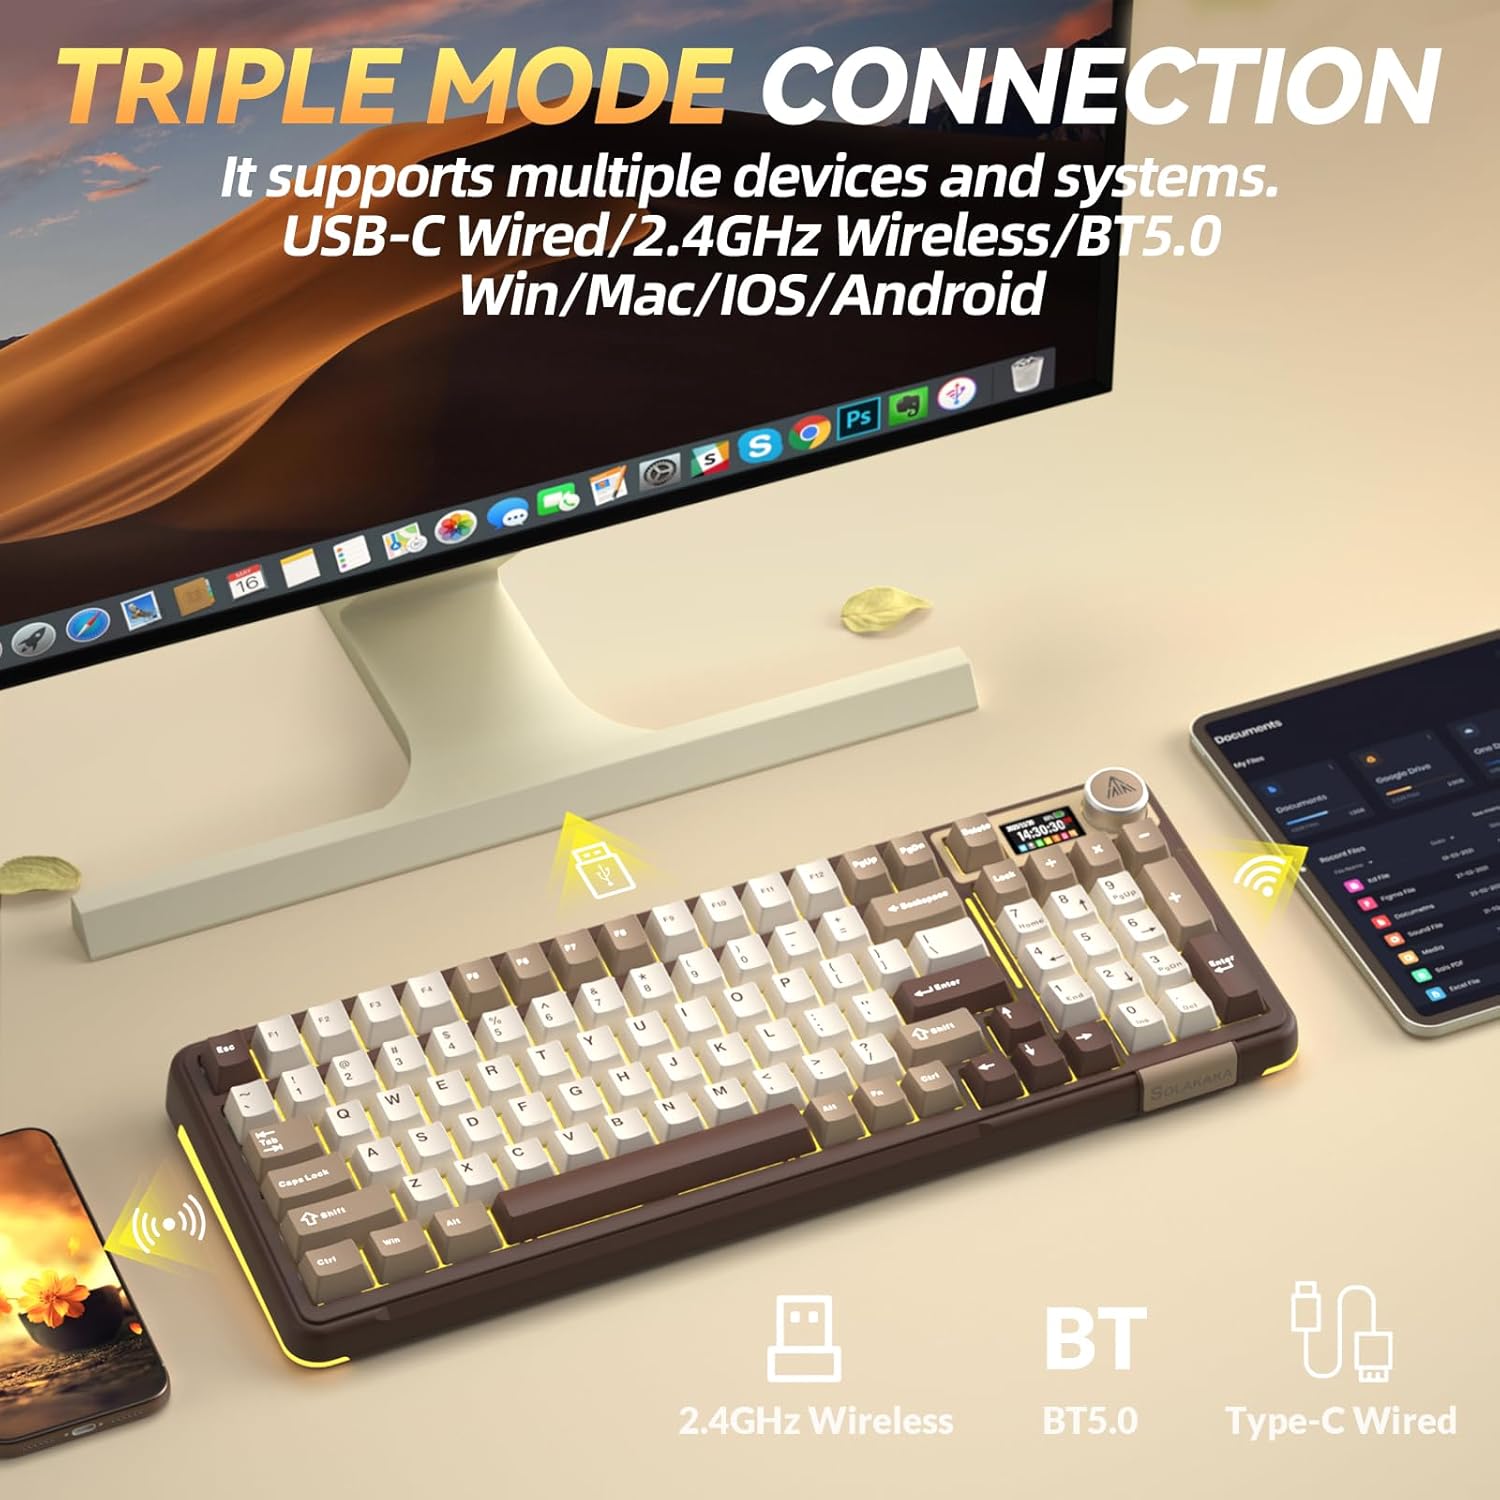
Image: The SOLAKAKA A99 Pro keyboard connected to a desktop and a tablet, illustrating its triple-mode connectivity.
4.2.1. 2.4GHz വയർലെസ് കണക്ഷൻ
- Locate the 2.4GHz USB receiver, typically stored in a slot on the keyboard.
- നിങ്ങളുടെ കമ്പ്യൂട്ടറിലോ ഉപകരണത്തിലോ ലഭ്യമായ ഒരു USB പോർട്ടിലേക്ക് USB റിസീവർ പ്ലഗ് ചെയ്യുക.
- Switch the keyboard to 2.4GHz mode using the selector switch. The keyboard should automatically connect.
Video: Demonstrates the various connection modes and features of the SOLAKAKA A99 Pro Mechanical Keyboard, including the 2.4GHz wireless connection.
4.2.2. ബ്ലൂടൂത്ത് 5.0 കണക്ഷൻ
- സെലക്ടർ സ്വിച്ച് ഉപയോഗിച്ച് കീബോർഡ് ബ്ലൂടൂത്ത് മോഡിലേക്ക് മാറ്റുക.
- നിങ്ങളുടെ ഉപകരണത്തിൽ (കമ്പ്യൂട്ടർ, ടാബ്ലെറ്റ്, ഫോൺ), ബ്ലൂടൂത്ത് പ്രവർത്തനക്ഷമമാക്കി പുതിയ ഉപകരണങ്ങൾക്കായി തിരയുക.
- Select "SOLAKAKA A99 Pro" (or similar) from the list of available devices to pair.
- The keyboard can save up to 5 devices. Refer to the LCD screen for pairing indicators (B1, B2, A1, etc.).
4.2.3. യുഎസ്ബി-സി വയർഡ് കണക്ഷൻ
- നൽകിയിരിക്കുന്ന USB-C കേബിൾ കീബോർഡിന്റെ USB-C പോർട്ടുമായി ബന്ധിപ്പിക്കുക.
- Connect the other end of the cable (USB-A) to your computer or device.
- The keyboard will automatically switch to wired mode and begin charging if necessary.
4.3. കീബോർഡ് ചാർജ് ചെയ്യുന്നു
Connect the keyboard via the USB-C cable to a powered USB port. The LCD screen will display the battery level. The keyboard features an 8000mAh rechargeable battery.

Image: The SOLAKAKA A99 Pro keyboard highlighting its 8000mAh battery capacity and estimated usage times.
5. പ്രവർത്തന നിർദ്ദേശങ്ങൾ
5.1. LCD Smart Display and Multifunctional Knob
The LCD screen displays essential information such as date, time, battery level, connected system, and connection mode. The metal knob allows for quick adjustments.
- റൊട്ടേഷൻ: Adjusts volume, lighting brightness, or navigates menu options.
- ഷോർട്ട് പ്രസ്സ്: Confirms selection or switches between modes/settings.
- ലോംഗ് പ്രസ്സ്: Accesses advanced settings or specific functions.

ചിത്രം: വിശദമായത് view of the LCD screen and multifunctional knob, showing various display options like home screen, system connection, lighting modes, colors, brightness, speed, volume, language, time, and GIF display.
Video: Demonstrates how to switch between different operating systems (Windows/Mac) and adjust lighting effects using the keyboard's knob and function keys.
Video: Shows the process of setting up custom GIF images on the keyboard's LCD screen using the driver software.
5.2. സിസ്റ്റം സ്വിച്ചിംഗ്
The keyboard is compatible with Windows, iOS, Mac, and Android systems. You can switch between Windows and Mac modes using the LCD screen or shortcut keys.
- Via LCD Screen: Rotate the knob to navigate to "System" settings, then short press to confirm and select "WIN" or "MAC".
- കുറുക്കുവഴി കീകൾ:
- അമർത്തുക Fn + W വിൻഡോസ് മോഡിലേക്ക് മാറാൻ.
- അമർത്തുക fn+m മാക് മോഡിലേക്ക് മാറാൻ.
5.3. RGB ബാക്ക്ലൈറ്റിംഗ്
The keyboard features 16 RGB lighting modes for the main keys and 5 modes for the side lights. South-facing LEDs enhance light transmission.
- ബാക്ക്ലൈറ്റ് മോഡ് മാറ്റുക: അമർത്തുക Fn + \
- ബാക്ക്ലൈറ്റിൻ്റെ തെളിച്ചം ക്രമീകരിക്കുക: അമർത്തുക Fn + F5 / F6
- ബാക്ക്ലൈറ്റ് നിറം മാറ്റുക: അമർത്തുക Fn + D
- Change Side Backlight Lighting Effects: അമർത്തുക Fn + P
- Adjust Side Backlight Brightness: അമർത്തുക എഫ്എൻ + ↑ / ↓
- Change Side Backlight Color: അമർത്തുക Fn + ടാബ്

Image: The RGB backlit keyboard showing various function key combinations for controlling backlight modes, brightness, and colors for both main keys and side lights.
5.4. പ്രോഗ്രാം ചെയ്യാവുന്ന സോഫ്റ്റ്വെയർ
Customize your keyboard functions using the dedicated driver software. This software is compatible with Windows systems only and requires a wired connection for operation.
- Set sleep time, key mapping, and sensitivity.
- Optimize key bounce.
- Add GIF images to the LCD screen.
- Switch lighting modes and colors.
- Add music rhythm backlighting.
- മാക്രോ രേഖപ്പെടുത്തുക files.
ഇതിൽ നിന്നും സോഫ്റ്റ്വെയർ ഡൗൺലോഡ് ചെയ്യുക: സോളകാകാഡ്രൈവർ.കോം

Image: Screenshot of the SOLAKAKA A99 Pro's programmable software, showing options for adjusting lighting effects, setting shortcut keys, recording macros, and managing GIF images.
6. പരിപാലനം
നിങ്ങളുടെ കീബോർഡിന്റെ ദീർഘായുസ്സും ഒപ്റ്റിമൽ പ്രകടനവും ഉറപ്പാക്കാൻ, ഈ പരിപാലന മാർഗ്ഗനിർദ്ദേശങ്ങൾ പാലിക്കുക:
- വൃത്തിയാക്കൽ: Use a soft, dry cloth to wipe the keyboard surface. For deeper cleaning, use a keycap puller to remove keycaps and clean underneath with compressed air or a small brush. Avoid using harsh chemicals or abrasive materials.
- സംഭരണം: നേരിട്ടുള്ള സൂര്യപ്രകാശവും കടുത്ത താപനിലയും ഏൽക്കാത്ത തണുത്തതും വരണ്ടതുമായ സ്ഥലത്ത് കീബോർഡ് സൂക്ഷിക്കുക.
- സ്വിച്ച് മാറ്റിസ്ഥാപിക്കൽ: The keyboard is hot-swappable, allowing for easy replacement of 3/5-pin switches without soldering. Use the provided keycap puller and switch puller (if included) for safe removal and installation.

Image: A close-up of the SOLAKAKA A99 Pro keyboard demonstrating its full hot-swappable feature, showing switches being removed and the underlying PCB with south-facing LEDs.
7. പ്രശ്നപരിഹാരം
- കീബോർഡ് പ്രതികരിക്കുന്നില്ല:
- കീബോർഡ് ഓണാണെന്ന് ഉറപ്പാക്കുക.
- Check the connection mode (2.4GHz, Bluetooth, or wired) and ensure it matches your device's connection.
- 2.4GHz-ന്, USB റിസീവർ ശരിയായി പ്ലഗ് ഇൻ ചെയ്തിട്ടുണ്ടെന്ന് ഉറപ്പാക്കുക.
- For Bluetooth, ensure the keyboard is paired and selected on your device.
- വയർലെസ് പ്രശ്നങ്ങൾ ഒഴിവാക്കാൻ USB-C കേബിൾ വഴി കണക്റ്റുചെയ്യാൻ ശ്രമിക്കുക.
- ബാറ്ററി ചാർജ്ജ് ചെയ്തിട്ടുണ്ടെന്ന് ഉറപ്പാക്കുക.
- LCD screen issues (e.g., detached):
- If the screen appears loose or detached, gently press it back into place. If the issue persists, contact customer support.
- Lighting not working or incorrect:
- കീബോർഡ് ഓണാക്കിയിട്ടുണ്ടെന്നും കുറഞ്ഞ പവർ അവസ്ഥയിലല്ലെന്നും ഉറപ്പാക്കുക.
- Use the Fn key combinations or the multifunctional knob to cycle through lighting modes and adjust brightness/color.
- If using programmable software, ensure settings are correctly applied.
- കീബോർഡ് കണ്ടെത്താത്ത സോഫ്റ്റ്വെയർ:
- Ensure the keyboard is connected via USB-C wired mode. The software only supports Windows systems and requires a wired connection.
- സോഫ്റ്റ്വെയർ കൂടാതെ/അല്ലെങ്കിൽ നിങ്ങളുടെ കമ്പ്യൂട്ടർ പുനരാരംഭിക്കുക.
- Reinstall the driver software from സോളകാകാഡ്രൈവർ.കോം.
8 സ്പെസിഫിക്കേഷനുകൾ
| ഫീച്ചർ | വിശദാംശങ്ങൾ |
|---|---|
| മോഡൽ | A99 പ്രോ |
| ലേഔട്ട് | 96% (97 കീകൾ) |
| കണക്റ്റിവിറ്റി | ബ്ലൂടൂത്ത് 5.0, 2.4GHz വയർലെസ്, USB-C വയേർഡ് |
| സ്വിച്ചുകൾ | LEOBOG Star Vector Switches, Full Hot-Swappable (3/5-pin) |
| കീകാപ്പുകൾ | Double-shot PBT, OEM Height |
| ബാക്ക്ലൈറ്റിംഗ് | RGB (16 modes main, 5 modes side), South-facing LEDs |
| ബാറ്ററി ശേഷി | 8000mAh |
| പ്രത്യേക സവിശേഷതകൾ | LCD Screen, Multifunctional Metal Knob, Gasket Structure, Programmable Software |
| അനുയോജ്യമായ ഉപകരണങ്ങൾ | ലാപ്ടോപ്പ്, പിസി, ടാബ്ലെറ്റ് |
| ഓപ്പറേറ്റിംഗ് സിസ്റ്റങ്ങൾ | Windows, iOS, Mac, Android |
| ഇനത്തിൻ്റെ ഭാരം | 2.99 പൗണ്ട് |
| പാക്കേജ് അളവുകൾ | 16.61 x 7.2 x 2.28 ഇഞ്ച് |

Image: An exploded diagram illustrating the multi-layer gasket structure of the SOLAKAKA A99 Pro keyboard, detailing components like the multifunctional knob, PBT keycaps, switches, positioning plate, and various sound-dampening pads.
9. വാറൻ്റിയും പിന്തുണയും
For warranty information, technical support, or any product-related inquiries, please refer to the official SOLAKAKA webസൈറ്റിൽ ബന്ധപ്പെടുക അല്ലെങ്കിൽ അവരുടെ ഉപഭോക്തൃ സേവനവുമായി നേരിട്ട് ബന്ധപ്പെടുക. വാറന്റി ക്ലെയിമുകൾക്കായി നിങ്ങളുടെ വാങ്ങൽ രസീത് സൂക്ഷിക്കുക.


