1. ആമുഖം
Thank you for choosing the LG 34 Inch UltraWide WQHD Curved Monitor. This manual provides essential information for the safe and efficient use of your new monitor. Please read it thoroughly before operating the device and keep it for future reference.
പാക്കേജ് ഉള്ളടക്കം
- LG 34 Inch UltraWide Curved Monitor
- മോണിറ്റർ സ്റ്റാൻഡ് (ബേസും കഴുത്തും)
- പവർ കേബിൾ
- HDMI കേബിൾ
- ഡിസ്പ്ലേ പോർട്ട് കേബിൾ
- യുഎസ്ബി-സി കേബിൾ
- ഉപയോക്തൃ മാനുവൽ & വാറൻ്റി കാർഡ്
2 പ്രധാന സവിശേഷതകൾ
- 34-inch WQHD UltraWide Curved Display: Expansive 21:9 screen (3440 x 1440) for enhanced productivity and immersive viewing.
- HDR Display with 99% sRGB: Delivers vibrant, natural colors and distinct image layers, supporting HDR brightness performance.
- 120Hz High Refresh Rate: Ensures fluid scrolling and dynamic content for a comfortable visual experience.
- 5ms (GTG) Response Time: Provides quick pixel response for smooth motion.
- LG Switch for Multitasking & Eye Care: Enables quick split-screen functionality, customizable layouts, and Reader Mode to reduce eye strain.
- ക്രമീകരിക്കാവുന്ന സ്റ്റാൻഡ്: Supports height, tilt, and swivel adjustments for optimal viewകോണുകൾ.
- ബിൽറ്റ്-ഇൻ സ്പീക്കറുകൾ: സൗകര്യത്തിനായി സംയോജിത ഓഡിയോ.
- ഒന്നിലധികം കണക്റ്റിവിറ്റി ഓപ്ഷനുകൾ: Includes DisplayPort and HDMI inputs.
3. സജ്ജീകരണം
3.1 സ്റ്റാൻഡ് കൂട്ടിച്ചേർക്കൽ
Carefully remove the monitor and stand components from the packaging. Follow the instructions below to attach the stand to the monitor.
- പോറലുകൾ ഉണ്ടാകാതിരിക്കാൻ മോണിറ്റർ മൃദുവായതും വൃത്തിയുള്ളതുമായ ഒരു പ്രതലത്തിൽ മുഖം താഴേക്ക് വയ്ക്കുക.
- മോണിറ്ററിന്റെ പിൻ പാനലിൽ സ്റ്റാൻഡ് നെക്ക് ഘടിപ്പിക്കുക. അത് സുരക്ഷിതമായി സ്ഥലത്ത് ക്ലിക്ക് ചെയ്യുന്നുണ്ടെന്ന് ഉറപ്പാക്കുക.
- Attach the stand base to the bottom of the stand neck. Tighten the screw(s) firmly to secure the base.
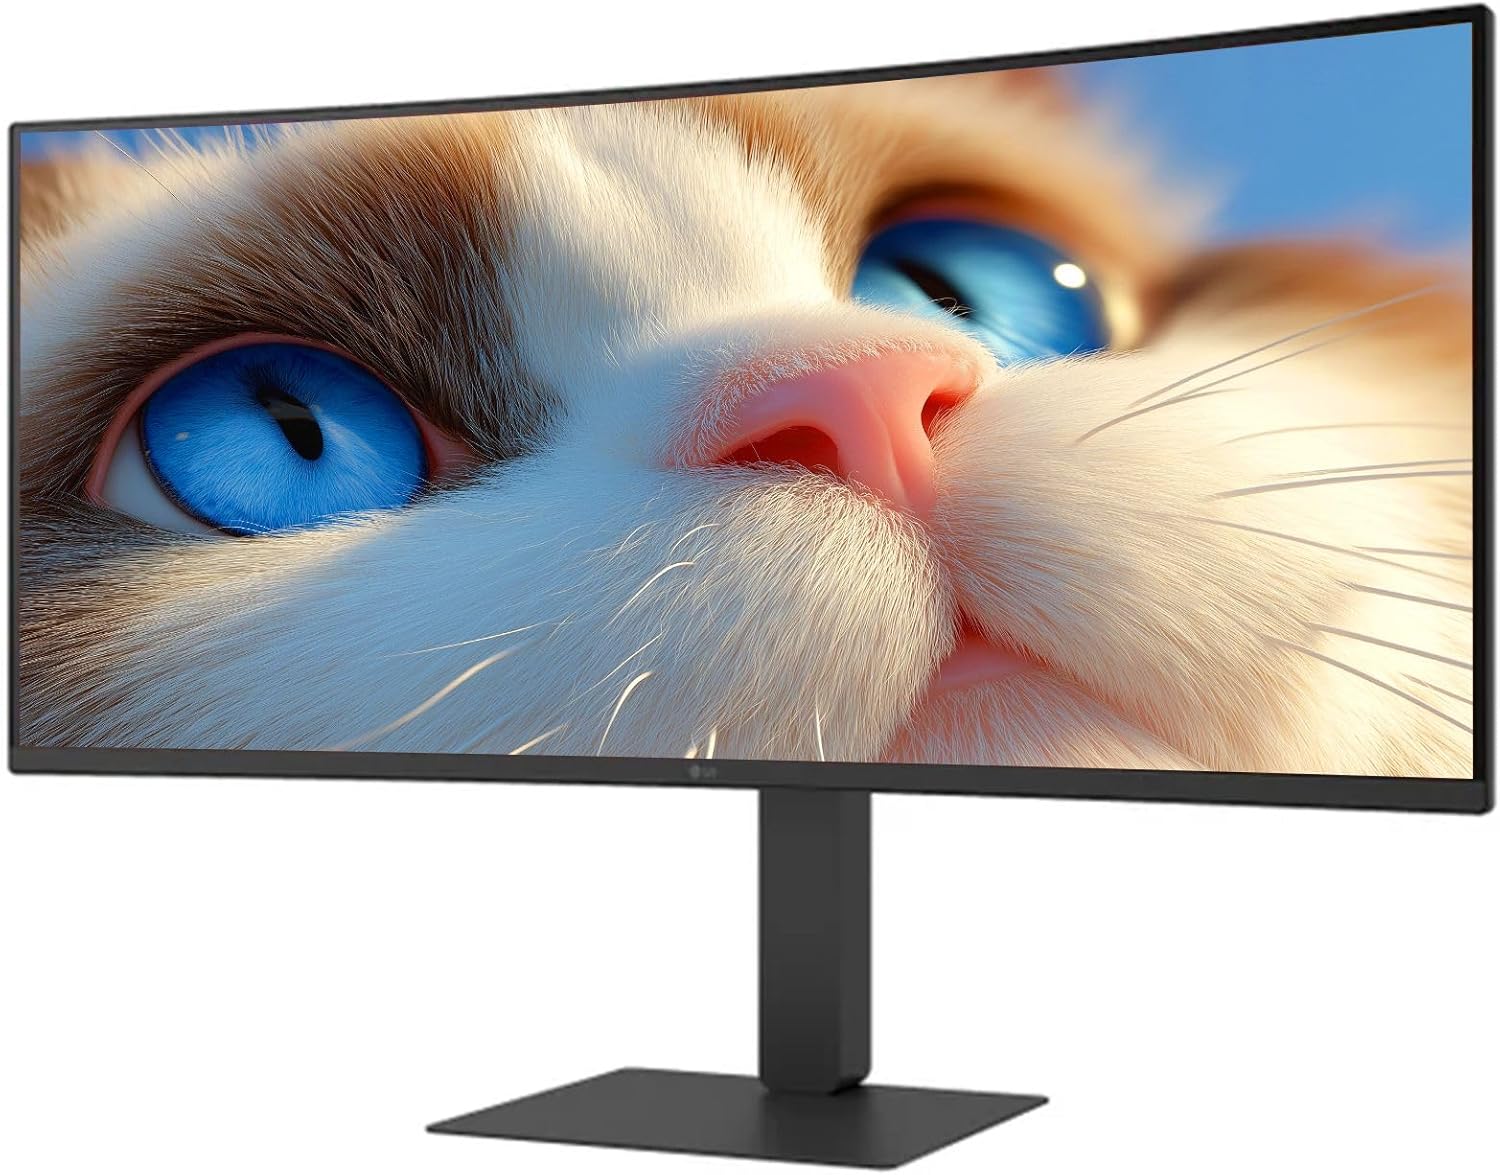
ചിത്രം 1: മുൻഭാഗം view of the LG 34 Inch UltraWide Curved Monitor with stand.

ചിത്രം 2: വശം view of the LG 34 Inch UltraWide Curved Monitor with stand.
3.2 മോണിറ്റർ ബന്ധിപ്പിക്കുന്നു
ഉചിതമായ കേബിളുകൾ ഉപയോഗിച്ച് നിങ്ങളുടെ കമ്പ്യൂട്ടറിലേക്കോ മറ്റ് ഉപകരണങ്ങളിലേക്കോ മോണിറ്റർ ബന്ധിപ്പിക്കുക.
- പവർ കേബിൾ മോണിറ്ററിന്റെ പവർ ഇൻപുട്ടിലേക്കും തുടർന്ന് ഒരു പവർ ഔട്ട്ലെറ്റിലേക്കും ബന്ധിപ്പിക്കുക.
- For video input, connect either an HDMI cable or a DisplayPort cable from your computer's graphics card to the corresponding port on the monitor.
- If your computer supports USB-C, you can use the provided USB-C cable for video, audio, and data transfer.

ചിത്രം 3: പിൻഭാഗം view of the monitor showing available ports for connectivity.
4. മോണിറ്റർ പ്രവർത്തിപ്പിക്കുക
4.1 പവർ ഓൺ/ഓഫ്
Press the power button, usually located on the bottom center of the monitor, to turn the monitor on or off. The power indicator light will illuminate when the monitor is on.
4.2 ഓൺ-സ്ക്രീൻ ഡിസ്പ്ലേ (OSD) മെനു
The OSD menu allows you to adjust various monitor settings. Use the joystick button (typically located on the bottom center) to navigate the menu.
- ചിത്ര മോഡ്: Select from various preset modes (e.g., Custom, Reader, HDR Effect) or customize settings like brightness, contrast, and sharpness.
- ഇൻപുട്ട്: Manually select the input source (HDMI, DisplayPort, USB-C).
- പൊതുവായത്: Access settings for language, OSD transparency, and power-saving options.
4.3 സ്റ്റാൻഡ് ക്രമീകരിക്കൽ
The monitor stand offers ergonomic adjustments for your comfort:
- ഉയരം ക്രമീകരിക്കൽ: മോണിറ്റർ നിങ്ങൾക്ക് ആവശ്യമുള്ള ഉയരത്തിലേക്ക് മുകളിലേക്കോ താഴേക്കോ പതുക്കെ തള്ളുകയോ വലിക്കുകയോ ചെയ്യുക.
- ടിൽറ്റ് അഡ്ജസ്റ്റ്മെന്റ്: Hold both sides of the monitor and tilt it forwards or backwards.
- സ്വിവൽ അഡ്ജസ്റ്റ്മെന്റ്: മോണിറ്റർ അതിന്റെ അടിഭാഗത്ത് ഇടത്തോട്ടോ വലത്തോട്ടോ തിരിക്കുക.
5. പരിപാലനം
5.1 മോണിറ്റർ വൃത്തിയാക്കുന്നു
നിങ്ങളുടെ മോണിറ്ററിന്റെ ദീർഘായുസ്സും ഒപ്റ്റിമൽ പ്രകടനവും ഉറപ്പാക്കാൻ, ഈ ക്ലീനിംഗ് മാർഗ്ഗനിർദ്ദേശങ്ങൾ പാലിക്കുക:
- വൃത്തിയാക്കുന്നതിന് മുമ്പ് എല്ലായ്പ്പോഴും പവർ ഔട്ട്ലെറ്റിൽ നിന്ന് മോണിറ്റർ അഴിക്കുക.
- മൃദുവായ, ലിൻ്റ് രഹിത തുണി ഉപയോഗിക്കുകampവെള്ളം അല്ലെങ്കിൽ ഒരു പ്രത്യേക സ്ക്രീൻ ക്ലീനർ ഉപയോഗിച്ച് നനയ്ക്കുക.
- ക്ലീനർ നേരിട്ട് സ്ക്രീനിൽ സ്പ്രേ ചെയ്യരുത്.
- Avoid using abrasive cleaners, solvents, or ammonia-based products.
6. പ്രശ്നപരിഹാരം
നിങ്ങളുടെ മോണിറ്ററിൽ പ്രശ്നങ്ങൾ നേരിടുകയാണെങ്കിൽ, ഇനിപ്പറയുന്ന പൊതുവായ പരിഹാരങ്ങൾ പരിശോധിക്കുക:
- ശക്തിയില്ല: പവർ കേബിൾ മോണിറ്ററിലേക്കും പവർ ഔട്ട്ലെറ്റിലേക്കും സുരക്ഷിതമായി ബന്ധിപ്പിച്ചിട്ടുണ്ടെന്ന് ഉറപ്പാക്കുക. പവർ ഔട്ട്ലെറ്റ് പ്രവർത്തിക്കുന്നുണ്ടോയെന്ന് പരിശോധിക്കുക.
- സിഗ്നലില്ല: Verify that the video cable (HDMI, DisplayPort, or USB-C) is correctly connected to both the monitor and your computer. Ensure the correct input source is selected in the OSD menu.
- മിന്നുന്ന സ്ക്രീൻ: Check the video cable connection. Try adjusting the refresh rate in your computer's display settings.
- ചിത്രം വക്രീകരണം: Reset the monitor to factory settings via the OSD menu. Ensure your computer's display resolution matches the monitor's native resolution (3440 x 1440).
- ബിൽറ്റ്-ഇൻ സ്പീക്കറുകളിൽ നിന്ന് ശബ്ദമില്ല: Check the volume settings on both the monitor and your computer. Ensure the audio output is correctly routed to the monitor.
If the problem persists after trying these steps, please contact LG customer support.
7 സ്പെസിഫിക്കേഷനുകൾ
| ഫീച്ചർ | സ്പെസിഫിക്കേഷൻ |
|---|---|
| ബ്രാൻഡ് | LG |
| മോഡൽ നമ്പർ | 195174134092 |
| സ്ക്രീൻ വലിപ്പം | 34 ഇഞ്ച് |
| പരമാവധി മിഴിവ് | WQHD (3440 x 1440) |
| പുതുക്കിയ നിരക്ക് | 120Hz |
| പ്രതികരണ സമയം | 5 മി (ജിടിജി) |
| വീക്ഷണാനുപാതം | 21:9 |
| വർണ്ണ ഗാമറ്റ് | sRGB 99% |
| HDR പിന്തുണ | HDR10 |
| Viewing ആംഗിൾ | 178 degrees (R/L), 178 degrees (U/D) |
| ഡിസ്പ്ലേ കണക്ടറുകൾ | 1 x HDMI, 1 x ഡിസ്പ്ലേ പോർട്ട് |
| നേത്ര ആശ്വാസ സവിശേഷതകൾ | Low blue light, Flicker-free, Anti-glare, Reader Mode |
| ബിൽറ്റ്-ഇൻ സ്പീക്കറുകൾ | അതെ |
| ഉൽപ്പന്ന അളവുകൾ (സ്റ്റാൻഡിനൊപ്പം) | 8.7"D x 32.1"W x 19.2"H |
| ഉൽപ്പന്ന ഭാരം (സ്റ്റാൻഡിനൊപ്പം) | 16.8 പൗണ്ട് |
8. വാറൻ്റിയും പിന്തുണയും
Your LG 34 Inch UltraWide Curved Monitor comes with a standard manufacturer's warranty. Please refer to the warranty card included in your package for detailed terms and conditions.
For technical support, service, or further inquiries, please visit the official LG website or contact their customer service hotline. Keep your purchase receipt and product serial number (located on the back of the monitor) handy when contacting support.