ആമുഖം
This user manual provides comprehensive instructions for the safe and efficient operation, installation, and maintenance of your Tera P02 Portable EV Charger. This charger supports both Level 1 (110V) and Level 2 (240V) charging for J1772 compatible electric vehicles, offering adjustable current settings and a convenient NEMA 5-15P to 14-50R adapter.
സുരക്ഷാ വിവരങ്ങൾ
WARNING: Please read all safety instructions carefully before using this product. Failure to follow these instructions may result in electric shock, fire, or serious injury.
- ചാർജിംഗ് സ്റ്റേഷൻ ശരിയായി ഗ്രൗണ്ട് ചെയ്തിട്ടുണ്ടെന്ന് ഉറപ്പാക്കുക.
- Do not use if the charger, cable, or plug is damaged.
- ചാർജർ വെള്ളത്തിലോ മറ്റ് ദ്രാവകങ്ങളിലോ മുക്കരുത്.
- കുട്ടികൾക്ക് ലഭ്യമാകാതെ സൂക്ഷിക്കുക.
- നിർദ്ദിഷ്ട വോള്യത്തിനുള്ളിൽ പ്രവർത്തിക്കുകtagഇ, നിലവിലെ പരിധികൾ.
- Avoid using extension cords unless absolutely necessary and ensure they are rated for the appropriate current.
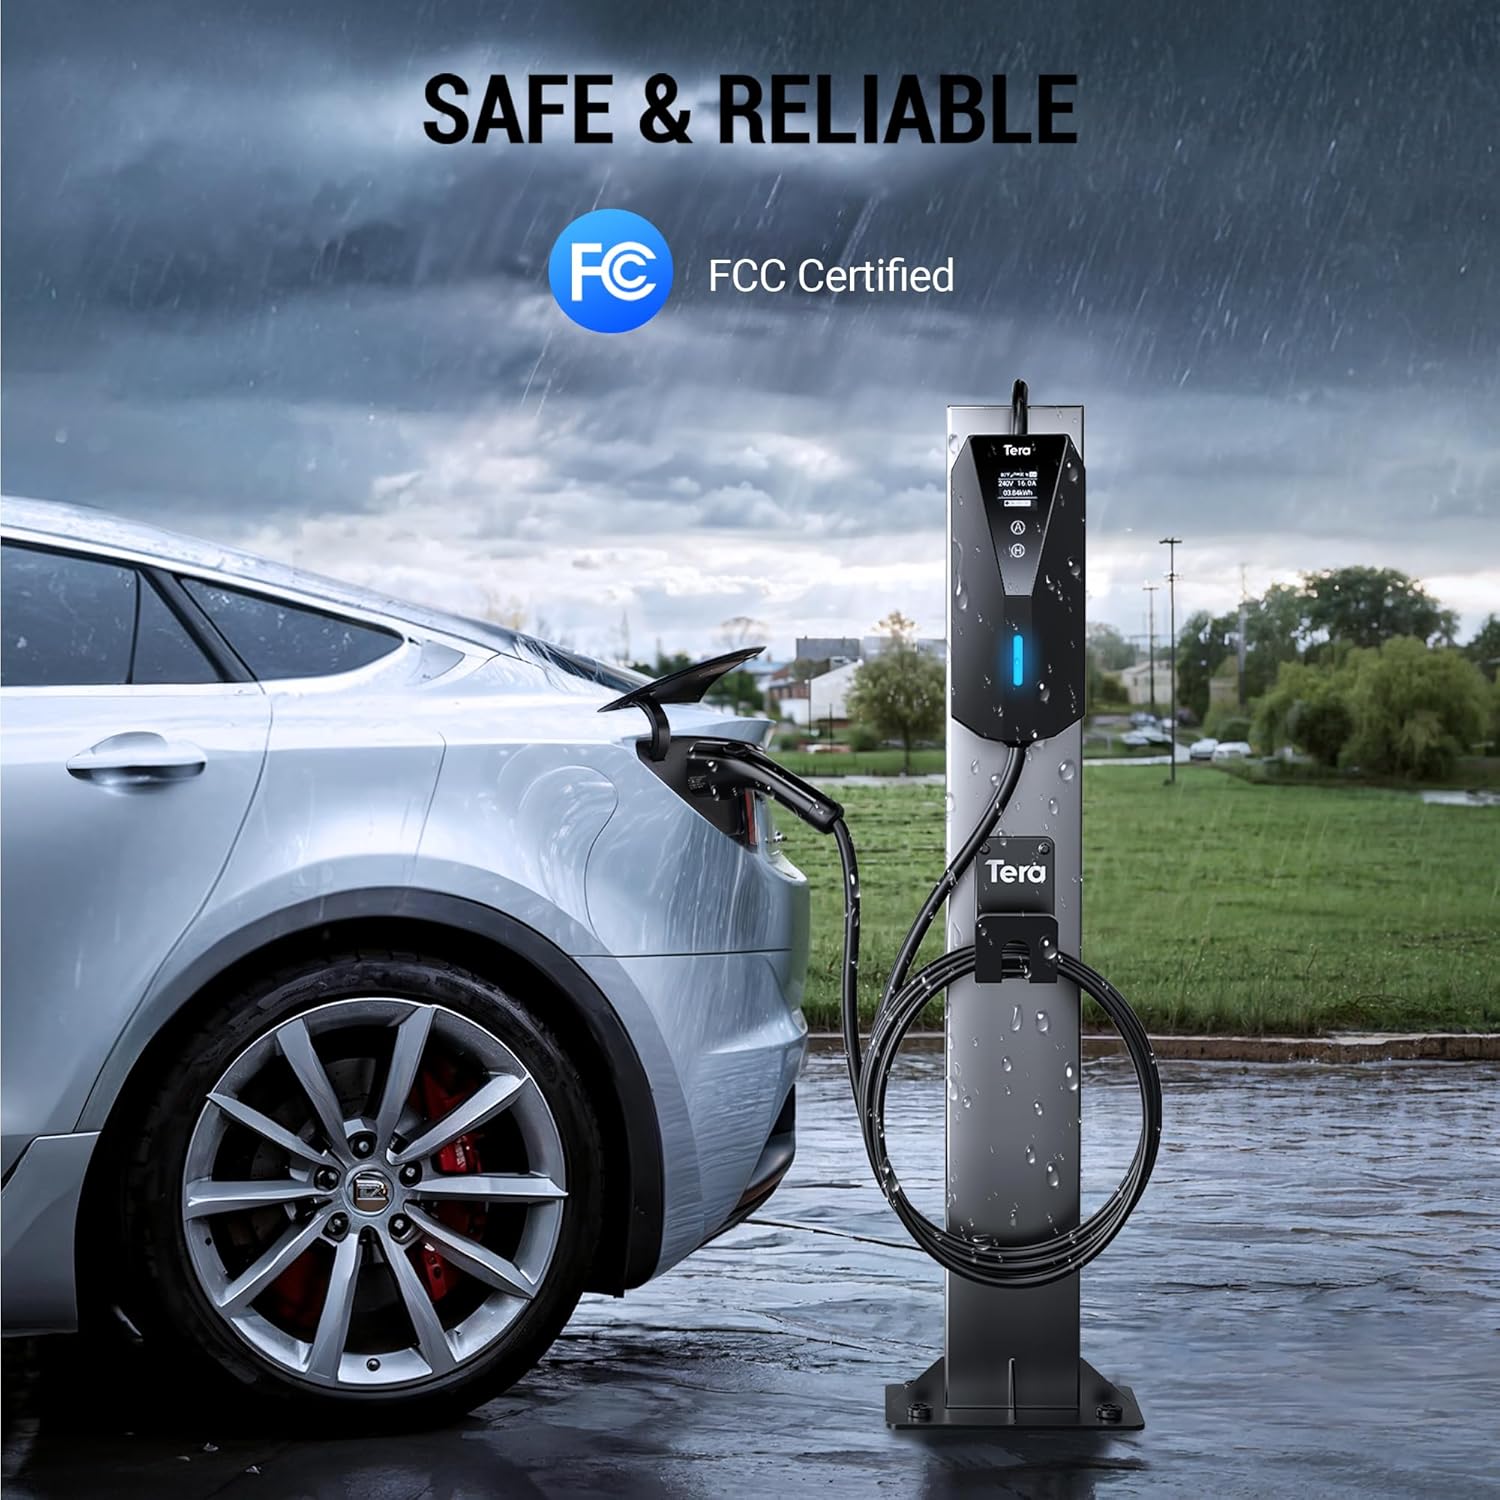
Image: The Tera EV charger control box with an FCC Certified logo, emphasizing its safety and reliability features. The image shows the charger in an outdoor setting, suggesting its robust design.
ബോക്സിൽ എന്താണുള്ളത്
Your Tera P02 Portable EV Charger package includes the following items:
- Level 1 + Level 2 Portable EV Charger (Main Unit)
- സ്റ്റോറേജ് ബാഗ്
- Hook (for cable management)
- NEMA 5-15P to 14-50R Adapter Cord
- ഉപയോക്തൃ മാനുവൽ

ചിത്രം: ഒരു സമ്പൂർണ്ണ view of all items included in the Tera P02 Portable EV Charger package, neatly arranged. This includes the main charging unit, the NEMA 5-15P to 14-50R adapter, a storage bag, and a wall-mount hook.
Video: A customer unboxing the Tera P02 Portable EV Charger, demonstrating the contents of the package and initial impressions of the product components.
സജ്ജമാക്കുക
- ചാർജർ അൺപാക്ക് ചെയ്യുക: പാക്കേജിംഗിൽ നിന്ന് എല്ലാ ഘടകങ്ങളും ശ്രദ്ധാപൂർവ്വം നീക്കം ചെയ്യുക. എന്തെങ്കിലും കേടുപാടുകൾ ഉണ്ടോ എന്ന് പരിശോധിക്കുക.
- ഒരു ലൊക്കേഷൻ തിരഞ്ഞെടുക്കുക: Select a dry, well-ventilated area for charging. The charger is rated for indoor and outdoor use (IP66 control box, IP54 EV connector), but protection from direct heavy rain is recommended for prolonged outdoor use.
- മൗണ്ടിംഗ് (ഓപ്ഷണൽ): Use the provided hook to organize the cable and charger. Secure the hook to a sturdy wall or post using appropriate fasteners (not included).
- പവറിലേക്ക് ബന്ധിപ്പിക്കുക:
- For Level 1 (110V) Charging: Connect the NEMA 5-15P plug directly to a standard household 110V outlet.
- For Level 2 (240V) Charging: Use the NEMA 5-15P to 14-50R adapter cord. Plug the 14-50R end into a NEMA 14-50 outlet.
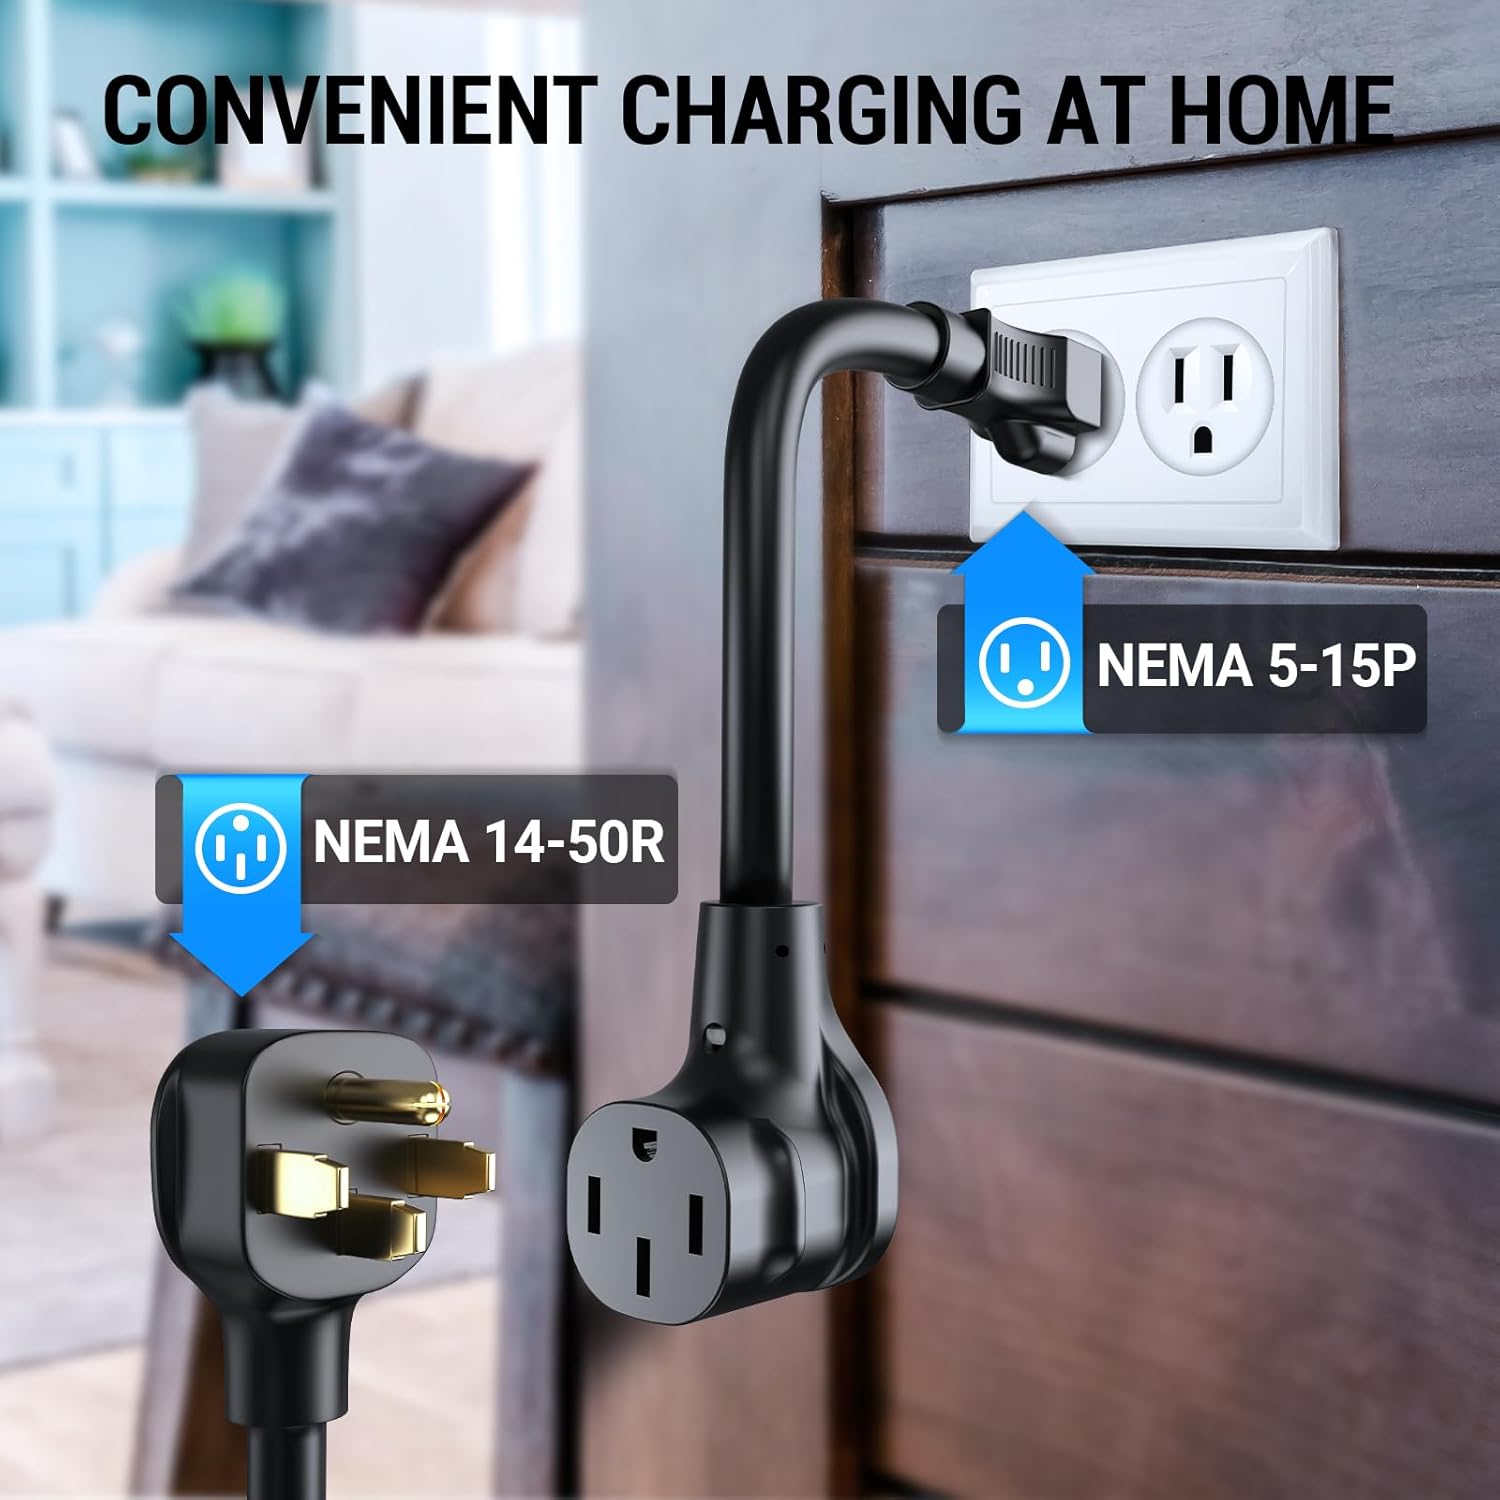
Image: The NEMA 5-15P to 14-50R adapter cord, illustrating how it connects to a standard household outlet for Level 1 charging or a 14-50R outlet for Level 2 charging.
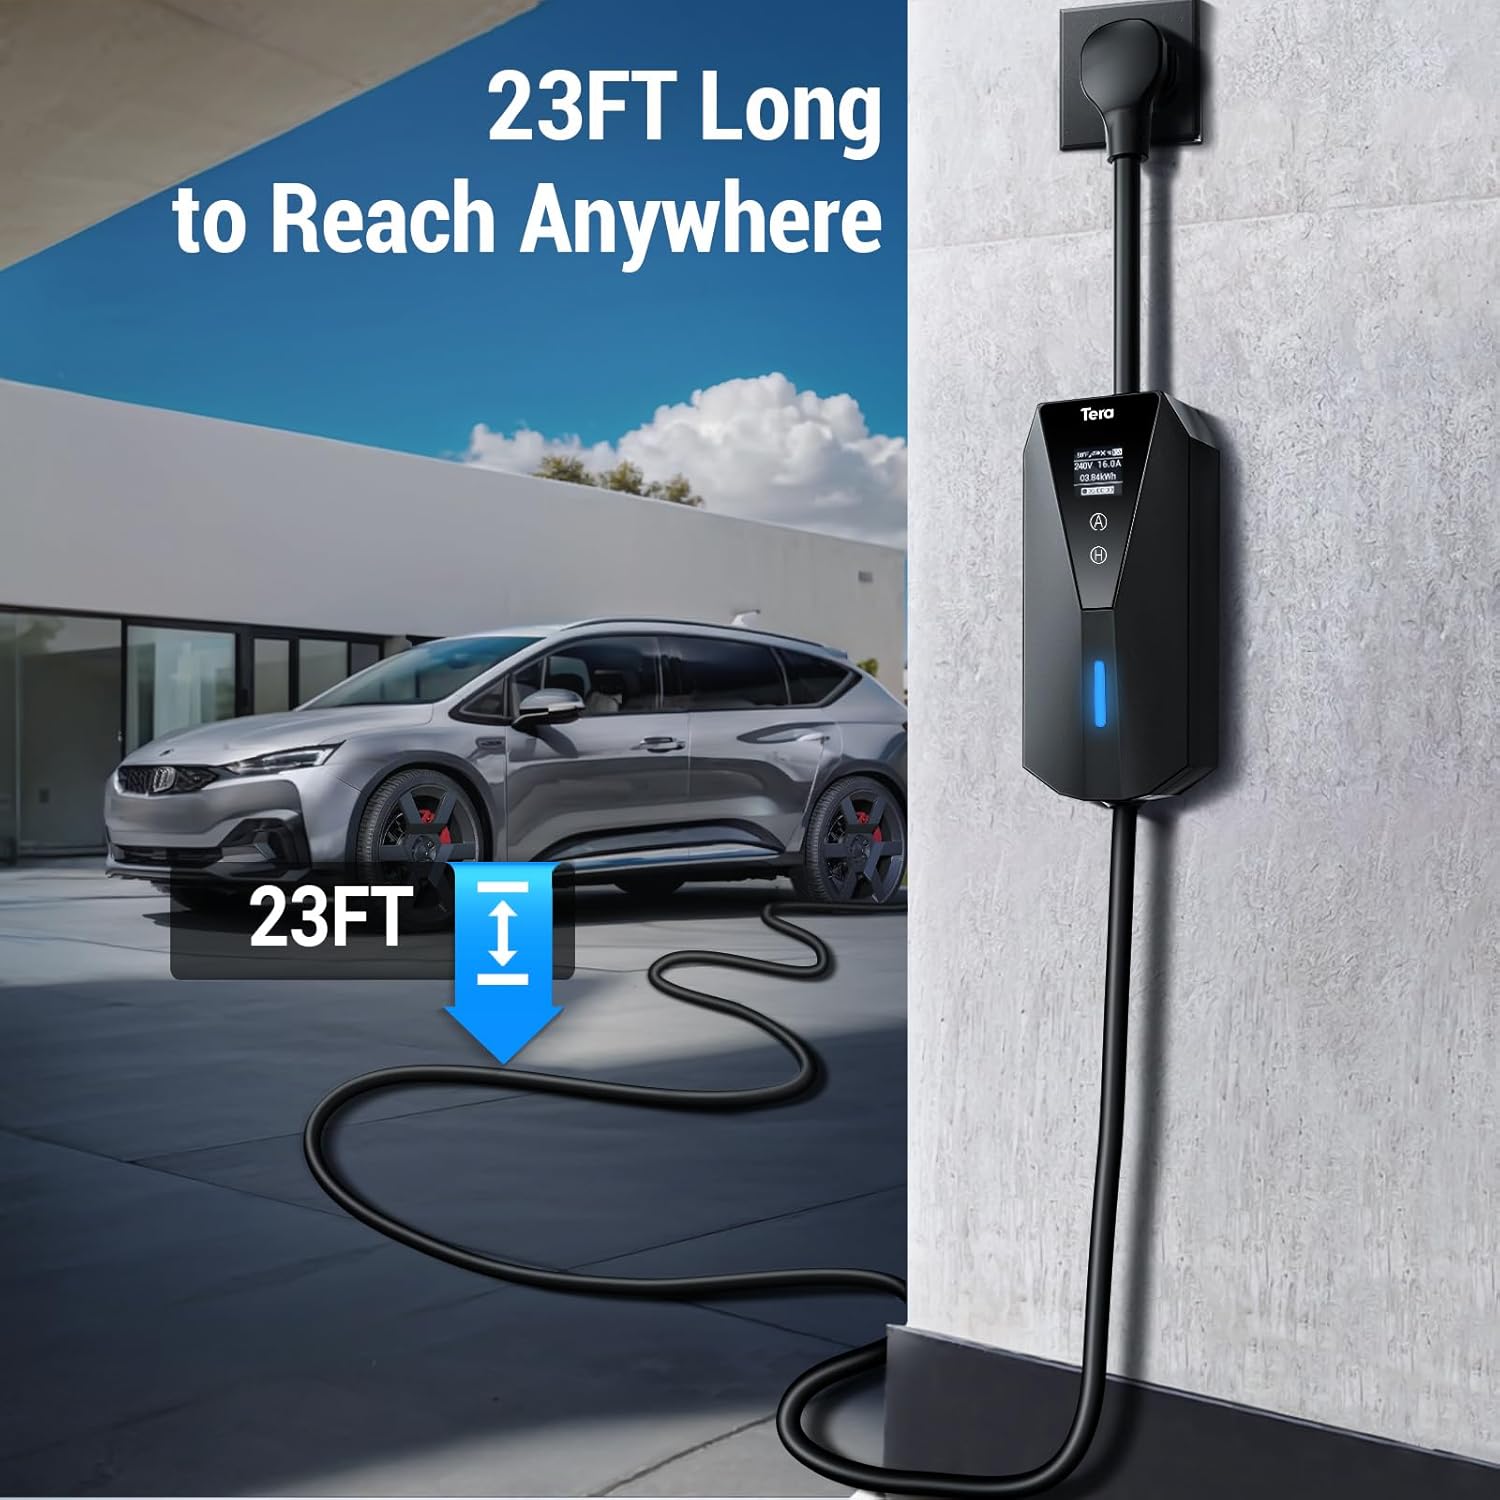
Image: The Tera EV charger installed on a wall, showcasing its 23-foot long cable, which provides ample reach for various charging scenarios.
പ്രവർത്തന നിർദ്ദേശങ്ങൾ
- വാഹനവുമായി ബന്ധിപ്പിക്കുക: Insert the J1772 charging connector into your electric vehicle's charging port. Ensure a secure connection.
- Adjust Current (if desired): The charger features an LED touchscreen display. Use the controls on the unit to select your desired amperage: 16A, 13A, 10A, or 8A. The display will show real-time charging information including amperage, speed, input voltage, and delay time.
- ചാർജിംഗ് ആരംഭിക്കുക: Once connected and current is set, charging will typically begin automatically. The LED screen will indicate charging status.
- Delay Charging (Optional): You can schedule charging through the built-in touchscreen or your vehicle's onboard system. On the charger's LED touchscreen, you can set a charging delay in hourly increments, up to a maximum of 12 hours. This is useful for charging during off-peak electricity hours.
- ചാർജിംഗ് അവസാനിപ്പിക്കുക: To stop charging, disconnect the J1772 connector from your vehicle. Ensure the vehicle's charging port is unlocked if necessary.

Image: A close-up of the Tera EV charger's display, highlighting the adjustable current settings (8A, 10A, 13A, 16A) and how to select them.
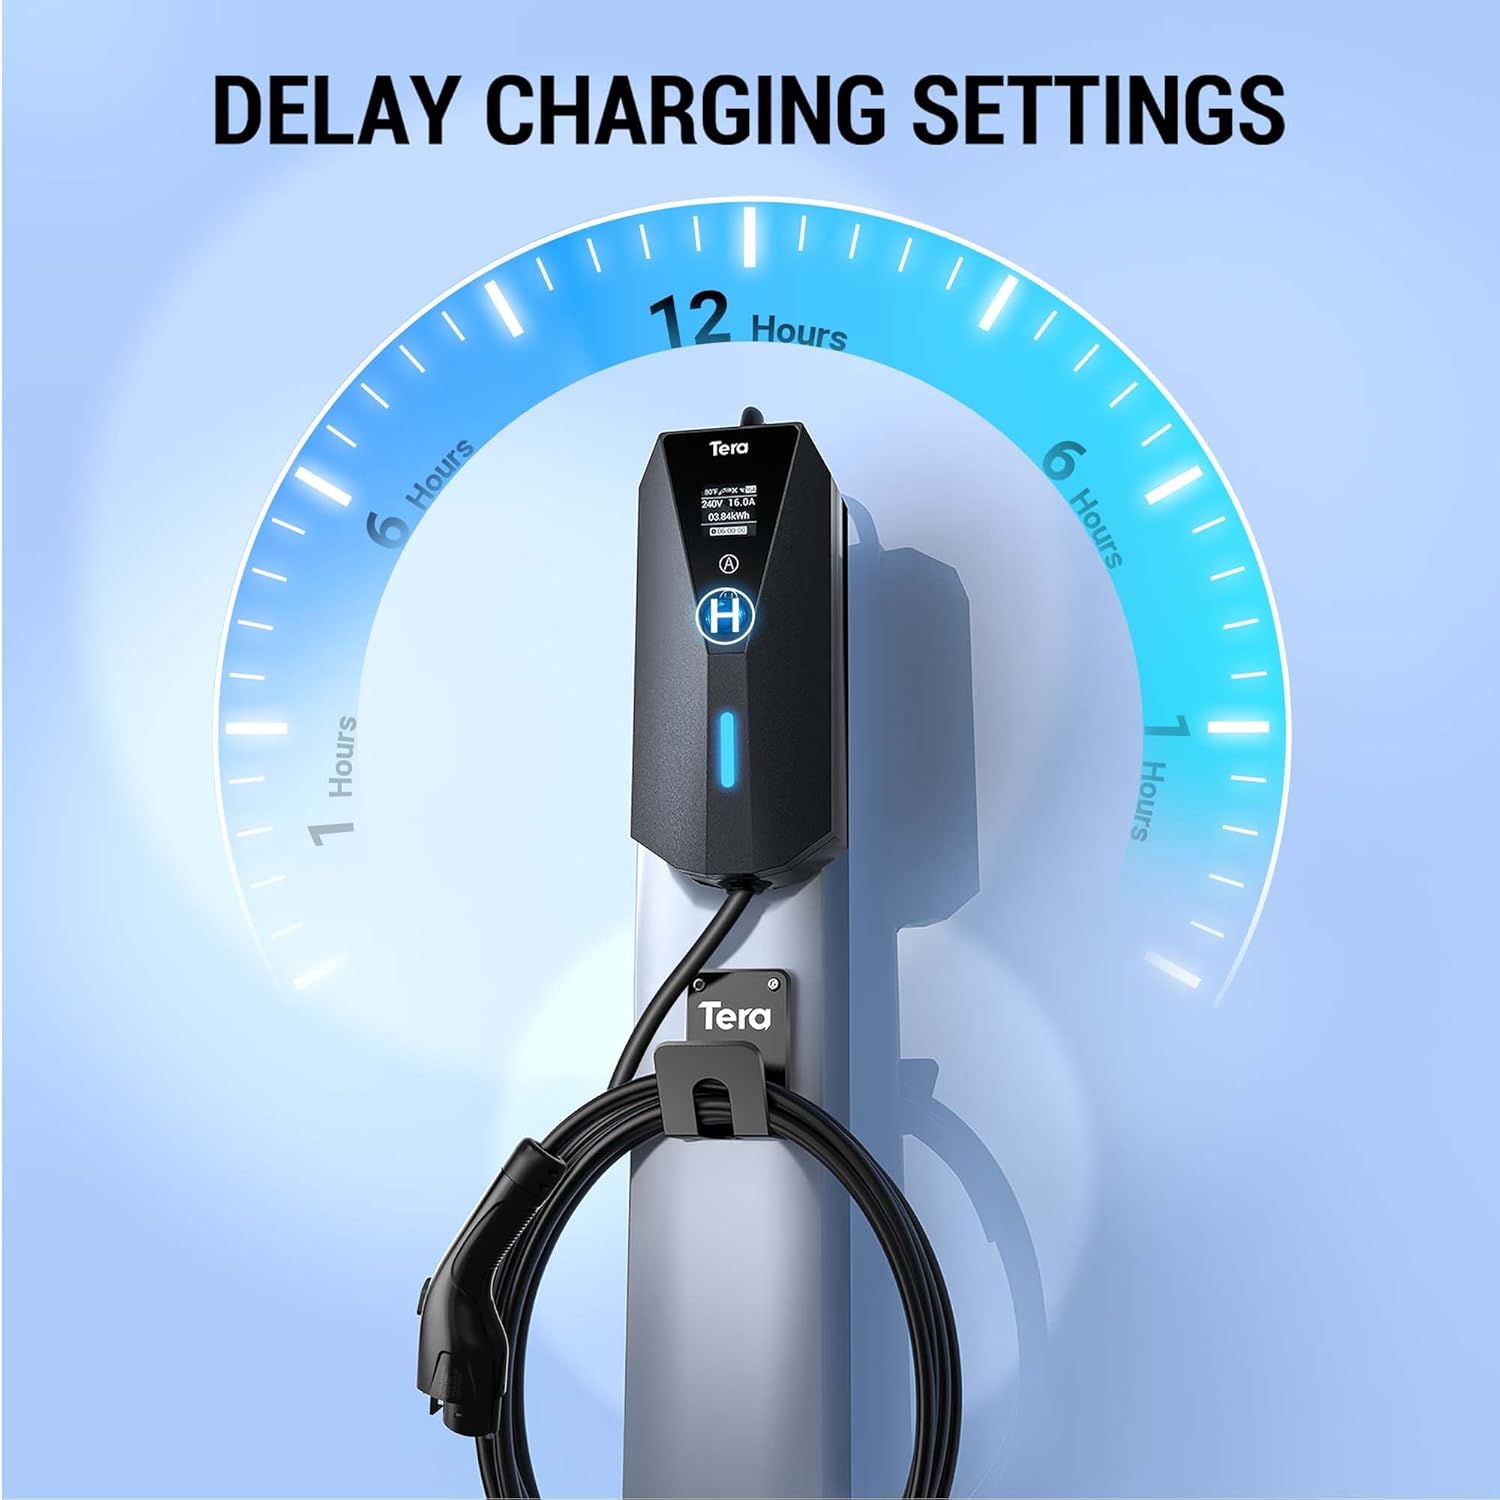
Image: The Tera EV charger's display showing the delay charging settings, allowing users to schedule charging up to 12 hours in advance.

Image: The J1772 connector being inserted into an electric vehicle's charging port, demonstrating compatibility with all J1772 EVs.
മെയിൻ്റനൻസ്
- വൃത്തിയാക്കൽ: മൃദുവായതും ഉണങ്ങിയതുമായ തുണി ഉപയോഗിച്ച് ചാർജറും കേബിളുകളും തുടയ്ക്കുക. അബ്രാസീവ് ക്ലീനറുകളോ ലായകങ്ങളോ ഉപയോഗിക്കരുത്.
- സംഭരണം: When not in use, store the charger in its provided storage bag in a dry, cool place. Use the included hook to keep the cable neatly organized.
- പരിശോധന: Regularly inspect the charging cable, plug, and unit for any signs of damage, wear, or corrosion. If any damage is found, discontinue use and contact customer support.
- പരിസ്ഥിതി സംരക്ഷണം: While designed for indoor and outdoor use, avoid prolonged exposure to extreme weather conditions to maximize product lifespan.
ട്രബിൾഷൂട്ടിംഗ്
| പ്രശ്നം | സാധ്യമായ കാരണം | പരിഹാരം |
|---|---|---|
| ചാർജർ ഓണാകുന്നില്ല/ഡിസ്പ്ലേ ഇല്ല. | No power from outlet; loose connection; internal fault. | Check power outlet with another device. Ensure all connections are secure. If problem persists, contact support. |
| വാഹനം ചാർജ് ചെയ്യുന്നില്ല. | Charging port not fully connected; vehicle charging schedule active; current setting too low for vehicle. | Ensure J1772 connector is fully inserted and locked. Check vehicle's charging schedule. Increase amperage setting on charger. |
| ചാർജിംഗ് അപ്രതീക്ഷിതമായി നിലയ്ക്കുന്നു. | Overheating; power fluctuation; vehicle battery full. | Allow charger to cool down if hot. Check power supply stability. Verify vehicle battery status. |
| LED screen went dead (as per customer review). | Potential internal component failure. | Unplug the charger for a few hours and plug it back in. If the screen remains off, contact customer support for repair or replacement under warranty. |
| Charger disconnects in cold weather and doesn't resume (as per customer review). | Charger not designed to monitor/supply power for battery temperature maintenance after reaching setpoint. | This behavior may be inherent to the charger's design. For continuous battery temperature maintenance in extreme cold, consider alternative charging solutions or manually unplug and replug the charger to re-initiate charging. |
സ്പെസിഫിക്കേഷനുകൾ
- ബ്രാൻഡ്: തേരാ
- മോഡൽ: EV-P02-BK-US
- ഇൻപുട്ട് വോളിയംtage: 110V / 240V
- Ampകോപം: Adjustable (8A, 10A, 13A, 16A)
- കണക്റ്റർ തരം: J1772
- പ്ലഗ് തരം: NEMA 5-15P (with NEMA 14-50R adapter)
- കേബിൾ നീളം: 23 അടി
- Control Box IP Rating: IP66 (പൊടി മുറുക്കമുള്ളതും ശക്തമായ വാട്ടർ ജെറ്റുകളിൽ നിന്ന് സംരക്ഷിക്കപ്പെട്ടതുമാണ്)
- EV Connector IP Rating: IP54 (Protected against dust and splashing water)
- ഇനത്തിൻ്റെ ഭാരം: ഏകദേശം 7.37 പൗണ്ട് (3.35 കി.ഗ്രാം)
- ഉൽപ്പന്ന അളവുകൾ: ഏകദേശം 12.6 x 6.3 x 12.6 ഇഞ്ച്
- പ്രത്യേക സവിശേഷതകൾ: Charging Indicator, Smart LED Screen Display
വാറൻ്റിയും പിന്തുണയും
For warranty information and technical support, please refer to the official Tera webസൈറ്റിൽ ബന്ധപ്പെടുകയോ അവരുടെ ഉപഭോക്തൃ സേവനവുമായി നേരിട്ട് ബന്ധപ്പെടുകയോ ചെയ്യുക. വാറന്റി ക്ലെയിമുകൾക്കുള്ള വാങ്ങലിന്റെ തെളിവായി നിങ്ങളുടെ വാങ്ങൽ രസീത് സൂക്ഷിക്കുക.
ഓൺലൈൻ ഉറവിടങ്ങൾ:
- ഔദ്യോഗിക ഉപയോക്തൃ മാനുവൽ (PDF): PDF മാനുവൽ ഡൗൺലോഡ് ചെയ്യുക
- Tera Brand Store: Visit Tera Store on Amazon


